【AIGC】如何在Windows/Linux上部署stable diffusion
文章目录
- 整体安装步骤
- windows10安装stable diffusion
- 环境要求
- 安装步骤
- 注意事项
- 参考博客
- 其他事项
- 安装显卡驱动
- 安装cuda
- 卸载cuda
- 安装对应版本pytorch
- 安装git上的python包
- Q&A
- linux安装stable diffusion
- 安装anaconda
- 安装cuda
- git 加速
- 配置虚拟环境
- 挂载oss(optional)
- 端口开放
- 启动服务
- controlnet
- 显卡使用监控
- 插件安装
- 参考文章
- 脚本安装stable diffusion
- stable diffusion教程
- models
- tutorial
- prompt reference
整体安装步骤
- GPU环境安装:NVIDIA驱动和cuda(注意版本,建议安装cuda11.7,方便后续使用xformer)
- 配置git环境
- git拉取stable diffusion项目
- 配置python虚拟环境
- 安装GPU版torch
- 安装虚拟环境依赖包:项目本身的requirement及子项目依赖
- 下载模型文件
- 启动stable diffusion
windows10安装stable diffusion
环境要求
- 独立显卡:最低配置4GB显存,基本配置6GB显存,推荐配置8GB显存以上。(显存越大越好。显存越大,可以生成的图片分辨率就越大。)
- 内存:内存16G或者以上。
- 磁盘:至少10GB。
安装步骤
- 安装Python3.10.6
- 安装git
- 下载sd项目:AUTOMATIC1111
- 下载模型文件(例如:stable-diffusion-v1-5)
- Stable Diffusion的官方模型V1.5版本一共提供了两个模型,一个3.97GB,另一个是7.17GB。
- 绘画版|3.97GB模型:推荐正常绘图的人使用,无需训练自己的模型。
- 训练版|7.17GB模型:如果您想以该模型为基础,训练自己的模型。那么下载该模型可以得到更好的效果。
- 运行webui-user.bat脚本
注意事项
- cuda版本与显卡驱动版本适配;
- pytorch的gpu版本与cuda版本对应;
- 脚本中默认会装,就是比较慢,耐心等待就行;
- 自己下载对应版本wheel文件安装(搜索:2.0.1+cu118):https://download.pytorch.org/whl/torch/
- 可能会失败,见issue:https://github.com/AUTOMATIC1111/stable-diffusion-webui/issues/1742
- 提前下载GitHub项目:GFPGAN、CLIP、open_clip,之后需要安装到Python虚拟环境中;
- python setup.py install 可能失败。可以提前cd到对应项目中,使用pip install -r requirements.txt安装依赖包。
- 提前下载GitHub项目:stable-diffusion-stability-ai、taming-transformers、k-diffusion、CodeFormer、BLIP,之后需要cp到项目的repositories路径中;
参考博客
- https://stable-diffusion-art.com/install-windows/
- https://aituts.com/stable-diffusion-on-windows-automatic1111/
其他事项
安装显卡驱动
https://www.volcengine.com/docs/6419/69858
安装cuda
cuda版本与显卡驱动对照表
https://docs.nvidia.com/cuda/cuda-toolkit-release-notes/index.html
要安装的显卡驱动是,所以对应的cuda版本应该是 CUDA 12.0.x 、12.1.x等
安装成功后可以在cmd使用nvcc -V查看cuda版本,使用nsmi
好像需要安装cuda11.8版本?
下载链接:https://developer.nvidia.com/cuda-12-1-0-download-archive?target_os=Windows&target_arch=x86_64&target_version=10&target_type=exe_local
检查环境
python -m torch.utils.collect_env
卸载cuda
cuda 和 cudnn 库的卸载与安装:https://zhuanlan.zhihu.com/p/102966512
安装对应版本pytorch
在以下网址搜索:2.0.1+cu118
https://download.pytorch.org/whl/torch/
其中cu118对应刚刚安装的cuda11.8版本
安装git上的python包
cd path to CLIP
# python setup.py install --user
python setup.py install
Q&A
- stable diffusion报错RuntimeError: “LayerNormKernelImpl” not implem
解决方法:运行命令修改为./webui.sh --precision full --no-half
在webui-user.bat中添加命令行参数:
set COMMANDLINE_ARGS=–skip-torch-cuda-test --precision full --no-half
- AssertionError: extension access disabled because of command line flags
What’s happening is that, since you’re not running on localhost and everyone in the whole wide world can in theory access your Web UI, you need to explicitly enable extensions.
解决方法:adding the --enable-insecure-extension-access flag
linux安装stable diffusion
简单版可查看之前的博客:【AIGC】阿里云ecs部署stable diffusion
安装anaconda
安装Python、wget、git
sudo apt install python3 python3-pip python3-virtualenv wget git
安装前置依赖
sudo apt-get install libgl1-mesa-glx libegl1-mesa libxrandr2 libxrandr2 libxss1 libxcursor1 libxcomposite1 libasound2 libxi6 libxtst6
下载anaconda
wget https://repo.anaconda.com/archive/Anaconda3-2023.03-1-Linux-x86_64.sh
创建Python 3.10.6的虚拟环境
conda create --name sdwebui python=3.10.6
安装cuda
os=ubuntu2004
arch=x86_64
wget https://developer.download.nvidia.com/compute/cuda/repos/ubuntu2004/x86_64/cuda-keyring_1.0-1_all.deb
sudo dpkg -i cuda-keyring_1.0-1_all.deb
sudo apt update
sudo apt install cuda-11-8
git 加速
开启加速
export http_proxy=http://172.181.217.43:12798 && export https_proxy=http://172.181.217.43:12798
关闭加速
unset http_proxy && unset https_proxy
【todo:注意关闭配置】https://blog.csdn.net/zhiboqingyun/article/details/123912058
git clone https://github.com/AUTOMATIC1111/stable-diffusion-webui.git
配置虚拟环境
启动虚拟环境
conda activate sdwebui
如果想要于bash script自动以conda启动虚拟环境,可以把这二行加入至webui-user.sh顶端:
eval “$(conda shell.bash hook)”
conda activate sdwebui
下载模型
wget -nc -P ~/stable-diffusion-webui/models/Stable-diffusion https://huggingface.co/andite/anything-v4.0/resolve/main/anything-v4.5-pruned.safetensors -O anything-v4.5-pruned.safetensors
首次启动
./webui.sh
./webui.sh --xformers --skip-install --enable-insecure-extension-access
挂载oss(optional)
https://help.aliyun.com/document_detail/153892.html?spm=a2c4g.153893.0.0.1d877f1fHkYVYt
端口开放
https://www.bilibili.com/read/cv23060248
启动服务时需要添加 --listen参数
./webui.sh --listen
sed -i ‘s/can_run_as_root=0/can_run_as_root=1/g’ webui.sh &&
./webui.sh --no-download-sd-model --xformers
启动后的一些权限问题
sudo chown -R root stable-diffusion-webui
sudo chgrp -R root stable-diffusion-webui
服务地址:http://xxx.xxx.xxx.xxx:7860/
启动服务
sudo ./webui.sh --listen --skip-install --enable-insecure-extension-access
controlnet
https://github.com/Mikubill/sd-webui-controlnet/issues/1399
Package cairo was not found in the pkg-config search path.
Perhaps you should add the directory containing `cairo.pc’
to the PKG_CONFIG_PATH environment variable
No package ‘cairo’ found
ERROR: Could not build wheels for pycairo, which is required to install pyproject.toml-based projects
sudo apt install libcairo2-dev
I fixed itby this way:
-
run command below on linux
sudo apt install libcairo2-dev -
install svglib package manually or relaunch webui
pip install svglib
显卡使用监控
watch -n 1 nvidia-smi
插件安装
抠图插件安装:https://zhuanlan.zhihu.com/p/632888046
参考文章
查看Linux服务器配置|是否有GPU以及GPU信息:https://blog.csdn.net/qq_41725313/article/details/123784429
安装至Linux:https://ivonblog.com/posts/stable-diffusion-webui-manuals/zh-cn/installation/linux-installation/
安装驱动:https://ivonblog.com/posts/ubuntu-install-nvidia-drivers/
安装驱动(阿里云官方文档):https://help.aliyun.com/document_detail/163824.htm?spm=a2c4g.298150.0.0.1e0b5355t3jXPh#concept-ecy-qrz-wgb
脚本安装stable diffusion
# git配置
git config --global http.postBuffer 524288000
git config --global https.postBuffer 524288000
git config --global core.compression -1
git config --global http.sslVerify "false"# 拉取stable diffusion
cd ~
git clone https://github.com/AUTOMATIC1111/stable-diffusion-webui.git
cd ~/stable-diffusion-webui
git checkout 89f9faa63388756314e8a1d96cf86bf5e0663045# 配置python环境
conda create -y --name sdwebui python=3.10.6
source activate sdwebui
python -m venv venv
source venv/bin/activate            # conda activate sdwebui 可能会失败
# source venv/Scripts/activate      # for win10 git bash# 安装GPU版torch
pip install torch==2.0.0+cu117 torchvision==0.15.0+cu117 --extra-index-url https://download.pytorch.org/whl/cu117
pip install xformers==0.0.17# python github环境包
mkdir tmp_envs
cd tmp_envs
git config --global http.sslVerify "false"      # 加上,以防断连
git clone https://github.com/TencentARC/GFPGAN.git
cd GFPGAN && git checkout 8d2447a2d918f8eba5a4a01463fd48e45126a379
pip install -r requirements.txt -i https://pypi.tuna.tsinghua.edu.cn/simple
python setup.py install
cd ..git config --global http.sslVerify "false"
git clone https://github.com/openai/CLIP.git
cd CLIP && git checkout d50d76daa670286dd6cacf3bcd80b5e4823fc8e1
pip install -r requirements.txt -i https://pypi.tuna.tsinghua.edu.cn/simple
python setup.py install
cd ..git config --global http.sslVerify "false"
git clone https://github.com/mlfoundations/open_clip.git
cd open_clip && git checkout bb6e834e9c70d9c27d0dc3ecedeebeaeb1ffad6b
pip install -r requirements.txt -i https://pypi.tuna.tsinghua.edu.cn/simple
python setup.py install
cd ..# 下载模型
wget -nc -P ~/stable-diffusion-webui/models/Stable-diffusion https://huggingface.co/andite/anything-v4.0/resolve/main/anything-v4.5-pruned.safetensors -O anything-v4.5-pruned.safetensors./webui.sh --xformers --skip-install# 面部修复功能报错
# 下载模型文件:
cd ~/stable-diffusion-webui
wget https://github.com/sczhou/CodeFormer/releases/download/v0.1.0/codeformer.pth
mv codeformer.pth ~/stable-diffusion-webui/models/Codeformer/codeformer-v0.1.0.pt
# 下载权重文件
wget https://github.com/xinntao/facexlib/releases/download/v0.1.0/detection_Resnet50_Final.pth
mv detection_Resnet50_Final.pth ~/stable-diffusion-webui/repositories/CodeFormer/weights/facelib/detection_Resnet50_Final.pth
wget https://github.com/sczhou/CodeFormer/releases/download/v0.1.0/parsing_parsenet.pth
mv parsing_parsenet.pth ~/stable-diffusion-webui/repositories/CodeFormer/weights/facelib/parsing_parsenet.pth
stable diffusion教程
models
stable-diffusion-v1-5: https://huggingface.co/runwayml/stable-diffusion-v1-5/tree/main
The 10 Best Stable Diffusion Models by Popularity (SD Models Explained):https://aituts.com/models/
AI 绘画与作画 stable diffusion webui 常见模型汇总及简介:https://www.tjsky.net/tutorial/583
C站下载模型:https://civitai.com/
hugging face下载:https://huggingface.co/models
ControlNet下载: https://huggingface.co/lllyasviel/ControlNet-v1-1/tree/main
lora模型下载:https://openai.wiki/lora-model-part-1.html
tutorial
AIGC入门教程:Stable Diffusion,万字保姆篇:https://www.woshipm.com/ai/5813208.html
超详细!外婆都能看懂的Stable Diffusion入门教程:https://www.uisdc.com/stable-diffusion-3
How to use Stable Diffusion v2.1 (AUTOMATIC1111 Guide):https://aituts.com/install-stable-diffusion-v2-1/
stable-diffusion-webui使用手册:https://ivonblog.com/posts/stable-diffusion-webui-manuals/zh-cn/installation/windows-installation/
Stable Diffusion 速览: https://www.zhihu.com/question/550101073/answer/2931261853
AI绘画指南 stable diffusion webui (SD webui)如何设置与使用:https://www.tjsky.net/tutorial/488
How to use models(LoRA):https://github.com/civitai/civitai/wiki/How-to-use-models#lora
How to generate realistic people in Stable Diffusion:https://stable-diffusion-art.com/realistic-people/
How to make a video with Stable Diffusion (Deforum):https://stable-diffusion-art.com/deforum/
AI绘画教程:从入门到放弃(xiaobai):https://zhuanlan.zhihu.com/p/607892849
LoRA模型的训练脚本:https://github.com/kohya-ss/sd-scripts
prompt reference
风格提示词:https://lexica.art/
image on playgroundai: https://playgroundai.com/c/landscapes
相关文章:
【AIGC】如何在Windows/Linux上部署stable diffusion
文章目录 整体安装步骤windows10安装stable diffusion环境要求安装步骤注意事项参考博客其他事项安装显卡驱动安装cuda卸载cuda安装对应版本pytorch安装git上的python包Q&A linux安装stable diffusion安装anaconda安装cudagit 加速配置虚拟环境挂载oss(optional…...
基于java实现的弹幕视频网站
开发语言:Java 框架:ssm 技术:JSP JDK版本:JDK1.8 服务器:tomcat7 数据库:mysql 5.7(一定要5.7版本) 数据库工具:Navicat11 开发软件:eclipse/myeclip…...

【大数据存储】实验4 NoSQL数据库
实验4 NoSQL数据库 NoSQL数据库的安装和使用实验环境: Ubuntu 22.04.3 Jdk 1.8.0_341 Hadoop 3.2.3 Hbase 2.4.17 Redis 6.0.6 mongdb 6.0.12 mogosh 2.1.0 Redis 安装redis完成 新建终端启动redisredis-server新建一个终端redis-cli 建表操作 尝…...

从零学算法80
80. 删除有序数组中的重复项 II 给你一个有序数组 nums ,请你 原地 删除重复出现的元素,使得出现次数超过两次的元素只出现两次 ,返回删除后数组的新长度。 不要使用额外的数组空间,你必须在 原地 修改输入数组 并在使用 O(1) 额外…...
Jupyter notebook文件默认存储路径以及更改方法
初次使用Jupyter Notebook,确实好用啊!但安装Anaconda后,打开Jupyter Notebook 的时候,新建文件的默认存储路径一般在C系统盘下面的XXX目录,那么路径是什么呢?我想把文件保存到其他的文件夹下应该怎么做呢&…...
WPF中通过自定义Panel实现控件拖动
背景 看到趋时软件的公众号文章(WPF自定义Panel:让拖拽变得更简单),发现可以不通过Drag的方法来实现ListBox控件的拖动,而是通过对控件的坐标相加减去实现控件的位移等判断,因此根据文章里面的代码,边理解边…...

Centos7安装Docker与Docker-compose【图文教程】
个人记录 查看一下系统是否已经安装了Docker yum list installed | grep docker如下图代表没有安装Docker 卸载已有Docker yum remove docker docker-common docker-selinux docker-engine切换目录 cd /etc/yum.repos.d/查看当前目录所有的镜像源 ll安装yum-util与devi…...

mac电脑maven配置环境变量
1、下载maven https://maven.apache.org 2、配置环境变量 vim .bash_profile JAVA_HOME/Library/Java/JavaVirtualMachines/jdk-1.8.jdk/Contents/Home PATH$JAVA_HOME/bin:$PATH export JAVA_HOME export PATH#maven export MAVEN_HOME/Users/haines/desktop/work/java/a…...
后端返还二进制excl表格数据时候,如何实现在前端下载表格功能及出现表格打开失败的异常处理。
背景: 后端返还一个二进制流的excl表格数据,前端需要对其解析,然后可提供给客户进行下载。 思路:把二进制流数据转换给blob对象,然后利用a标签进行前端下载。 代码: 后端返还 类似如下的数据 前端代码…...
搞学术研究好用免费的学术版ChatGPT网站-学术AI
学术版ChatGPThttps://chat.uaskgpt.com/mobile/?user_sn88&channelcsdn&scenelogin 推荐一个非常适合中国本科硕士博士等学生老师使用的学术版ChatGPT, 对接了超大型学术模型,利用AI技术实现学术润色、中英文翻译,学术纠错&#…...

vue3从精通到入门9:计算属性computed
在 Vue 3 中,computed 是一个用于创建计算属性的工具,它基于组件的响应式依赖进行复杂的计算,并返回一个新的响应式引用。计算属性是 Vue 的一个核心概念,它提供了一种声明式的方式来执行基于其依赖的响应式数据的计算。 compute…...

kafka面试常见问题
1、如何判断kafka某个主题消息堆积? 要判断Kafka中某个主题的消息是否堆积,可以通过查看该主题的生产者和消费者的偏移量(offset)差异来实现。Kafka中的每条消息在主题的分区内都有一个唯一的偏移量,生产者每发送一条…...

深入解析Hadoop生态核心组件:HDFS、MapReduce和YARN
这里写目录标题 01HDFS02Yarn03Hive04HBase1.特点2.存储 05Spark及Spark Streaming关于作者:推荐理由:作者直播推荐: 一篇讲明白 Hadoop 生态的三大部件 进入大数据阶段就意味着进入NoSQL阶段,更多的是面向…...

【chatGPT】我:在Cadence Genus软件中,出现如下问题:......【1】
我 在Cadence Genus中,出现如下问题:Error:A command argument did not match any of the acceptable command option. [TUI-170] [set_db] :‘/’ is not a legal option for the command. 该如何解决 ChatGPT Cadence Genus的错误消息 “…...
面试题:JVM 调优
一、JVM 参数设置 1. tomcat 的设置 vm 参数 修改 TOMCAT_HOME/bin/catalina.sh 文件,如下图 JAVA_OPTS"-Xms512m -Xmx1024m" 2. springboot 项目 jar 文件启动 通常在linux系统下直接加参数启动springboot项目 nohup java -Xms512m -Xmx1024m -jar…...
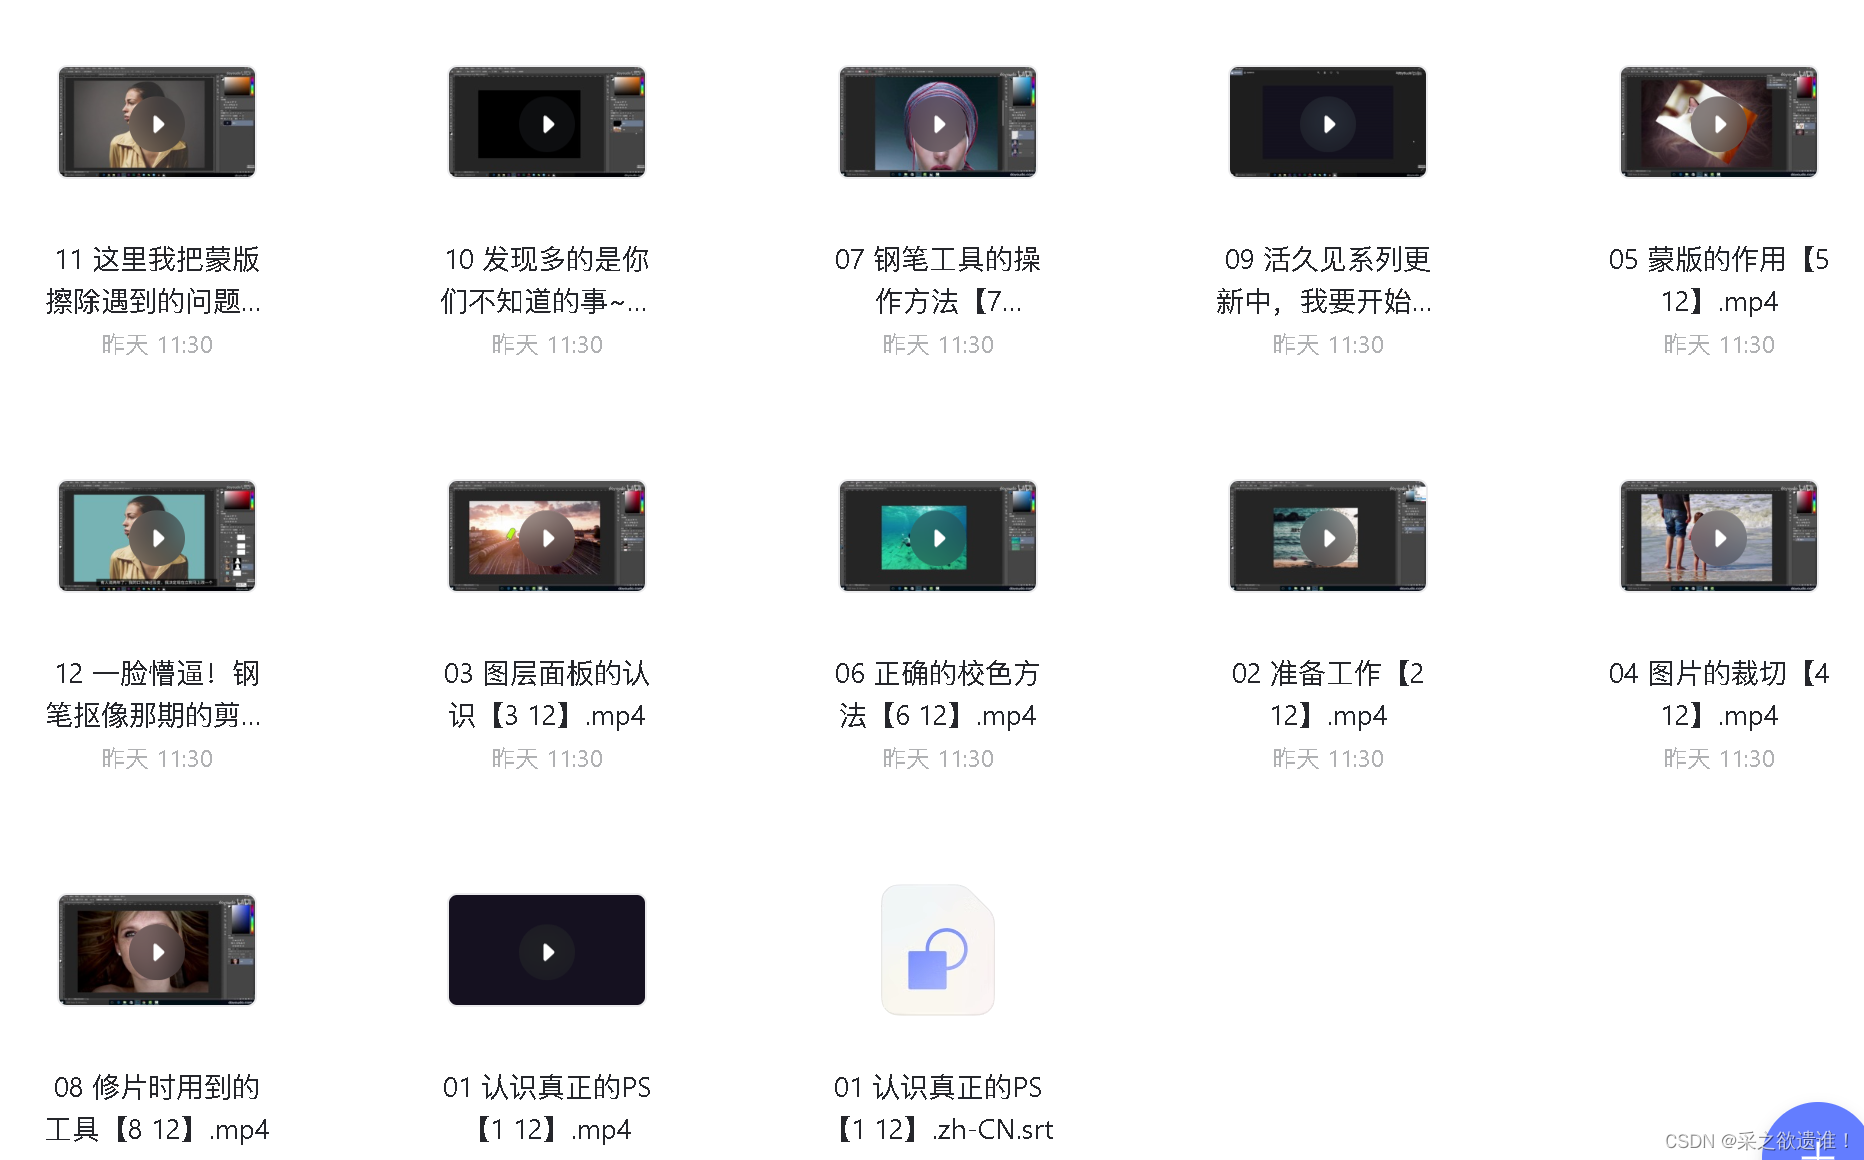
PS从入门到精通视频各类教程整理全集,包含素材、作业等(8)
PS从入门到精通视频各类教程整理全集,包含素材、作业等 最新PS以及插件合集,可在我以往文章中找到 由于阿里云盘有分享次受限制和文件大小限制,今天先分享到这里,后续持续更新 B站-PS异闻录:萌新系统入门课课程视频 …...
VSCode安装及Python、Jupyter插件安装使用
VSCode 介绍 Visual Studio Code(简称VSCode)是一个由微软开发的免费、开源的代码编辑器。VSCode是一个轻量级但是非常强大的代码编辑器,它支持多种编程语言(如C,C#,Java,Python,PHP࿰…...
JMeter+Grafana+influxdb 配置出现transaction无数据情况解决办法
JMeterGrafanainfluxdb 配置出现transaction无数据情况解决办法 一、问题描述二、解决方法 一、问题描述 如下图所示出现application有数据但是transaction无数据情况 二、解决方法 需要做如下设置 打开变量设置如下图打开两个选项 然后再进行后端监听器的设置 如下图所…...

Acrobat Pro DC 2023 for Mac PDF编辑管理软件
Acrobat Pro DC 2023 for Mac是一款功能强大的PDF编辑和管理软件,旨在帮助用户轻松处理PDF文件。它提供了丰富的工具和功能,使用户可以创建、编辑、转换和注释PDF文件,以及填写和签署PDF表单。 软件下载:Acrobat Pro DC 2023 for …...
可视化和Pillow解释性视觉推理及材料粒子凝聚)
Python大型数据集(GPU)可视化和Pillow解释性视觉推理及材料粒子凝聚
🎯要点 Python图像处理Pillow库:🎯打开图像、保存图像、保存期间的压缩方式、读取方法、创建缩略图、创建图像查看器。🎯获取 RGB 值,从图像中获取颜色,更改像素颜色,转换为黑…...

STM32 LWIP服务器内存泄漏踩坑实录:我是如何实现多客户端连接并稳定运行72小时的
STM32 LWIP服务器内存泄漏排查与多客户端连接优化实战 在嵌入式网络应用中,STM32结合LWIP协议栈构建TCP服务器是常见方案。但当系统需要支持多客户端并发连接并长期运行时,内存管理问题往往成为稳定性的最大威胁。本文将分享一个真实案例:如何…...

DO-254标准下的航空电子硬件需求追溯实践
1. DO-254标准与需求追踪的核心价值在航空电子硬件开发领域,RTCA/DO-254标准(在欧洲称为ED-80)是确保机载电子硬件(AEH)功能安全的关键规范。该标准于2005年获得FAA(美国联邦航空管理局)和EASA(欧洲航空安全…...

如何学习java?
目录 一. 初识Java 1. Java语⾔概述 1.1 Java是什么 1.2 什么是JavaSE?什么是JavaEE? JavaSE(JavaStandardEdition): JavaEE(JavaEnterprise Edition): 主要区别: 1.3 Java语⾔重要性 1.4 Java语⾔发展简史 1.5 Java语⾔特性 1.6 Java开发环境安装 1. …...

Speechless:你的微博时光机,一键备份珍贵回忆
Speechless:你的微博时光机,一键备份珍贵回忆 【免费下载链接】Speechless 把新浪微博的内容,导出成 PDF 文件进行备份的 Chrome Extension。 项目地址: https://gitcode.com/gh_mirrors/sp/Speechless 在数字时代,我们的社…...
)
从Arduino到STM32:GRBL固件选型、下载与刷写全攻略(2024版)
从Arduino到STM32:2024年GRBL固件选型与刷写实战指南 在DIY激光雕刻机和CNC设备的构建过程中,控制器的选择与GRBL固件的配置往往是决定项目成败的关键环节。面对市场上琳琅满目的硬件平台——从经典的Arduino Uno到性能更强的STM32系列开发板࿰…...

代码转图片怎么实现:代码高亮卡片生成方法
最近在做文章后台时,我遇到一个很实际的问题:编辑器里的代码块虽然能正常显示,但要拿去做分享图、封面图或者文档配图时就不太合适了。 一开始我试过手动截图,但这种方式效率低,而且样式不统一。代码只要改一行&#x…...

本地待办清单的革命:为什么My-TODOs让数据隐私与高效任务管理完美融合?
本地待办清单的革命:为什么My-TODOs让数据隐私与高效任务管理完美融合? 【免费下载链接】My-TODOs A cross-platform desktop To-Do list. 跨平台桌面待办小工具 项目地址: https://gitcode.com/gh_mirrors/my/My-TODOs 在云端存储成为主流的今天…...
RT-DTER最新创新改进系列:(购买资料的粉丝反馈涨点的TOP1模块)我们将BiFPN的加权双向融合之力,注入RT-DETR的端到端Transformer架构,创新与涨点的双丰收!!!!!!
RT-DTER最新创新改进系列:(购买资料的粉丝反馈涨点的TOP1模块)我们将BiFPN的加权双向融合之力,注入RT-DETR的端到端Transformer架构,创新与涨点的双丰收!! 购买相关资料后畅享一对一答疑&#…...

5分钟上手Efficient-KAN:高效Kolmogorov-Arnold网络实战指南
5分钟上手Efficient-KAN:高效Kolmogorov-Arnold网络实战指南 【免费下载链接】efficient-kan An efficient pure-PyTorch implementation of Kolmogorov-Arnold Network (KAN). 项目地址: https://gitcode.com/GitHub_Trending/ef/efficient-kan 还在为传统神…...

Go语言Envoy实战:高性能代理与负载均衡
Go语言Envoy实战:高性能代理与负载均衡 1. Envoy概述 Envoy是Lyft开源的高性能代理,常作为服务网格的数据平面,提供负载均衡、熔断、重试等功能。 2. Go控制平面实现 package envoyimport ("api/envoy/api/v2/core""api/envoy…...