Nginx从入门到实战(八):版本平滑无感知,不停机升级

一、查看旧版本信息
可以通过nginx -V命令,来查看当前nginx的版本信息,和配置参数。
[root@nb001 sbin]# nginx -V
-bash: nginx: command not found
[root@nb001 sbin]# ./nginx -V
nginx version: nginx/1.20.1
built by gcc 4.8.5 20150623 (Red Hat 4.8.5-44) (GCC)
built with OpenSSL 1.0.2k-fips  26 Jan 2017
TLS SNI support enabled
configure arguments: --with-http_stub_status_module --with-http_ssl_module
旧版本的sbin目录情况:
[root@nb001 sbin]# ls -lrth
total 14M
-rwxr-xr-x 1 root root 3.8M Nov  1  2021 nginx.old.1
-rwxr-xr-x 1 root root 3.8M Nov  1  2021 nginx.2021年11月3日17:35:42
-rwxr-xr-x 1 root root 5.8M Nov  3  2021 nginx
二、升级
2.1 下载解压最新安装包
点击下载nginx,这里一般是要下载稳定版。如图:

2.2 上传解压
[root@nb001 softs]# tar -zxvf nginx-1.26.2.tar.gz
nginx-1.26.2/
nginx-1.26.2/man/
。。。
[root@nb001 nginx-1.26.2]# ls
auto  CHANGES  CHANGES.ru  conf  configure  contrib  html  LICENSE  man  README  src
2.3 执行编译
首先执行./configure --prefix=/usr/local/nginx --with-http_stub_status_module --with-http_ssl_module
这个命令的参数和之前版本的保持一致即可
[root@nb001 nginx-1.26.2]# ./configure --prefix=/usr/local/nginx --with-http_stub_status_module --with-http_ssl_module
checking for OS+ Linux 3.10.0-1127.19.1.el7.x86_64 x86_64
checking for C compiler ... found+ using GNU C compiler+ gcc version: 4.8.5 20150623 (Red Hat 4.8.5-44) (GCC)
checking for gcc -pipe switch ... found
。。。省略。。。
checking for zlib library ... found
creating objs/MakefileConfiguration summary+ using system PCRE library+ using system OpenSSL library+ using system zlib librarynginx path prefix: "/usr/local/nginx"nginx binary file: "/usr/local/nginx/sbin/nginx"nginx modules path: "/usr/local/nginx/modules"nginx configuration prefix: "/usr/local/nginx/conf"nginx configuration file: "/usr/local/nginx/conf/nginx.conf"nginx pid file: "/usr/local/nginx/logs/nginx.pid"nginx error log file: "/usr/local/nginx/logs/error.log"nginx http access log file: "/usr/local/nginx/logs/access.log"nginx http client request body temporary files: "client_body_temp"nginx http proxy temporary files: "proxy_temp"nginx http fastcgi temporary files: "fastcgi_temp"nginx http uwsgi temporary files: "uwsgi_temp"nginx http scgi temporary files: "scgi_temp"[root@nb001 nginx-1.26.2]#
执行成功后,接着执行make命令:
[root@nb001 nginx-1.26.2]# make
make -f objs/Makefile
make[1]: Entering directory `/data/softs/nginx-1.26.2'
。。。省略。。。
objs/src/http/modules/ngx_http_stub_status_module.o \
objs/ngx_modules.o \
-ldl -lpthread -lcrypt -lpcre -lssl -lcrypto -ldl -lpthread -lz \
-Wl,-E
sed -e "s|%%PREFIX%%|/usr/local/nginx|" \-e "s|%%PID_PATH%%|/usr/local/nginx/logs/nginx.pid|" \-e "s|%%CONF_PATH%%|/usr/local/nginx/conf/nginx.conf|" \-e "s|%%ERROR_LOG_PATH%%|/usr/local/nginx/logs/error.log|" \< man/nginx.8 > objs/nginx.8
make[1]: Leaving directory `/data/softs/nginx-1.26.2'
执行完make命令之后,可以发现在objs目录下生成了nginx文件
[root@nb001 nginx-1.26.2]# cd objs/
[root@nb001 objs]# ls
autoconf.err  Makefile  nginx  nginx.8  ngx_auto_config.h  ngx_auto_headers.h  ngx_modules.c  ngx_modules.o  src
最后,执行make install,这里install命令都是会看是否存在的,不存在执行安装,存在就不执行对应的复制步骤了。一般可以放心执行。当然如不放心,可以手动复制处理。在此建议备份后(如conf文件,sbin文件,甚至html文件)再执行。
[root@nb001 nginx-1.26.2]# make install
make -f objs/Makefile install
make[1]: Entering directory `/data/softs/nginx-1.26.2'
test -d '/usr/local/nginx' || mkdir -p '/usr/local/nginx'
test -d '/usr/local/nginx/sbin' \|| mkdir -p '/usr/local/nginx/sbin'
test ! -f '/usr/local/nginx/sbin/nginx' \|| mv '/usr/local/nginx/sbin/nginx' \'/usr/local/nginx/sbin/nginx.old'
cp objs/nginx '/usr/local/nginx/sbin/nginx'
test -d '/usr/local/nginx/conf' \|| mkdir -p '/usr/local/nginx/conf'
cp conf/koi-win '/usr/local/nginx/conf'
cp conf/koi-utf '/usr/local/nginx/conf'
cp conf/win-utf '/usr/local/nginx/conf'
test -f '/usr/local/nginx/conf/mime.types' \|| cp conf/mime.types '/usr/local/nginx/conf'
cp conf/mime.types '/usr/local/nginx/conf/mime.types.default'
test -f '/usr/local/nginx/conf/fastcgi_params' \|| cp conf/fastcgi_params '/usr/local/nginx/conf'
cp conf/fastcgi_params \'/usr/local/nginx/conf/fastcgi_params.default'
test -f '/usr/local/nginx/conf/fastcgi.conf' \|| cp conf/fastcgi.conf '/usr/local/nginx/conf'
cp conf/fastcgi.conf '/usr/local/nginx/conf/fastcgi.conf.default'
test -f '/usr/local/nginx/conf/uwsgi_params' \|| cp conf/uwsgi_params '/usr/local/nginx/conf'
cp conf/uwsgi_params \'/usr/local/nginx/conf/uwsgi_params.default'
test -f '/usr/local/nginx/conf/scgi_params' \|| cp conf/scgi_params '/usr/local/nginx/conf'
cp conf/scgi_params \'/usr/local/nginx/conf/scgi_params.default'
test -f '/usr/local/nginx/conf/nginx.conf' \|| cp conf/nginx.conf '/usr/local/nginx/conf/nginx.conf'
cp conf/nginx.conf '/usr/local/nginx/conf/nginx.conf.default'
test -d '/usr/local/nginx/logs' \|| mkdir -p '/usr/local/nginx/logs'
test -d '/usr/local/nginx/logs' \|| mkdir -p '/usr/local/nginx/logs'
test -d '/usr/local/nginx/html' \|| cp -R html '/usr/local/nginx'
test -d '/usr/local/nginx/logs' \|| mkdir -p '/usr/local/nginx/logs'
make[1]: Leaving directory `/data/softs/nginx-1.26.2'
[root@nb001 nginx-1.26.2]#
去看sbin目录,和旧版本的sbin目录对比发现:上一个nginx被命名为nginx.old, 并将最新的nginx复制到了sbin下。
且经过查看conf/nginx.conf没有被覆盖。
[root@nb001 sbin]# ls -lrth
total 25M
-rwxr-xr-x 1 root root 3.8M Nov  1  2021 nginx.old.1
-rwxr-xr-x 1 root root 3.8M Nov  1  2021 nginx.2021年11月3日17:35:42
-rwxr-xr-x 1 root root 5.8M Nov  3  2021 nginx.old
-rwxr-xr-x 1 root root 5.8M Oct  9 09:39 nginx
[root@nb001 sbin]#
三、校验和最后一步
3.1 查看当前运行的nginx
访问发现,目前还是旧版本。这里访问你的ip随便一个路径就行

3.2 最后一步升级操作
需要在新版本目录下执行 make upgrade操作,完成进程更新。
[root@nb001 nginx-1.26.2]# make upgrade
/usr/local/nginx/sbin/nginx -t
nginx: [warn] protocol options redefined for 0.0.0.0:443 in /usr/local/nginx/conf/vhost_cvec/ss-prod.conf:2
nginx: [warn] protocol options redefined for 0.0.0.0:443 in /usr/local/nginx/conf/vhost_cvec/us.conf:10
nginx: the configuration file /usr/local/nginx/conf/nginx.conf syntax is ok
nginx: configuration file /usr/local/nginx/conf/nginx.conf test is successful
kill -USR2 `cat /usr/local/nginx/logs/nginx.pid`
sleep 1
test -f /usr/local/nginx/logs/nginx.pid.oldbin
kill -QUIT `cat /usr/local/nginx/logs/nginx.pid.oldbin`
[root@nb001 nginx-1.26.2]#
3.3 再次查看当前运行的nginx
访问发现,已经是新版本啦。

至此,实现了nginx版本的平滑无感知,不停机升级 , 有需要的小伙伴快去试试吧。
END
相关文章:

Nginx从入门到实战(八):版本平滑无感知,不停机升级
一、查看旧版本信息 可以通过nginx -V命令,来查看当前nginx的版本信息,和配置参数。 [rootnb001 sbin]# nginx -V -bash: nginx: command not found [rootnb001 sbin]# ./nginx -V nginx version: nginx/1.20.1 built by gcc 4.8.5 20150623 (Red Hat …...

jQuery 用户登录页面非空校验与登录测试
文章目录 实战介绍准备工作创建网页导入样式表和jQuery库编写页面代码编写脚本代码创建成功页面浏览网页和测试结束语 实战介绍 大家好,今天我们将一起学习如何使用jQuery来为用户登录页面进行非空校验和登录测试。通过这个实战项目,你将学会如何通过jQ…...

《Linux从小白到高手》综合应用篇:深入理解Linux进程调优
本篇深入介绍Linux进程调优. 1. Linux系统进程类型: Linux的进程可能有成千上万个: 新建状态:进程刚刚被创建,但尚未运行。 就绪状态:进程已经准备好运行,等待CPU分配。 运行状态࿱…...

Linux安装elasticsearch单机版
下载地址: Download Elasticsearch | Elastic 下载的安装包是elasticsearch-7.12.0-linux-x86_64.tar.gz 解压缩文件 tar -zxvf elasticsearch-7.12.0-linux-x86_64.tar.gz #编辑文件 vim config/elasticsearch.yml# 加入如下配置 # 集群名称,一个…...

el-table表头加红色星标
代码: <el-table-column prop"name" label"姓名" width"auto"><template #header><span style"color: red; margin-right: 4px">*</span><span>姓名</span></template></el…...

2.1 HTML5 - Canvas标签
文章目录 引言Canvas标签概述定义实例:创建画布 理解Canvas坐标系概述实例:获取Canvas坐标 获取Canvas环境上下文概述实例:获取Canvas环境上下文设置渐变色效果 结语 引言 大家好,今天我们要一起探索HTML5中一个非常有趣且强大的…...

T-Box联网安全定义
T-Box,即Telematics BOX,也称远程信息处理控制单元(Telematics Control Unit,TCU),是车联网中的重要组成部分。它集成了GPS、外部通信接口、电子处理单元、微控制器、移动通信单元和存储器等功能模块&#…...

7. 整数反转【数学】
文章目录 7. 整数反转解题思路Go代码 7. 整数反转 7. 整数反转 给你一个 32 位的有符号整数 x ,返回将 x 中的数字部分反转后的结果。 如果反转后整数超过 32 位的有符号整数的范围 [ − 2 31 , 2 31 − 1 ] [−2^{31}, 2^{31} − 1] [−231,231−1] ࿰…...
Windows环境NodeJS下载配置安装运行
Windows环境NodeJS下载配置安装运行 (1)下载 Node.js — Run JavaScript Everywhere 安装文件。 一路傻瓜式安装。 如果安装正常,输入命令可显示版本号: (2)可以查询nodejs默认的后续依赖安装包位置及缓存…...

石化巡检必备神器,AORO A30防爆手机让“跑冒滴漏”无处藏身!
在石油化工企业生产现场,设备种类繁多,巡检项目错综复杂,任何微小的疏忽都可能引发严重的安全事故。遨游通讯推出了AORO A30防爆手机,精准定位细微故障,在源头上有效控制或消除“跑冒滴漏”等安全隐患。 AORO A30防爆手…...

Smartfusion2开发环境的搭建
Libero软件安装包括libero安装、bibero补丁安装、bibero的license添加和官方ip库的添加等4部分内容组成。具体内容如下所示: 1 Libero软件安装 1、解压LiberoSoC_v11.8的安装包到当前目录,然后运行Libero中的可执行软件进行安装; 图1 双击l…...

使用C++编写一个语音播报时钟(Qt)
要求:当系统时间达到输入的时间时,语音播报对话框中的内容。定时可以取消。qt界面如上图所示。组件如下: countdownEdit作为书写目标时间的line_edit start_btn作为开始和停止的按钮 stop_btn作为取消的按钮 systimelab显示系统时间的lab tex…...

架构师之路-学渣到学霸历程-11
权限管理 我们可以通过一下命令来了解Linux的用户权限; Linux的用户权限真的涉及得非常好,让我们了解一下用户权限的知识吧; let’s go go go~! chmod命令: 作用:变更文件或者目录的权限语法:…...

Java Mail腾讯企业邮箱或其他邮箱发送邮件失败bug记录
问题出现情况 邮件发送时debug用F8逐步运行可以成功发送邮件,但是用F9或者直接运行程序却发送失败未开启mail的debug模式的报错日志是下面这个:org.springframework.mail.MailAuthenticationException: Authentication failed; nested exception is java…...

【大数据】HBase集群断电文件坏块导致集群无法启动处理
hfile文件有坏块 Corrupt文件目录:/hbase/data/… HBase异常:region无法在正常上线,http://master:16010页面看region 一直处于transition状态 wal文件损坏 Corrupt文件目录:/hbase/oldWALs/…或/hbase/WALs/… HBase异常&…...
:Sparrow的学习方法)
400行程序写一个实时操作系统(三):Sparrow的学习方法
千里之行始于足下,为了让大家的学习更加事半功倍,笔者将会介绍RTOS的学习方法。 可能很多人拿到一份源码,就想通过各种方式搞懂它,例如抄代码或者读代码。 笔者认为,单纯抄一个实时操作系统是没有任何用处的。比如对…...

为什么人工智能用 Python?
人工智能领域倾向于使用Python,主要归因于Python的多个显著优势: 简洁性与可读性:Python的语法设计简洁明了,代码易于阅读和理解,这对于涉及复杂算法和逻辑的人工智能项目尤为重要。它降低了编程门槛,使得…...

【C++差分数组】P1672何时运输的饲料
本文涉及知识点 C差分数组 C算法:前缀和、前缀乘积、前缀异或的原理、源码及测试用例 包括课程视频 P1672何时运输的饲料 原文比较啰嗦,我简述一下: 第x天运来F1(1<F1<1e6)千克的饲料,第D(1<2e3)天还剩F2&…...

Go基础知识:切片
数组 Go 数组的大小是固定的,其长度是其类型的一部分([4]int并且[5]int是不同的、不兼容的类型) var a [10]intb : [2]string{"Penn", "Teller"} b : [...]string{"Penn", "Teller"}package maini…...

Redis配置篇 - 指定Redis配置的三种方式,以及Redis配置文件介绍
文章目录 1 指定Redis配置的三种方式1.1 通过命令行参数来指定Redis配置1.2 通过配置文件来指定Redis配置1.3 在服务器运行时更改 Redis 配置 2 关于Redis配置文件 1 指定Redis配置的三种方式 1.1 通过命令行参数来指定Redis配置 在redis启动时,可以直接通过命…...

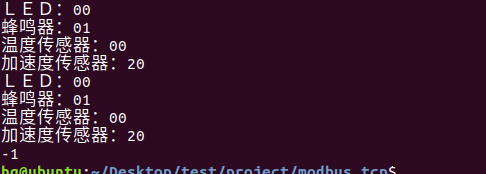
网络编程(Modbus进阶)
思维导图 Modbus RTU(先学一点理论) 概念 Modbus RTU 是工业自动化领域 最广泛应用的串行通信协议,由 Modicon 公司(现施耐德电气)于 1979 年推出。它以 高效率、强健性、易实现的特点成为工业控制系统的通信标准。 包…...
)
论文解读:交大港大上海AI Lab开源论文 | 宇树机器人多姿态起立控制强化学习框架(二)
HoST框架核心实现方法详解 - 论文深度解读(第二部分) 《Learning Humanoid Standing-up Control across Diverse Postures》 系列文章: 论文深度解读 + 算法与代码分析(二) 作者机构: 上海AI Lab, 上海交通大学, 香港大学, 浙江大学, 香港中文大学 论文主题: 人形机器人…...

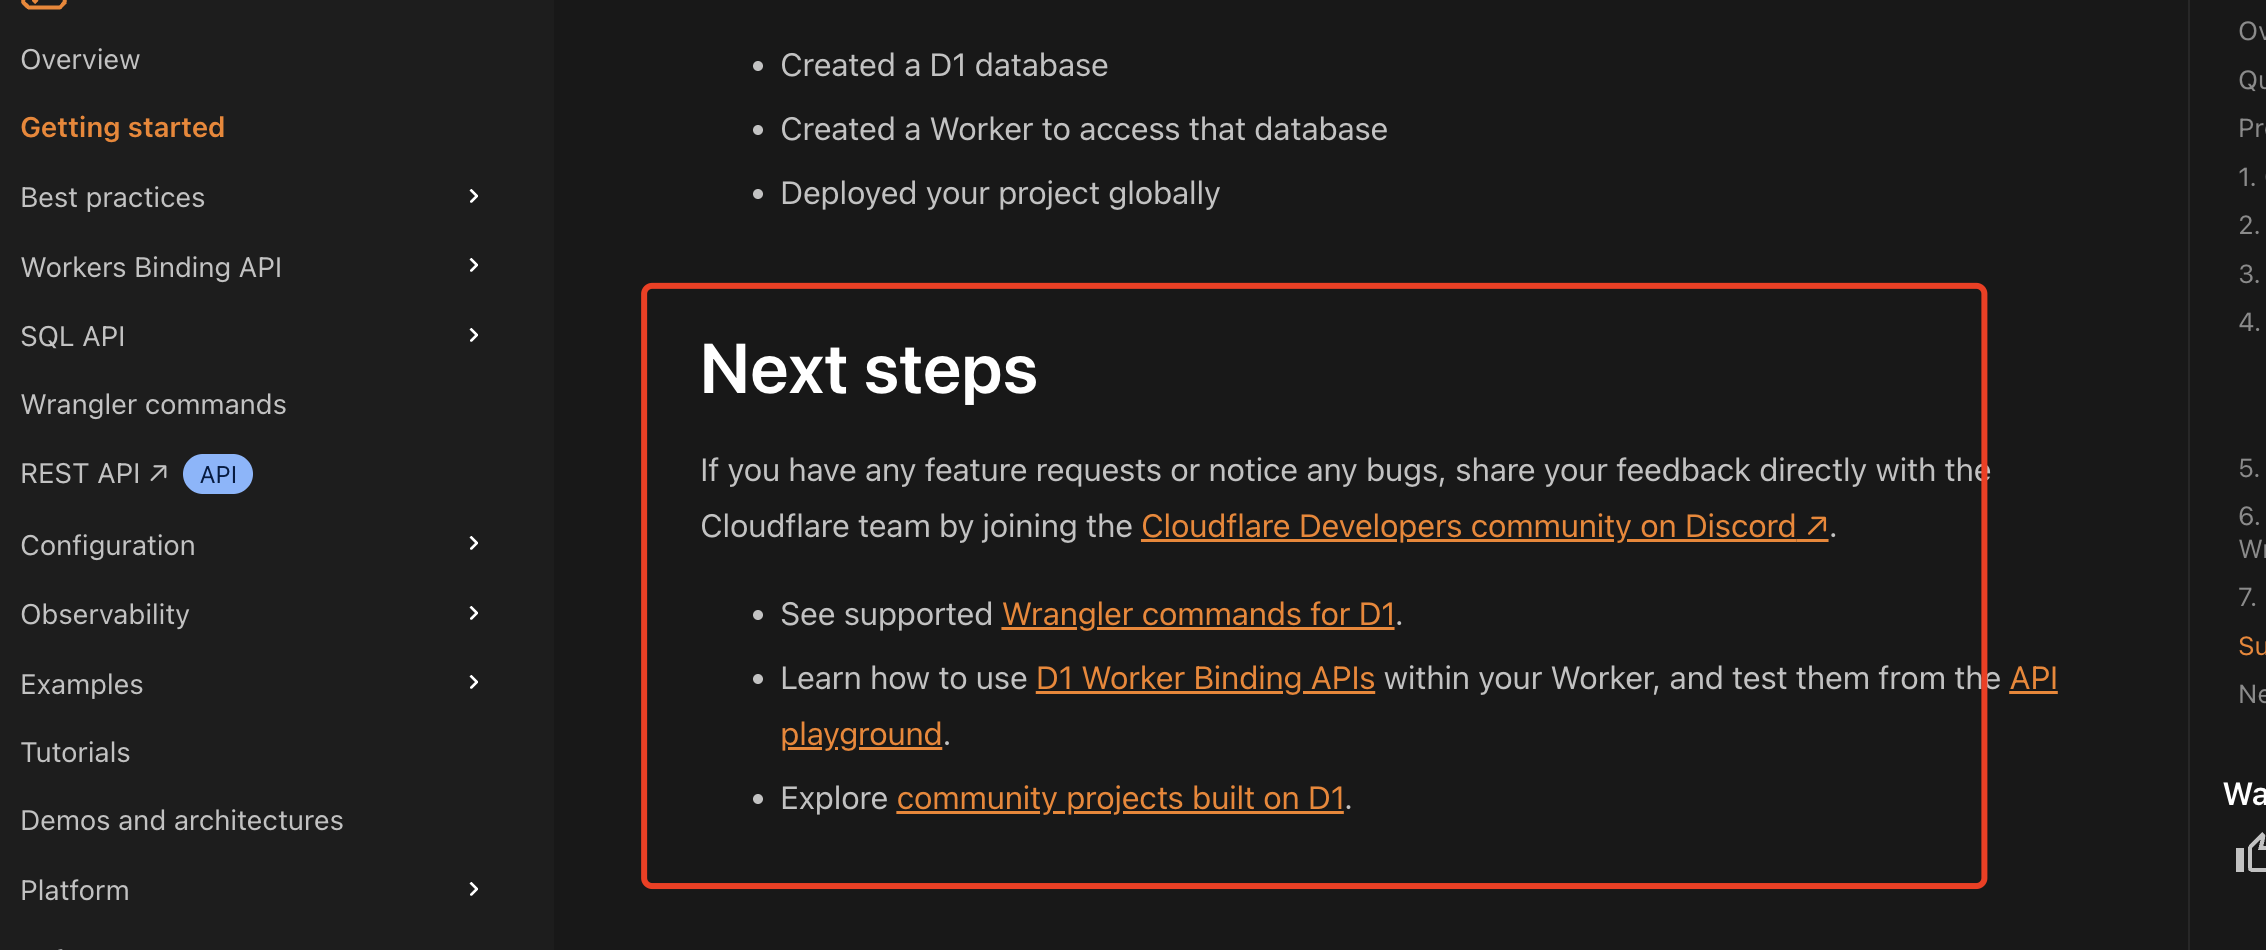
通过Wrangler CLI在worker中创建数据库和表
官方使用文档:Getting started Cloudflare D1 docs 创建数据库 在命令行中执行完成之后,会在本地和远程创建数据库: npx wranglerlatest d1 create prod-d1-tutorial 在cf中就可以看到数据库: 现在,您的Cloudfla…...

mongodb源码分析session执行handleRequest命令find过程
mongo/transport/service_state_machine.cpp已经分析startSession创建ASIOSession过程,并且验证connection是否超过限制ASIOSession和connection是循环接受客户端命令,把数据流转换成Message,状态转变流程是:State::Created 》 St…...

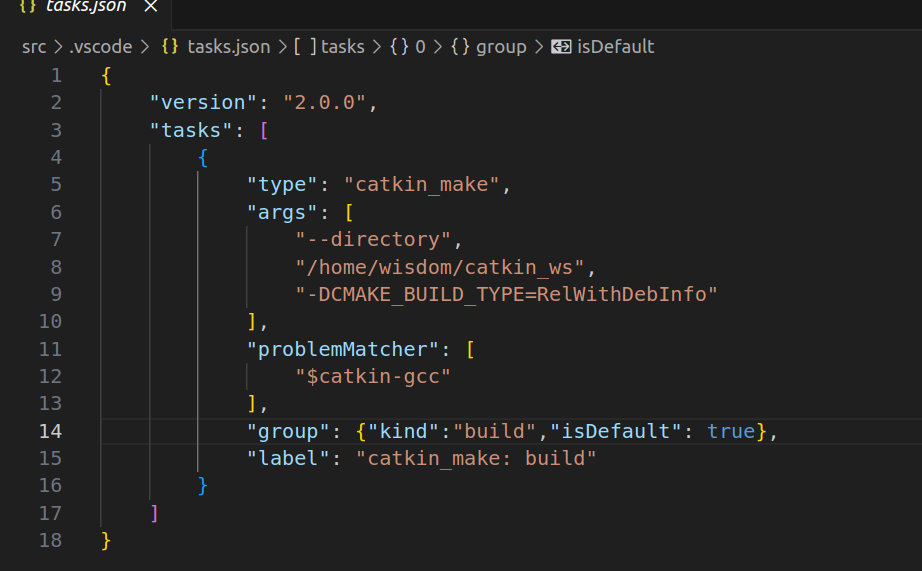
1.3 VSCode安装与环境配置
进入网址Visual Studio Code - Code Editing. Redefined下载.deb文件,然后打开终端,进入下载文件夹,键入命令 sudo dpkg -i code_1.100.3-1748872405_amd64.deb 在终端键入命令code即启动vscode 需要安装插件列表 1.Chinese简化 2.ros …...

oracle与MySQL数据库之间数据同步的技术要点
Oracle与MySQL数据库之间的数据同步是一个涉及多个技术要点的复杂任务。由于Oracle和MySQL的架构差异,它们的数据同步要求既要保持数据的准确性和一致性,又要处理好性能问题。以下是一些主要的技术要点: 数据结构差异 数据类型差异ÿ…...

从零实现STL哈希容器:unordered_map/unordered_set封装详解
本篇文章是对C学习的STL哈希容器自主实现部分的学习分享 希望也能为你带来些帮助~ 那咱们废话不多说,直接开始吧! 一、源码结构分析 1. SGISTL30实现剖析 // hash_set核心结构 template <class Value, class HashFcn, ...> class hash_set {ty…...

Android15默认授权浮窗权限
我们经常有那种需求,客户需要定制的apk集成在ROM中,并且默认授予其【显示在其他应用的上层】权限,也就是我们常说的浮窗权限,那么我们就可以通过以下方法在wms、ams等系统服务的systemReady()方法中调用即可实现预置应用默认授权浮…...

MySQL用户和授权
开放MySQL白名单 可以通过iptables-save命令确认对应客户端ip是否可以访问MySQL服务: test: # iptables-save | grep 3306 -A mp_srv_whitelist -s 172.16.14.102/32 -p tcp -m tcp --dport 3306 -j ACCEPT -A mp_srv_whitelist -s 172.16.4.16/32 -p tcp -m tcp -…...

关键领域软件测试的突围之路:如何破解安全与效率的平衡难题
在数字化浪潮席卷全球的今天,软件系统已成为国家关键领域的核心战斗力。不同于普通商业软件,这些承载着国家安全使命的软件系统面临着前所未有的质量挑战——如何在确保绝对安全的前提下,实现高效测试与快速迭代?这一命题正考验着…...
