模型拆解(二):GeleNet
文章目录
- 一、GeleNet
- 1.1编码器:PVT-v2-b2
- 1.3D-SWSAM:方向-置换加权空间注意力模块
- 1.4KTM:知识转移模块
- 1.5解码器模块
一、GeleNet
论文:Salient Object Detection in Optical Remote Sensing Images Driven by Transformer(基于Transformer的光学遥感图像中的显著目标检测)
论文链接:Salient Object Detection in Optical Remote Sensing Images Driven by Transformer
论文代码:Github
博客链接:Salient Object Detection in Optical Remote Sensing Images Driven by Transformer

1.1编码器:PVT-v2-b2

使用由四个 T r a n s f o r m e r Transformer Transformer编码器构成的PVT作为骨干,输入图像大小为 3 × 352 × 352 3×352×352 3×352×352,可生成四个基本全局特征 f ^ t i \hat{f}^{i}_t f^ti, f ^ t i ∈ R c i × h i × w i \hat{f}^{i}_t∈R^{c_i×h_i×w_i} f^ti∈Rci×hi×wi,其中, c i ∈ { 64 , 128 , 320 , 512 } , h i / w i = 352 2 i + 1 c_i∈\{64,128,320,512\},h_i/w_i=\frac{352}{2^{i+1}} ci∈{64,128,320,512},hi/wi=2i+1352,用于提取具有全局长距离依赖性的四级基本特征嵌入。网络架构:


class GeleNet(nn.Module)中的相关代码:
class GeleNet(nn.Module):def __init__(self, channel=32):super(GeleNet, self).__init__()#定义编码器结构,并加载预训练的PVTv2模型self.backbone = pvt_v2_b2() # [64, 128, 320, 512]path = './model/pvt_v2_b2.pth'save_model = torch.load(path)model_dict = self.backbone.state_dict()state_dict = {k: v for k, v in save_model.items() if k in model_dict.keys()}model_dict.update(state_dict)self.backbone.load_state_dict(model_dict)...def forward(self, x):#获取编码器输出的四张特征图pvt = self.backbone(x)x1 = pvt[0] # 64x88x88x2 = pvt[1] # 128x44x44x3 = pvt[2] # 320x22x22x4 = pvt[3] # 512x11x11
class pvt_v2_b2()中通过在初始化函数__init__()中调用调用PVT-v2架构。
@register_model
class pvt_v2_b2(PyramidVisionTransformerImpr):def __init__(self, **kwargs):super(pvt_v2_b2, self).__init__(patch_size=4, embed_dims=[64, 128, 320, 512], num_heads=[1, 2, 5, 8], mlp_ratios=[8, 8, 4, 4],qkv_bias=True, norm_layer=partial(nn.LayerNorm, eps=1e-6), depths=[3, 4, 6, 3], sr_ratios=[8, 4, 2, 1],drop_rate=0.0, drop_path_rate=0.1)
class PyramidVisionTransformerImpr(nn.Module)中实现了对应结构。
class PyramidVisionTransformerImpr(nn.Module):def __init__(self, img_size=224, patch_size=16, in_chans=3, num_classes=1000, embed_dims=[64, 128, 256, 512],num_heads=[1, 2, 4, 8], mlp_ratios=[4, 4, 4, 4], qkv_bias=False, qk_scale=None, drop_rate=0.,attn_drop_rate=0., drop_path_rate=0., norm_layer=nn.LayerNorm,depths=[3, 4, 6, 3], sr_ratios=[8, 4, 2, 1]):super().__init__()self.num_classes = num_classesself.depths = depths#四个重叠嵌入层self.patch_embed1 = OverlapPatchEmbed(img_size=img_size, patch_size=7, stride=4, in_chans=in_chans,embed_dim=embed_dims[0])self.patch_embed2 = OverlapPatchEmbed(img_size=img_size // 4, patch_size=3, stride=2, in_chans=embed_dims[0],embed_dim=embed_dims[1])self.patch_embed3 = OverlapPatchEmbed(img_size=img_size // 8, patch_size=3, stride=2, in_chans=embed_dims[1],embed_dim=embed_dims[2])self.patch_embed4 = OverlapPatchEmbed(img_size=img_size // 16, patch_size=3, stride=2, in_chans=embed_dims[2],embed_dim=embed_dims[3])#定义随机深度衰减规则dpr = [x.item() for x in torch.linspace(0, drop_path_rate, sum(depths))] # stochastic depth decay rule#定义第一个Transformer Encodercur = 0self.block1 = nn.ModuleList([Block(dim=embed_dims[0], num_heads=num_heads[0], mlp_ratio=mlp_ratios[0], qkv_bias=qkv_bias, qk_scale=qk_scale,drop=drop_rate, attn_drop=attn_drop_rate, drop_path=dpr[cur + i], norm_layer=norm_layer,sr_ratio=sr_ratios[0])for i in range(depths[0])])self.norm1 = norm_layer(embed_dims[0])#定义第二个Transformer Encodercur += depths[0]self.block2 = nn.ModuleList([Block(dim=embed_dims[1], num_heads=num_heads[1], mlp_ratio=mlp_ratios[1], qkv_bias=qkv_bias, qk_scale=qk_scale,drop=drop_rate, attn_drop=attn_drop_rate, drop_path=dpr[cur + i], norm_layer=norm_layer,sr_ratio=sr_ratios[1])for i in range(depths[1])])self.norm2 = norm_layer(embed_dims[1])#定义第三个Transformer Encodercur += depths[1]self.block3 = nn.ModuleList([Block(dim=embed_dims[2], num_heads=num_heads[2], mlp_ratio=mlp_ratios[2], qkv_bias=qkv_bias, qk_scale=qk_scale,drop=drop_rate, attn_drop=attn_drop_rate, drop_path=dpr[cur + i], norm_layer=norm_layer,sr_ratio=sr_ratios[2])for i in range(depths[2])])self.norm3 = norm_layer(embed_dims[2])#定义第四个Transformer Encodercur += depths[2]self.block4 = nn.ModuleList([Block(dim=embed_dims[3], num_heads=num_heads[3], mlp_ratio=mlp_ratios[3], qkv_bias=qkv_bias, qk_scale=qk_scale,drop=drop_rate, attn_drop=attn_drop_rate, drop_path=dpr[cur + i], norm_layer=norm_layer,sr_ratio=sr_ratios[3])for i in range(depths[3])])self.norm4 = norm_layer(embed_dims[3])# classification head# self.head = nn.Linear(embed_dims[3], num_classes) if num_classes > 0 else nn.Identity()#初始化参数self.apply(self._init_weights)#初始化线性层、归一化层、卷积层参数def _init_weights(self, m):if isinstance(m, nn.Linear):trunc_normal_(m.weight, std=.02)if isinstance(m, nn.Linear) and m.bias is not None:nn.init.constant_(m.bias, 0)elif isinstance(m, nn.LayerNorm):nn.init.constant_(m.bias, 0)nn.init.constant_(m.weight, 1.0)elif isinstance(m, nn.Conv2d):fan_out = m.kernel_size[0] * m.kernel_size[1] * m.out_channelsfan_out //= m.groupsm.weight.data.normal_(0, math.sqrt(2.0 / fan_out))if m.bias is not None:m.bias.data.zero_()def init_weights(self, pretrained=None):if isinstance(pretrained, str):logger = 1#load_checkpoint(self, pretrained, map_location='cpu', strict=False, logger=logger)#重置每个块的丢弃路径概率def reset_drop_path(self, drop_path_rate):dpr = [x.item() for x in torch.linspace(0, drop_path_rate, sum(self.depths))]cur = 0for i in range(self.depths[0]):self.block1[i].drop_path.drop_prob = dpr[cur + i]cur += self.depths[0]for i in range(self.depths[1]):self.block2[i].drop_path.drop_prob = dpr[cur + i]cur += self.depths[1]for i in range(self.depths[2]):self.block3[i].drop_path.drop_prob = dpr[cur + i]cur += self.depths[2]for i in range(self.depths[3]):self.block4[i].drop_path.drop_prob = dpr[cur + i]#冻结第一个补丁嵌入层的参数def freeze_patch_emb(self):self.patch_embed1.requires_grad = False#定义不需要权重衰减的参数集合(所有位置嵌入+class token)@torch.jit.ignoredef no_weight_decay(self):return {'pos_embed1', 'pos_embed2', 'pos_embed3', 'pos_embed4', 'cls_token'} # has pos_embed may be better#返回分类器头def get_classifier(self):return self.head#重置分类头以适应新的类别数def reset_classifier(self, num_classes, global_pool=''):self.num_classes = num_classesself.head = nn.Linear(self.embed_dim, num_classes) if num_classes > 0 else nn.Identity()# def _get_pos_embed(self, pos_embed, patch_embed, H, W):# if H * W == self.patch_embed1.num_patches:# return pos_embed# else:# return F.interpolate(# pos_embed.reshape(1, patch_embed.H, patch_embed.W, -1).permute(0, 3, 1, 2),# size=(H, W), mode="bilinear").reshape(1, -1, H * W).permute(0, 2, 1)#定义前向传播特征提取的函数def forward_features(self, x):B = x.shape[0]outs = []# stage 1#使用第一个补丁嵌入层处理输入x,获取特征图x及对应的高H和宽Wx, H, W = self.patch_embed1(x)for i, blk in enumerate(self.block1):x = blk(x, H, W)#归一化x = self.norm1(x)#调整为(B,embed_dim,H,W)x = x.reshape(B, H, W, -1).permute(0, 3, 1, 2).contiguous()outs.append(x)# stage 2x, H, W = self.patch_embed2(x)for i, blk in enumerate(self.block2):x = blk(x, H, W)x = self.norm2(x)x = x.reshape(B, H, W, -1).permute(0, 3, 1, 2).contiguous()outs.append(x)# stage 3x, H, W = self.patch_embed3(x)for i, blk in enumerate(self.block3):x = blk(x, H, W)x = self.norm3(x)x = x.reshape(B, H, W, -1).permute(0, 3, 1, 2).contiguous()outs.append(x)# stage 4x, H, W = self.patch_embed4(x)for i, blk in enumerate(self.block4):x = blk(x, H, W)x = self.norm4(x)x = x.reshape(B, H, W, -1).permute(0, 3, 1, 2).contiguous()outs.append(x)#outs列表包含四个阶段的输出特征图return outsdef forward(self, x):x = self.forward_features(x)return x
1.3D-SWSAM:方向-置换加权空间注意力模块

光学遥感图像中的显著对象往往有一定的方向性,传统卷积并不能很好提取这一特征,对此提出方向-置换加权空间注意力模块( D − S W S A M D-SWSAM D−SWSAM)。首先对不同方向进行定向卷积,再通过通道置换将方向信息均匀融合到每个子特征中,再针对每个子特征生成对应的局部空间注意力图,然后采用加权融合操作生成最终的空间注意力图,以实现一致增强。
在class GeleNet(nn.Module)中通过两个模块实现:
class GeleNet(nn.Module):def __init__(self, channel=32):super(GeleNet, self).__init__()...#方向卷积self.dirConv = DirectionalConvUnit(channel)#置换加权空间注意力模块SWSAMself.DSWSAM_1 = SWSAM(channel)...
class DirectionalConvUnit(nn.Module)中实现了方向卷积。
class DirectionalConvUnit(nn.Module):def __init__(self, channel):super(DirectionalConvUnit, self).__init__()self.h_conv = nn.Conv2d(channel, channel // 4, (1, 5), padding=(0, 2))self.w_conv = nn.Conv2d(channel, channel // 4, (5, 1), padding=(2, 0))# leading diagonalself.dia19_conv = nn.Conv2d(channel, channel // 4, (5, 1), padding=(2, 0))# reverse diagonalself.dia37_conv = nn.Conv2d(channel, channel // 4, (1, 5), padding=(0, 2))def forward(self, x):#依次进行四个方向的卷积操作x1 = self.h_conv(x)x2 = self.w_conv(x)x3 = self.inv_h_transform(self.dia19_conv(self.h_transform(x)))x4 = self.inv_v_transform(self.dia37_conv(self.v_transform(x)))#将结果concat并返回x = torch.cat((x1, x2, x3, x4), 1)return x# Code from "CoANet- Connectivity Attention Network for Road Extraction From Satellite Imagery", and we modified the codedef h_transform(self, x):shape = x.size()x = torch.nn.functional.pad(x, (0, shape[-2]))x = x.reshape(shape[0], shape[1], -1)[..., :-shape[-2]]x = x.reshape(shape[0], shape[1], shape[2], shape[2]+shape[3]-1)return xdef inv_h_transform(self, x):shape = x.size()x = x.reshape(shape[0], shape[1], -1).contiguous()x = torch.nn.functional.pad(x, (0, shape[-2]))x = x.reshape(shape[0], shape[1], shape[2], shape[3]+1)x = x[..., 0: shape[3]-shape[2]+1]return xdef v_transform(self, x):x = x.permute(0, 1, 3, 2)shape = x.size()x = torch.nn.functional.pad(x, (0, shape[-2]))x = x.reshape(shape[0], shape[1], -1)[..., :-shape[-2]]x = x.reshape(shape[0], shape[1], shape[2], shape[2]+shape[3]-1)return x.permute(0, 1, 3, 2)def inv_v_transform(self, x):x = x.permute(0, 1, 3, 2)shape = x.size()x = x.reshape(shape[0], shape[1], -1).contiguous()x = torch.nn.functional.pad(x, (0, shape[-2]))x = x.reshape(shape[0], shape[1], shape[2], shape[3]+1)x = x[..., 0: shape[3]-shape[2]+1]return x.permute(0, 1, 3, 2)
class SWSAM(nn.Module)中实现了置换加权空间注意力模块。传统的空间注意力机制CBAM对所有通道进行全局最大池化和全局平均池化,以全局方式生成空间注意力图谱,这可能会产生不充分的空间注意力图。而分组注意力机制SGE将特征分割成若干子集,并根据每个子特征生成特定的空间注意力图,以进行单独增强。但其只考虑每个子特征的注意力,忽略了不同子特征之间注意力的一致性,导致分组增强的特征缺乏一致性,并不适合SOD任务。而 S W S A M SWSAM SWSAM模块对每个子特征生成局部空间注意力图,然后采用加权融合操作生成最终的空间注意力图,以实现一致增强。
# SWSAM: Shuffle Weighted Spatial Attention Module
class SWSAM(nn.Module):def __init__(self, channel=32): # group=8, branch=4, group x branch = channelsuper(SWSAM, self).__init__()self.SA1 = SpatialAttention()self.SA2 = SpatialAttention()self.SA3 = SpatialAttention()self.SA4 = SpatialAttention()self.weight = nn.Parameter(torch.ones(4, dtype=torch.float32), requires_grad=True)self.sa_fusion = nn.Sequential(BasicConv2d(1, 1, 3, padding=1),nn.Sigmoid())def forward(self, x):#通道置换x = channel_shuffle(x, 4)#特征分割x1, x2, x3, x4 = torch.split(x, 8, dim = 1)#依次生成空间注意力图s1 = self.SA1(x1)s2 = self.SA1(x2)s3 = self.SA1(x3)s4 = self.SA1(x4)#生成相应可训练的权重参数nor_weights = F.softmax(self.weight, dim=0)#融合空间注意力图s_all = s1 * nor_weights[0] + s2 * nor_weights[1] + s3 * nor_weights[2] + s4 * nor_weights[3]#用空间注意力图加强原始特征,并使用残差连接x_out = self.sa_fusion(s_all) * x + xreturn x_out
1.4KTM:知识转移模块

SOD任务中,两个特征的乘积可以揭示两个特征共存的重要信息,有利于协同识别对象。两个特征的求和可以全面地捕捉两个特征所包含的信息。KTM模块采用注意力机制模拟特征的乘积、求和操作来识别和阐述特征图中的突出对象。代码实现:
class KTM(nn.Module):def __init__(self, channel=32):super(KTM, self).__init__()self.query_conv = nn.Conv2d(channel, channel // 2, kernel_size=1)self.key_conv = nn.Conv2d(channel, channel // 2, kernel_size=1)self.value_conv_2 = nn.Conv2d(channel, channel, kernel_size=1)self.value_conv_3 = nn.Conv2d(channel, channel, kernel_size=1)self.gamma_2 = nn.Parameter(torch.zeros(1))self.gamma_3 = nn.Parameter(torch.zeros(1))self.softmax = Softmax(dim=-1)# following DANetself.conv_2 = nn.Sequential(BasicConv2d(channel, channel, 3, padding=1),nn.ReLU(),nn.Dropout2d(0.1, False),nn.Conv2d(channel, channel, 1))self.conv_3 = nn.Sequential(BasicConv2d(channel, channel, 3, padding=1),nn.ReLU(),nn.Dropout2d(0.1, False),nn.Conv2d(channel, channel, 1))self.conv_out = nn.Sequential(nn.Dropout2d(0.1, False),nn.Conv2d(channel, channel, 1))def forward(self, x2, x3): # V#f_sumx_sum = x2 + x3 # Q#f_prox_mul = x2 * x3 # K"""inputs :x : input feature maps( B X C X H X W)returns :out : attention value + input featureattention: B X (HxW) X (HxW)"""m_batchsize, C, height, width = x_sum.size()proj_query = self.query_conv(x_sum).view(m_batchsize, -1, width * height).permute(0, 2, 1)proj_key = self.key_conv(x_mul).view(m_batchsize, -1, width * height)energy = torch.bmm(proj_query, proj_key)attention = self.softmax(energy)proj_value_2 = self.value_conv_2(x2).view(m_batchsize, -1, width * height)proj_value_3 = self.value_conv_3(x3).view(m_batchsize, -1, width * height)out_2 = torch.bmm(proj_value_2, attention.permute(0, 2, 1))out_2 = out_2.view(m_batchsize, C, height, width)out_2 = self.conv_2(self.gamma_2 * out_2 + x2)out_3 = torch.bmm(proj_value_3, attention.permute(0, 2, 1))out_3 = out_3.view(m_batchsize, C, height, width)out_3 = self.conv_3(self.gamma_3 * out_3 + x3)x_out = self.conv_out(out_2 + out_3)return x_out
1.5解码器模块
受级联部分解码器的启发,设计了新型级联部分解码器作为显著性预测器生成预测图。
class PDecoder(nn.Module):def __init__(self, channel):super(PDecoder, self).__init__()self.relu = nn.ReLU(True)self.upsample = nn.Upsample(scale_factor=2, mode='bilinear', align_corners=True)self.conv_upsample1 = BasicConv2d(channel, channel, 3, padding=1)self.conv_upsample2 = BasicConv2d(channel, channel, 3, padding=1)self.conv_upsample3 = BasicConv2d(channel, channel, 3, padding=1)self.conv_upsample4 = BasicConv2d(channel, channel, 3, padding=1)self.conv_upsample5 = BasicConv2d(2*channel, 2*channel, 3, padding=1)self.conv_concat2 = BasicConv2d(2*channel, 2*channel, 3, padding=1)self.conv_concat3 = BasicConv2d(3*channel, 3*channel, 3, padding=1)self.conv4 = BasicConv2d(3*channel, 3*channel, 3, padding=1)self.conv5 = nn.Conv2d(3*channel, 1, 1)def forward(self, x1, x2, x3): # x1: 32x11x11, x2: 32x22x22, x3: 32x88x88,#接受来自D-SWSAM、KTM、SWSAM的输入x1_1 = x1 # 32x11x11x2_1 = self.conv_upsample1(self.upsample(x1)) * x2 # 32x22x22x3_1 = self.conv_upsample2(self.upsample(self.upsample(self.upsample(x1)))) * self.conv_upsample3(self.upsample(self.upsample(x2))) * x3 # 32x88x88x2_2 = torch.cat((x2_1, self.conv_upsample4(self.upsample(x1_1))), 1) # 32x22x22x2_2 = self.conv_concat2(x2_2)x3_2 = torch.cat((x3_1, self.conv_upsample5(self.upsample(self.upsample(x2_2)))), 1) # 32x88x88x3_2 = self.conv_concat3(x3_2)x = self.conv4(x3_2)x = self.conv5(x) # 1x88x88return x
相关文章:

模型拆解(二):GeleNet
文章目录 一、GeleNet1.1编码器:PVT-v2-b21.3D-SWSAM:方向-置换加权空间注意力模块1.4KTM:知识转移模块1.5解码器模块 一、GeleNet 论文:Salient Object Detection in Optical Remote Sensing Images Driven by Transformer&#…...

RTE 2024 隐藏攻略
大家好!想必今年 RTE 大会议程大家都了解得差不多了,这将是一场实时互动和多模态 AI builder 的年度大聚会。 大会开始前,我们邀请了参与大会策划的 RTE 开发者社区和超音速计划的成员们,分享了不同活动的亮点和隐藏攻略。 请收…...

django 部署服务器后 CSS 样式丢失的问题
原因: nginx除了提供反向代理,负载均衡以外,还提供了静(html, css, js)动(视图,模板需要进行解析执行的,或者操作数据库的)分离的功能。 原本django项目中的静态资源存…...

基于springboot的网上服装商城推荐系统的设计与实现
基于springboot的网上服装商城推荐系统的设计与实现 开发语言:Java 框架:springboot JDK版本:JDK1.8 服务器:tomcat7 数据库:mysql 5.7 数据库工具:Navicat11 开发软件:idea 源码获取…...

盘古信息IMS系统助力制造企业释放新质生产力
在全球制造业竞争日益激烈的背景下,提升新质生产力已成为制造企业普遍追求的核心目标。因此,众多制造企业开始对生产流程、管理模式乃至整个企业生态系统进行全面的优化与升级,以期在市场竞争中占据优势地位,迎来更广阔的发展空间…...

ArcGIS 10.8 安装教程
目录 一、ArcGIS10.8二、安装链接三、安装教程四、ArcGIS实战 (一)ArcGIS10.8 1. 概述 ArcGIS 10.8是由美国Esri公司开发的GIS平台,用于处理、分析、显示和管理地理数据,并实现数据共享。它具有新特性和功能,性能更…...

Redis学习笔记(二)--Redis的安装与配置
文章目录 一、Redis的安装1、克隆并配置主机2、安装前的准备工作1.安装gcc2.下载Redis3.上传到Linux 3、安装Redis1.解压Redis2.编译3.安装3.查看bin目录 4、Redis启动与停止1.前台启动2.命令式后台启动3.Redis的停止4.配置式后台启动 二、连接前的配置1、绑定客户端IP2、关闭保…...

软件工程之软件系统设计与软件开发方法
一.软件系统设计 1.体系结构设计就是架构设计,软件设计包含4个方面: 接口(人机界面设计)设计:软件与操作系统、软件与人之间如何交互; 架构(结构)设计:定义软件系统各…...

pip命令行安装pytest 一直报错
其实就是切换不同镜像安装 我最终成功的是阿里云镜像 pip install --trusted-host mirrors.aliyun.com pytest 也可以用其他的 pip install -i https://pypi.org/simple pytest # 或者使用其他的镜像源 pip install -i https://pypi.tuna.tsinghua.edu.cn/simple pytest...

如何在Debian操作系统上安装Doker
本章教程,主要介绍如何在Debian 11 系统上安装Docker。主要使用一键安装Docker脚本和一键卸载脚本来完成。 一、安装Docker #!/bin/bashRED\033[0;31m GREEN\033[0;32m YELLOW\033[0;33m BLUE\033[0;34m NC\033[0mCURRENT_DIR$(cd "$(dirname "$0")…...

代码随想录刷题学习日记
仅为个人记录复盘学习历程,解题思路来自代码随想录 代码随想录刷题笔记总结网址:代码随想录 二叉树的迭代遍历(不使用递归实现遍历) 递归的实现就是:每一次递归调用都会把函数的局部变量、参数值和返回地址等压入调用栈中,递归是通过栈实现…...

OpenText ALM Octane,为您的 DevOps 管道提供质量保证
实现更高水平的敏捷性、可追溯性和可预测性是一个持续的过程。ALM Octane 可帮助您改进开发和测试流程,从而改善整个软件交付价值流中的工作流程。 产品亮点 对基于软件的创新的需求已经加速,扰乱了几乎每个行业,也改变了我们的生活。快速交…...

【python实操】python小程序之参数化以及Assert(断言)
引言 python小程序之参数化以及Assert(断言) 文章目录 引言一、参数化2.1 题目2.2 代码2.3 代码解释 二、Assert(断言)2.1 概念2.1.1 Assert语句的基本语法:2.1.2 基本断言2.1.3 断言函数参数2.1.4 断言前后状态一致 2…...

探索CSS动画下的按钮交互美学
效果演示 这段代码通过SVG和CSS动画创建了一个具有视觉吸引力的按钮,当用户与按钮交互时(如悬停、聚焦或按下),按钮会显示不同的动画效果。 HTML <button class"button"><div class"dots_border"…...

241024-Ragflow离线部署Docker-Rootless环境配置修改
A. 最终效果 B. 文件修改 docker-compose.yml include:- path: ./docker-compose-base.ymlenv_file: ./.envservices:ragflow:depends_on:mysql:condition: service_healthyes01:condition: service_healthyimage: ${RAGFLOW_IMAGE}container_name: ragflow-serverports:- ${…...

网络基础概念:广播域、冲突域与VLAN解析
一、网络基础概念 在现代计算机网络中,广播域、冲突域和虚拟局域网(VLAN)是网络架构和管理的核心概念。了解这些概念对网络性能优化、流量管理和安全性提升至关重要。 二、广播域 1. 定义 广播域是一个网络逻辑区域,在这个区域…...

【MySQL】C语言连接MySQL数据库3——事务操作和错误处理API
目录 1.MySQL事务处理机制 1.1.autocommit 1.2.autocommit的设置与查看 1.3.使用示例 2.事务操作API 2.1.设置事务提交模式——mysql_autocommit() 2.2.提交事务——mysql_commit() 2.3.事务回滚——mysql_rollback() 3.错误处理的API 3.1.返回错误的描述——mysql_er…...

ARM嵌入式学习--第六天(电子电路基础知识)
电子电路基础知识 -基本元器件 -电阻 电阻(Resistance,通常用“R”表示),表示导体对电流的阻碍作用的大小;电阻导体本身的一种特性;超导体没有电阻,作用是用来降压 上拉电阻:将状态…...

JAVA----单例模式
1.单例模式概念: 单例模式是一种设计模式,他的核心是确保一个类只有一个实例,单例模式主要有两种方式:饿汉式与懒汉式 2.饿汉式 饿汉就是一个迫切的意思,类加载就会导致该单实例被创建 饿汉式第一种方式:…...

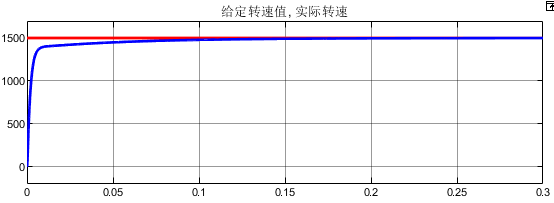
基于递推式最小二乘法的PMSM参数辨识MATLAB仿真模型
微❤关注“电气仔推送”获得资料(专享优惠) 模型简介 最小二乘法是一种回归估计法,适用于被辨识的参数与系统输出为线性关 系的情况。它是在一定数据量下,基于系统输出误差的平方和最小的准则对参 数进行辨识的方法。此模型通过…...
)
云计算——弹性云计算器(ECS)
弹性云服务器:ECS 概述 云计算重构了ICT系统,云计算平台厂商推出使得厂家能够主要关注应用管理而非平台管理的云平台,包含如下主要概念。 ECS(Elastic Cloud Server):即弹性云服务器,是云计算…...

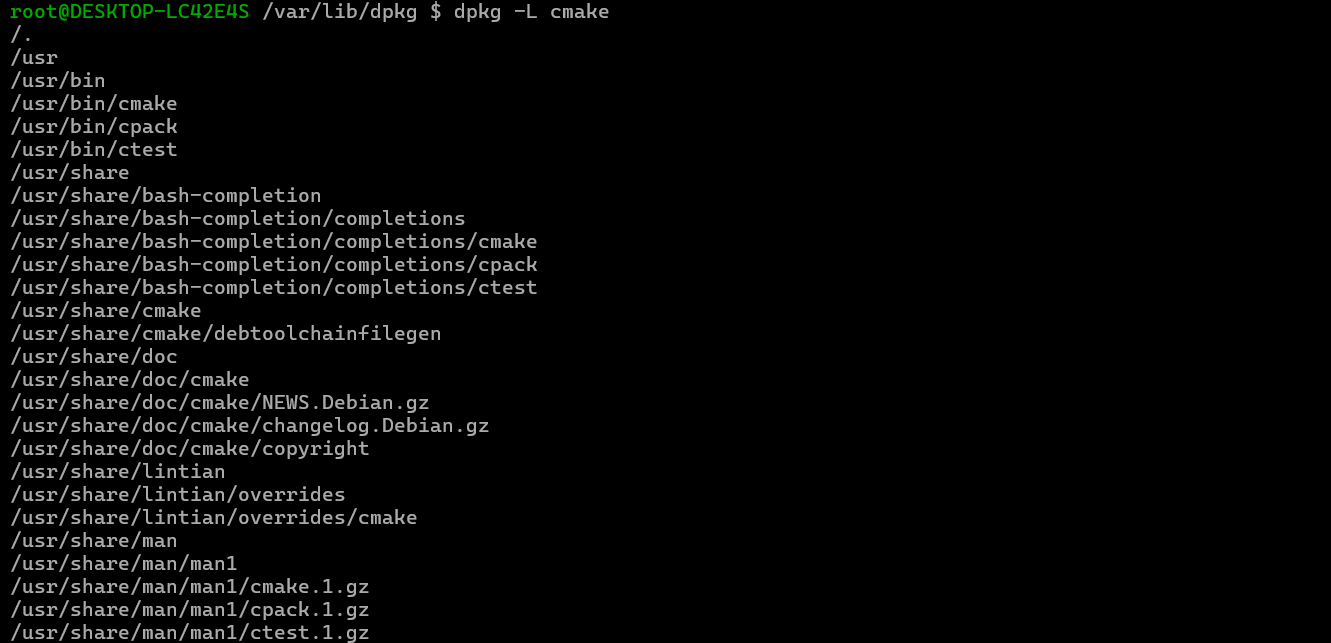
Debian系统简介
目录 Debian系统介绍 Debian版本介绍 Debian软件源介绍 软件包管理工具dpkg dpkg核心指令详解 安装软件包 卸载软件包 查询软件包状态 验证软件包完整性 手动处理依赖关系 dpkg vs apt Debian系统介绍 Debian 和 Ubuntu 都是基于 Debian内核 的 Linux 发行版ÿ…...

系统设计 --- MongoDB亿级数据查询优化策略
系统设计 --- MongoDB亿级数据查询分表策略 背景Solution --- 分表 背景 使用audit log实现Audi Trail功能 Audit Trail范围: 六个月数据量: 每秒5-7条audi log,共计7千万 – 1亿条数据需要实现全文检索按照时间倒序因为license问题,不能使用ELK只能使用…...

渲染学进阶内容——模型
最近在写模组的时候发现渲染器里面离不开模型的定义,在渲染的第二篇文章中简单的讲解了一下关于模型部分的内容,其实不管是方块还是方块实体,都离不开模型的内容 🧱 一、CubeListBuilder 功能解析 CubeListBuilder 是 Minecraft Java 版模型系统的核心构建器,用于动态创…...

【android bluetooth 框架分析 04】【bt-framework 层详解 1】【BluetoothProperties介绍】
1. BluetoothProperties介绍 libsysprop/srcs/android/sysprop/BluetoothProperties.sysprop BluetoothProperties.sysprop 是 Android AOSP 中的一种 系统属性定义文件(System Property Definition File),用于声明和管理 Bluetooth 模块相…...

今日科技热点速览
🔥 今日科技热点速览 🎮 任天堂Switch 2 正式发售 任天堂新一代游戏主机 Switch 2 今日正式上线发售,主打更强图形性能与沉浸式体验,支持多模态交互,受到全球玩家热捧 。 🤖 人工智能持续突破 DeepSeek-R1&…...

OPenCV CUDA模块图像处理-----对图像执行 均值漂移滤波(Mean Shift Filtering)函数meanShiftFiltering()
操作系统:ubuntu22.04 OpenCV版本:OpenCV4.9 IDE:Visual Studio Code 编程语言:C11 算法描述 在 GPU 上对图像执行 均值漂移滤波(Mean Shift Filtering),用于图像分割或平滑处理。 该函数将输入图像中的…...
)
Android第十三次面试总结(四大 组件基础)
Activity生命周期和四大启动模式详解 一、Activity 生命周期 Activity 的生命周期由一系列回调方法组成,用于管理其创建、可见性、焦点和销毁过程。以下是核心方法及其调用时机: onCreate() 调用时机:Activity 首次创建时调用。…...

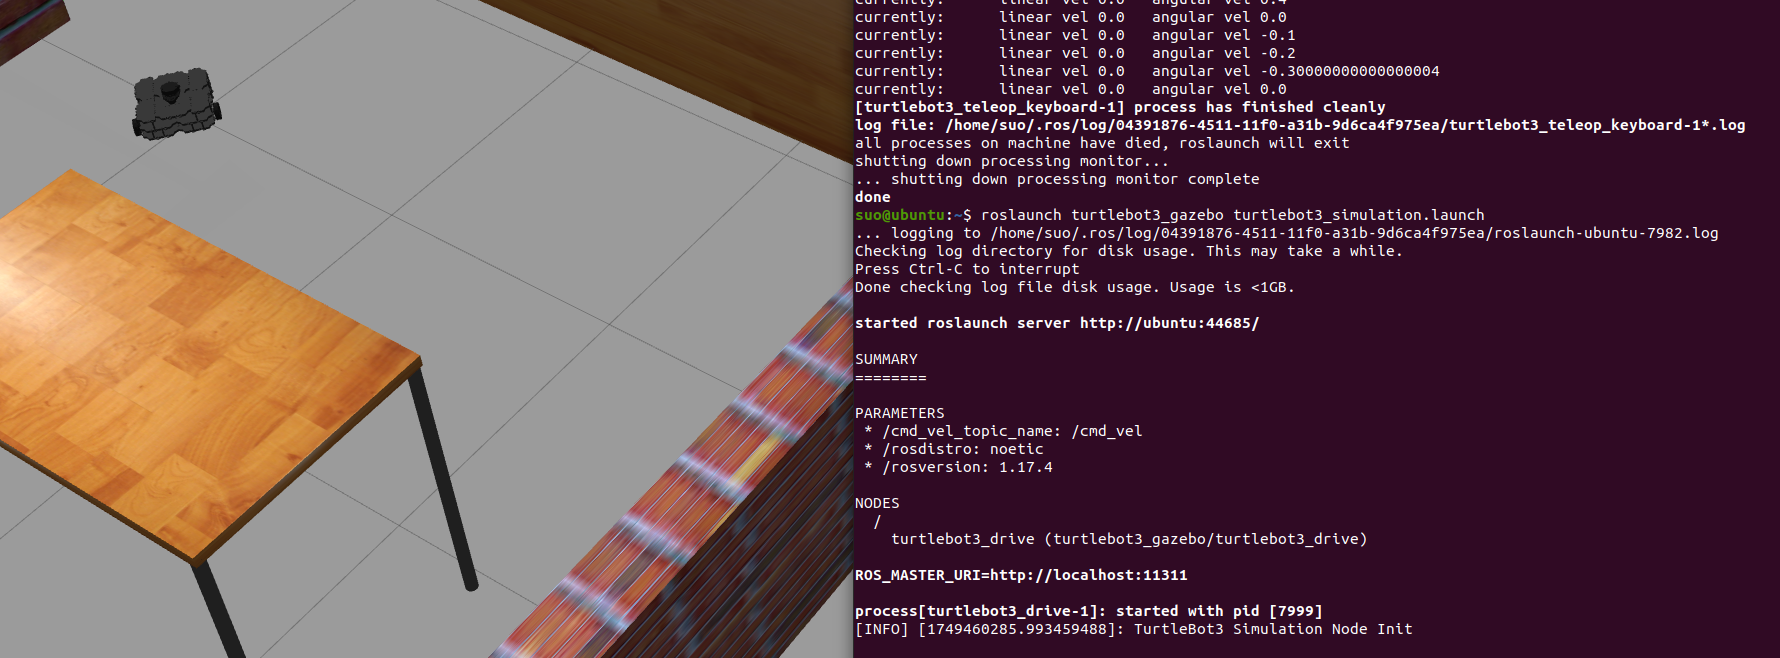
基于TurtleBot3在Gazebo地图实现机器人远程控制
1. TurtleBot3环境配置 # 下载TurtleBot3核心包 mkdir -p ~/catkin_ws/src cd ~/catkin_ws/src git clone -b noetic-devel https://github.com/ROBOTIS-GIT/turtlebot3.git git clone -b noetic https://github.com/ROBOTIS-GIT/turtlebot3_msgs.git git clone -b noetic-dev…...
零知开源——STM32F103RBT6驱动 ICM20948 九轴传感器及 vofa + 上位机可视化教程
STM32F1 本教程使用零知标准板(STM32F103RBT6)通过I2C驱动ICM20948九轴传感器,实现姿态解算,并通过串口将数据实时发送至VOFA上位机进行3D可视化。代码基于开源库修改优化,适合嵌入式及物联网开发者。在基础驱动上新增…...
