Vue和axios零基础学习
Vue的配置与项目创建
在这之前要先安装nodejs
安装脚手架
官网
Home | Vue CLI (vuejs.org)
先运行,切换成淘宝镜像源,安装速度更快
npm config set registry http://registry.npm.taobao.org

创建项目
用编译器打开一个空文件,在终端输入创建代码

以下是步骤


选择N


运行结果

配置serve
配置完以下,就可以改动代码,效果实时更新到页面上,对于开发来说很方便。
但只有社区版idea在这里才有npm可以选


模板语法
绑值语法

<!DOCTYPE html>
<html lang="en"><head><meta charset="UTF-8"><meta name="viewport" content="width=device-width, initial-scale=1.0"><title>Document</title>
</head><body><div id="app">{{ message }}<div><!-- {{num++}},不要这么写,别在这里运算,否则可能出错 -->{{num}}</div><div>{{bool}}</div><div>{{ arr.find(v => v.name === '张三')?.age }}</div></div><script src="https://cdn.jsdelivr.net/npm/vue@2.7.16/dist/vue.js"></script><script>var app = new Vue({el: '#app',//element//把vue的实例绑定到id是app的上面//data: {message: 'Hello I\'m lmm',num: 1,bool: true,arr: [{ name: '张三', age: 20 }]}})</script>
</body></html>
渲染html(v-html)

<template><div><div>{{rowHtml}}</div><div v-html="rowHtml"></div></div>
</template><script>
export default {name:'test',data(){return{rowHtml: '<a href="https://www.taobao.com/">淘宝</a>'}}
}
</script>
可以看到绑值语法是不能渲染出链接的

绑定属性(v-bind)


使用场景
1.绑定 HTML 属性
- 用于动态设置元素的属性,例如
href、src、class、id等。
<a v-bind:href="linkUrl">Click here</a>
<img v-bind:src="imageUrl" alt="Dynamic Image">
2.绑定多个属性
- 可以通过对象语法绑定多个属性。
<div v-bind="objectProps"></div>export default {data() {return {objectProps: {id: 'my-div',class: 'my-class',title: 'This is a title'}}}
}
实例
<template><div><a :href="url">点击这里访问淘宝</a><br><img :src="img" alt="Demo Image"><br></div>
</template><script>
import logo from '@/assets/logo.png';
export default {name: 'test',data() {return {url: 'https://www.taobao.com/',// img: '@/asset/logo.png'//注意要先导入才能用img:logo}}
}
</script>

事件绑定(v-on)

快捷绑定
直接写在行内


绑定方法


<template><div><div :style="{ width: '100px', height: '100px', backgroundColor: color }" @click="changeColor" id="testColor">点我</div></div>
</template><script>
export default {name: 'test',data() {return {color: 'red' // 初始化颜色为红色}},methods: {changeColor() {// 切换颜色this.color = this.color === 'red' ? 'blue' : 'red';}}
}
</script>

判断(v-if)

如果为真,就渲染该内容
<template><div><div v-if="color === '红色'">红色</div><div v-else>黑色</div></div>
</template><script>
import logo from '@/assets/logo.png';
export default {name: 'test',data() {return {color:'黑色'}}
}
</script>


列表渲染(v-for)


每个元素都要有唯一索引,绑定key
在实际开发中,每个元素都有写好的索引,所以用不上index。
如果没有的话,就用index来记录
<template><div v-for="item in fruits">{{item}}</div><div v-for="item in user" :key="item.id">用已写好的索引:{{key}}{{item.name}}</div><div v-for="(item,index) in user" :key="index">用系统分配的索引:{{key}}{{item.name}}</div></template><script>
export default {name: 'test',data() {return {fruits:['苹果','香蕉','西瓜'],user:[{id:'1001',name:'alicia'},{id:'1002',name:'fafa'},{id:'1003',name:'cami'}]}},methods: {}
}
</script>

双向绑定(v-model)


<template><div><input type="text" v-model="str"><p>{{str}}</p></div>
</template><script>
export default {name: 'test',data() {return {str:''}},methods: {}
}
</script>


组件基础

scoped:如果在style中添加此属性,就代表着,当前样式,只在当前组件中生效
使用组件步骤


组件的组织

上图想表达的是,组件间的使用是可以嵌套的
Props组件交互
prop可以使组件之间有数据传递

使用案例
父组件向子组件传递数据。被导入的组件是父组件。
App.vue 组件(父组件):
<template><div id="app"><Test :age="age" :name="name" :arr="arr"></Test></div>
</template><script>
import Test from "@/components/test";export default {name: 'App',components: {Test},data() {return {age: 18,name: 'chen',arr: [1, 2, 3]}}
}
</script><style>
#app {font-family: Avenir, Helvetica, Arial, sans-serif;-webkit-font-smoothing: antialiased;-moz-osx-font-smoothing: grayscale;text-align: center;color: #2c3e50;margin-top: 60px;
}
</style>
test.vue 组件(子组件):
<template><p>props传递数据</p><div>{{ age }}</div><div>{{ name }}</div><div v-for="i in arr" :key="i">{{ i }}</div>
</template><script>
export default {name: 'Test',props: {age: {type: Number,default: 0},name: {type: String,default: ''},arr: {type: Array,default: function () {return [];}}}
}
</script><style>
/* 添加样式 */
</style>
Prop类型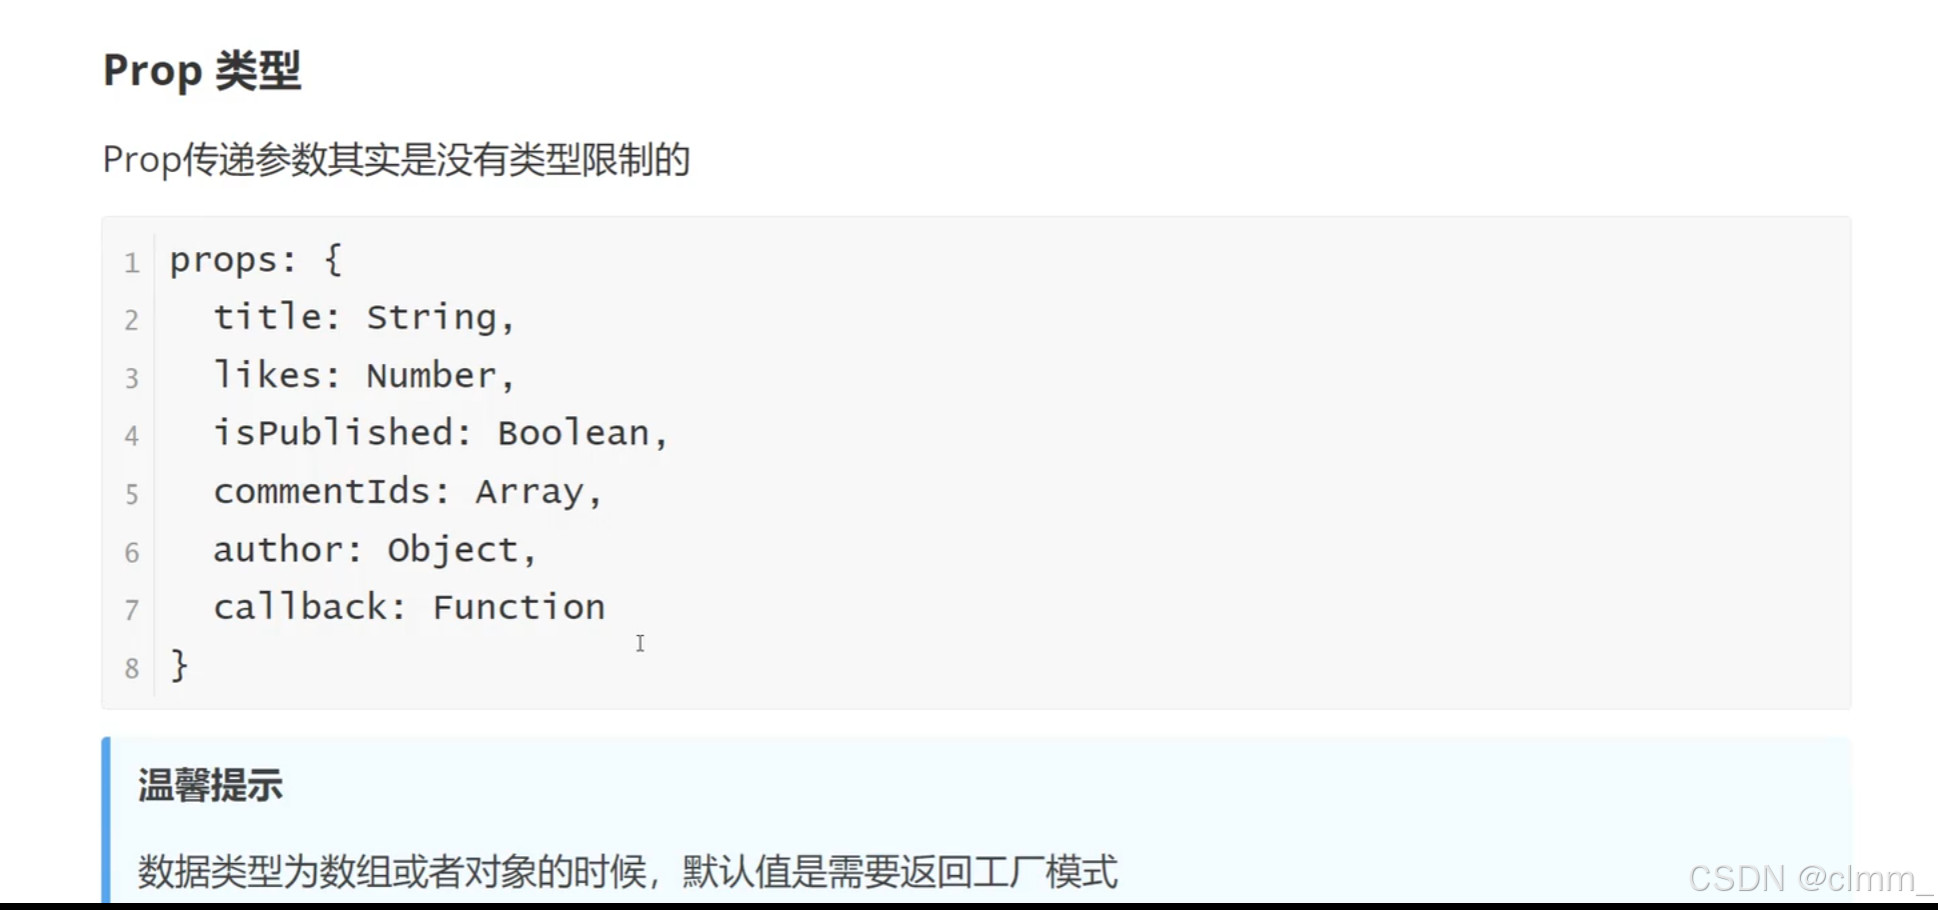
需要注意的是,传递数组和对象必须使用函数进行返回

自定义事件组件交互
自定义事件是 Vue 中子组件与父组件进行交互的一种灵活方式。子组件可以通过
this.$emit触发事件,父组件则通过事件监听器来处理这些事件。这样可以让组件之间的通信更加模块化和清晰。自定义事件可以在组件中反向传递数据,prp可以将数据从父组件传递到子组件,那么反向如何操作呢,就可以利用自定义事件实现
$emit
子组件向父组件传递数据。被导入的组件是父组件。
子组件
<template><button @click="sendMsg">点击传递数据</button>
</template><script>
export default {name: 'Test',data(){return{msg:'子组件向父组件传递数据'}},methods:{sendMsg(){this.$emit('onEvent',this.msg)}}}
</script><style>
/* 添加样式 */
</style>
父组件
<template><div id="app"><Test @onEvent="getMsg"></Test><div>{{msg}}</div></div>
</template><script>
import Test from "@/components/test";export default {name: 'App',data(){return{msg:''}},components: {Test},methods:{getMsg(data){this.msg = data}}}
</script><style>
#app {font-family: Avenir, Helvetica, Arial, sans-serif;-webkit-font-smoothing: antialiased;-moz-osx-font-smoothing: grayscale;text-align: center;color: #2c3e50;margin-top: 60px;
}
</style>

组件生命周期

生命周期概述
Vue 组件的生命周期可以分为以下几个阶段:
- 创建阶段
- 挂载阶段
- 更新阶段
- 销毁阶段
每个阶段都有特定的生命周期钩子函数,你可以在这些钩子函数中执行相应的逻辑。
1. 创建阶段
-
beforeCreate: 在实例被初始化之后,数据观测和事件配置之前调用。这时data和methods还不可用。 -
created: 实例已创建,数据观测和事件配置完成。这时可以访问data、methods和computed,但 DOM 还未生成。
2. 挂载阶段
-
beforeMount: 在挂载开始之前被调用,render函数首次被调用。这时模板已经编译,但尚未被渲染到 DOM 中。 -
mounted: 挂载完成后调用,此时组件已经被渲染到 DOM 上。可以访问 DOM 元素和进行 DOM 操作。网络请求是放在这块。因为元素被渲染出来之后,还需要向后台请求数据。
3. 更新阶段
-
beforeUpdate: 数据更新之前调用,render函数将被重新调用。这时你可以在 DOM 更新之前做一些处理。 -
updated: 数据更新之后调用,此时 DOM 也已经更新。可以执行一些依赖于 DOM 更新的操作。
4. 销毁阶段
-
beforeUnmount: 卸载之前调用,此时组件仍然可以访问其数据和 DOM。 -
unmounted: 卸载完成后调用,此时组件及其所有的子组件都已经被销毁。可以在这里进行清理工作,比如清除定时器、取消网络请求等。

axios
安装与引入

常用请求方法

如果不写的话,默认是get
查询参数(get)

<template><div>{{data}}</div>
</template><script>
export default {name: 'Test',data(){return{data:{}}},mounted(){this.$axios({url: 'http://hmajax.itheima.net/api/city',//查询参数params: {pname: '福建省'}}).then(result => {this.data = result})}}
</script><style>
/* 添加样式 */
</style>

数据提交(post)


<template><div></div>
</template><script>
export default {name: 'Test',mounted(){this.$axios({url: 'http://hmajax.itheima.net/api/register',method: 'post',data: {username: 'clmm1234567',password: '123123'}}).then(result => {console.log(result)})}}
</script><style>
/* 添加样式 */
</style>
总结

网络请求封装
vue路由
了解


学到了路由,那么记得创建vue项目的时候把router选上,会自动配置路由文件

App.vue
<template><div><router-link to="/">首页</router-link>|<router-link to="/about">关于</router-link><div>123</div><router-view></router-view><div>321</div></div>
</template><script>
// import Test from "@/components/Test.vue";export default {name: 'App',components: {// Test},
}
</script><style>
#app {font-family: Avenir, Helvetica, Arial, sans-serif;-webkit-font-smoothing: antialiased;-moz-osx-font-smoothing: grayscale;text-align: center;color: #2c3e50;margin-top: 60px;
}
</style>
index.js
import { createRouter, createWebHashHistory } from 'vue-router';
import HomeView from '../views/HomeView';
import AboutView from '../views/AboutView';const routes = [{path: '/',name: 'Home',component: HomeView},{path: '/about',name: 'About',component: AboutView}
];const router = createRouter({history: createWebHashHistory(),routes
});export default router;
main.js
import { createApp } from 'vue';
import App from './App.vue';
import router from './router';
import axios from 'axios';// 创建 Vue 应用实例
const app = createApp(App);// 配置 axios 实例
app.config.globalProperties.$axios = axios;// 使用路由
app.use(router);// 挂载应用
app.mount('#app');
路由传递参数

router配置
import { createRouter, createWebHashHistory } from 'vue-router'
import HomeView from '../views/HomeView'const routes = [{path: '/',name: 'home',component: HomeView},{path: '/about',name: 'about',// route level code-splitting// this generates a separate chunk (about.[hash].js) for this route// which is lazy-loaded when the route is visited.component: () => import(/* webpackChunkName: "about" */ '../views/AboutView.vue')},{path:'/news',name:'news',component: ()=>import("../views/NewsView")},{path:'/newsDetail/:name',name:'newsDetail',component: ()=>import("../views/NewsDetailView")},
]const router = createRouter({history: createWebHashHistory(),routes
})export default router
NewView
<template><div><ul><li><router-link to="/newsDetail/网易">网易新闻</router-link></li><li><router-link to="/newsDetail/百度">百度新闻</router-link></li><li><router-link to="/newsDetail/猾伪">猾伪新闻</router-link></li></ul></div>
</template><script>
export default {name: "NewsView"
}
</script><style scoped></style>
NewsDetailView
<template><div><h3>新闻</h3>{{$route.params.name}}</div>
</template><script>
export default {name: "NewsDetailView"
}
</script><style scoped></style>
嵌套路由配置

index.js
import { createRouter, createWebHashHistory } from 'vue-router'
import HomeView from '../views/HomeView.vue'const routes = [{path: '/',name: 'home',component: HomeView},{path: '/about',name: 'about',component: () => import(/* webpackChunkName: "about" */ '../views/AboutView.vue'),redirect:'/about/b',children: [{path: 'a',component: () => import('../views/AboutSub/About_a')},{path: 'b',component: () => import('../views/AboutSub/About_b')}]}]const router = createRouter({history: createWebHashHistory(),routes
})export default router
AboutView.vue
<template><div class="about"><router-link to="/about/a">a     |     </router-link><router-link to="/about/b">b</router-link><router-view></router-view><h1>This is an about page</h1></div>
</template>
点进about页面默认是about_b,因为重定向了

Vue状态管理

可以集中管理所有组件,不像props只能在父子间传递数据
引入状态管理
创建项目的时候勾选vuex

如果在创建项目的时候已勾选vuex,下面的前三步就不用了


vue状态管理核心


案例--面经基础

配置路由
先做一个底部导航切换效果。
配置路由
import { createRouter, createWebHistory } from 'vue-router'const routes = [{path:'/',component:()=>import('@/views/LayOut'),children:[{path:'/collect',component:()=>import('@/views/Collect')},{path:'/like',component:()=>import('@/views/Like')},{path:'/user',component:()=>import('@/views/User')},{path:'/articleList',component:()=>import('@/views/ArticleList')},]}
]const router = createRouter({history: createWebHistory(process.env.BASE_URL),routes
})export default router
<template><div><div style="background-color: pink; width: 500px; height: 500px;"><router-view></router-view></div><nav><router-link to="/articleList">面经 |</router-link><router-link to="/collect">收藏 |</router-link><router-link to="/like">喜欢 |</router-link><router-link to="/user">我的</router-link></nav></div>
</template><style>a.router-link-active{color: red;}
</style>
需要注意的是,Layout中需要用router-view
Layout组件作为一个包裹组件使用,这意味着它可能需要呈现其子路由内容。Layout中的<router-view>组件用于展示其子路由(如/article、/like等)。这使得每个子路由在Layout组件内部渲染,同时Layout组件可以包含共同的布局或导航条。简而言之,
Layout中的<router-view>用于渲染Layout的子路由组件内容。这样,你可以在Layout组件中管理应用的布局和结构,同时动态展示不同的子视图。
<template><div><router-view></router-view></div>
</template><script>
export default {name: "Layout"
}
</script><style scoped></style>
首页请求渲染


<template><div><div v-for="item in articles":key="item.id"><p>{{item.stem}}</p></div></div>
</template><script>
import axios from "axios";
export default {name: "ArticleList",data(){return{articles:[]}},async created(){const { data } = await axios.get('https://mock.boxuegu.com/mock/3083/articles',);this.articles = data.result.rows;}
}
</script><style scoped></style>
跳转详情页传参
查询参数
动态路由
路由配置
{path:'/detail/:id',component:() => import('@/views/ArticleDetail')}路由使用
@click="$router.push(`/detail/${item.id}`)"
<template><div><div v-for="item in articles":key="item.id"@click="$router.push(`/detail/${item.id}`)"><p>{{item.stem}}</p></div></div>
</template><script>
import axios from "axios";
export default {name: "ArticleList",data(){return{articles:[]}},async created(){const { data } = await axios.get('https://mock.boxuegu.com/mock/3083/articles',);this.articles = data.result.rows;}
}
</script><style scoped></style>
面经详情页的路由接收
this.$route.params.id
<template><div>面经详情</div>
</template><script>
export default {name: "ArticleDetail",created() {console.log(this.$route.params.id)}
}
</script><style scoped></style>
详情页渲染

<template><div>{{article.content}}</div>
</template><script>
import axios from "axios";
export default {name: "ArticleDetails",data(){return{article:{}}},async created() {const id = this.$route.params.idconsole.log(this.$route.params.id)const {data} = await axios.get(`https://mock.boxuegu.com/mock/3083/articles/${id}`)this.article = data.result}
}
</script><style scoped></style>
组件缓存


相关文章:
Vue和axios零基础学习
Vue的配置与项目创建 在这之前要先安装nodejs 安装脚手架 官网 Home | Vue CLI (vuejs.org) 先运行,切换成淘宝镜像源,安装速度更快 npm config set registry http://registry.npm.taobao.org 创建项目 用编译器打开一个空文件,在终端输入…...

STM32新建工程-基于库函数
目录 一、创建一个新工程 二、为工程添加文件和路径 三、创建一个main.c文件,并调试 四、修改一些配置 五、用库函数进行写程序 1、首先加入一些库函数和头文件 2、编写库函数程序 一、创建一个新工程 我这里选择STM32F103C8的型号,然后点击OK。 …...
矩阵、字符串、基本语句、函数)
matlab入门学习(二)矩阵、字符串、基本语句、函数
一、矩阵 1、矩阵生成 %矩阵生成%直接法 A[1,2,3; 4,5,6; 7,8,9]%冒号一维矩阵:开始,步长,结束(步长为1时可以省略) B1:1:10 B1:10 %函数法%linspace(开始,结束,元素个数),等差生成…...

PC端微信小程序如何调试?
向往常一样运行开微信小程序开发者工具 如果只弹出pc端小程序,没有出现调试的界面:点击胶囊按钮的三个…选择重新进入小程序 即可依次展开相应的功能调试,改完代码没反应再刷新看看,再没反应就再次重新点击编译并自动调试。...

点击按钮提示气泡信息(Toast)
演示效果: 目录结构: activity_main.xml(布局文件)代码: <?xml version"1.0" encoding"utf-8"?> <LinearLayout xmlns:android"http://schemas.android.com/apk/res/android"xmlns:app"http:…...
【易社保-注册安全分析报告】
前言 由于网站注册入口容易被黑客攻击,存在如下安全问题: 1. 暴力破解密码,造成用户信息泄露 2. 短信盗刷的安全问题,影响业务及导致用户投诉 3. 带来经济损失,尤其是后付费客户,风险巨大,造…...

155. 最小栈
思路 按栈的特点:顶部即列表尾部 class MinStack(object):def __init__(self):self.stack[]def push(self, val):""":type val: int:rtype: None"""self.stack.append(val)def pop(self):""":rtype: None"&quo…...

用Manim实现高尔顿板(Galton Board)
高尔顿板的介绍 高尔顿板(Galton Board),有时也称为贝尔图(Bean Machine),是由英国统计学家弗朗西斯高尔顿(Francis Galton)于19世纪末发明的一种物理装置,用于演示随机分…...
视频采集类VideoCapture之初始化视频捕获设备或打开一个视频文件函数open()的使用)
OpenCV视频I/O(7)视频采集类VideoCapture之初始化视频捕获设备或打开一个视频文件函数open()的使用
操作系统:ubuntu22.04 OpenCV版本:OpenCV4.9 IDE:Visual Studio Code 编程语言:C11 算法描述 为视频捕获打开一个视频文件、捕获设备或 IP 视频流。 这是一个重载成员函数,提供给用户方便使用。它与上述函数的不同之处仅在于它所…...

vue3+vite@4+ts+elementplus创建项目详解
1、第一步创建项目cnpm init vite4 2、设置vue3.2局域网可访问配置: 找到项目路径下的package.json目录下找到script对象下面添加一下代码: "serve": "vite --host 0.0.0.0" 启动项目命令不在是dev而是:cnpm run serve 3…...

Python 从入门到实战34(实例2:绘制蟒蛇)
我们的目标是:通过这一套资料学习下来,通过熟练掌握python基础,然后结合经典实例、实践相结合,使我们完全掌握python,并做到独立完成项目开发的能力。 上篇文章我们讨论了数据库MySQL操作的相关知识。今天学习一个使用…...

Visual Studio C# 处理和修复 WinRiver II 测量项目 MMT 文件错误
Visual Studio C# 处理和修复 WinRiver II 测量项目 MMT 文件错误 前言一、WinRiver II 测量项目 MMT 文件的结构二、WinRiver II 无法打开或操作测量项目 MMT 文件2.1 无法载入船测多线法测量文件2.2 可以载入测验项目 MMT 文件,但 ADCP 后处理软件无法写入信息2.3…...

JAVA实现大写金额转小写金额
在金融行业中经常需要把大写金额转成小写金额,之前在一次开发中有个类似的需求,翻阅了好多博文,都没找到合适的,故没办法,就花了点时间研究并实现! 实现代码如下: private static final Character ZERO 零;private s…...

如何使用ssm实现基于SSM的宠物服务平台的设计与实现+vue
TOC ssm779基于SSM的宠物服务平台的设计与实现vue 绪论 1.1 研究背景 当前社会各行业领域竞争压力非常大,随着当前时代的信息化,科学化发展,让社会各行业领域都争相使用新的信息技术,对行业内的各种相关数据进行科学化&#x…...

【C++学习笔记 21】C++中的动态数组 vertor
静态数组 首先来创建一个静态数组 #include <iostream> #include <string>struct Vertex {float x, y, z; };std::ostream& operator<<(std::ostream& stream, const Vertex& vertex) {stream << vertex.x << "," <&…...

MongoDB 快速入门+单机部署(附带脚本)
目录 介绍 体系结构 数据模型 BSON BSON 数据类型 特点 高性能 高可用 高扩展 丰富的查询支持 其他特点 部署 单机部署 普通安装 脚本安装 Docker Compose 安装 卸载 停止 MongoDB 删除包 删除数据目录 参考: https://docs.mongoing.com/ 介绍…...

组合数求法汇总
一:递推求解 对于组合数,有此式: C n m C n − 1 m − 1 C n − 1 m C_{n}^{m}C_{n-1}^{m-1}C_{n-1}^{m} CnmCn−1m−1Cn−1m。 C n m C_{n}^{m} Cnm 可理解为 n n n 个数中选 m m m 个,不同的方案。对于第 n n n 个…...

Python知识点:在Python编程中,如何使用Joblib进行并行计算
开篇,先说一个好消息,截止到2025年1月1日前,翻到文末找到我,赠送定制版的开题报告和任务书,先到先得!过期不候! Joblib是一个Python库,它被设计用来提供轻便的并行计算解决方案&…...

matlab-对比两张图片的CIElab分量的差值并形成直方图
%对比两张图片的CIElab分量的差值并形成直方图,改个路径就能用,图片分辨率要一致 close all; clear all; clc; I1imread(E:\test\resources\image\1.jpg); I2imread(E:\test\resources\image\2.jpg); lab1 rgb2lab(I1); lab2 rgb2lab(I2); % 提取色度…...

(十七)、Mac 安装k8s
文章目录 1、Enable Kubernetes2、查看k8s运行状态3、启用 kubernetes-dashboard3.1、如果启动成功,可以在浏览器访问3.2、如果没有跳转,需要单独安装 kubernetes-dashboard3.2.1、方式一:一步到位3.2.2、方式二:逐步进行 1、Enab…...

当金属学会“作画”——优之彩蚀刻不锈钢蜂窝板的空间艺术
让一块坚硬的金属表面呈现出山水画的意境、书法作品的笔意,或是品牌Logo的精致线条——这不是魔法,而是优之彩蚀刻不锈钢蜂窝板正在做的事。触得到的艺术,看得见的高级优之彩不锈钢蚀刻蜂窝板的最大魅力,在于它将“平面”变成了“…...

LVGL 8.x 实战:搞定Label点击、背景色和文字对齐的3个高频难题
LVGL 8.x实战:攻克Label交互、样式与布局的三大核心痛点 在嵌入式UI开发领域,LVGL以其轻量级和高度可定制性成为众多开发者的首选。但当我们真正开始构建第一个界面时,往往会遇到一些看似简单却令人抓狂的问题——为什么Label不能点击&#…...
)
安卓用户专属福利:免费开源工具一键搞定.m3u8.sqlite视频提取与合并(附TS转MP4方法)
安卓用户专属:零门槛实现.m3u8.sqlite视频提取与格式转换全攻略 每次在手机上缓存了课程视频,却发现文件格式无法直接播放?作为安卓用户,你可能经常遇到.m3u8.sqlite这种特殊缓存格式的困扰。本文将为你揭秘这类文件的本质&#x…...
)
仅剩最后47份!《Midjourney概念艺术创作密钥手册》(含23个受版权保护的材质编码+动态光照参数表)
更多请点击: https://codechina.net 第一章:《Midjourney概念艺术创作密钥手册》核心价值与版权说明 核心价值定位 本手册聚焦于概念艺术创作中“意图—提示—反馈—迭代”的闭环实践,提炼出可复用的提示工程范式、风格锚定策略与跨模态语义…...

按键精灵PC版和手机版到底怎么选?一篇讲清四大版本区别与核心开发流程
按键精灵四大版本深度解析:从需求匹配到高效开发的完整指南 在自动化工具领域,按键精灵凭借其跨平台支持和易用性,成为许多用户的首选。但面对官网提供的四个不同版本——电脑版、手机助手、安卓版和IOS版,不少新手用户会感到困惑…...

Input Leap跨设备键盘鼠标共享3步配置指南
Input Leap跨设备键盘鼠标共享3步配置指南 【免费下载链接】input-leap Open-source KVM software 项目地址: https://gitcode.com/gh_mirrors/in/input-leap Input Leap是一款功能强大的开源KVM软件,能够帮助用户在不同操作系统和设备之间实现键盘鼠标的完美…...

ncmdump终极指南:3分钟学会解锁网易云音乐加密文件
ncmdump终极指南:3分钟学会解锁网易云音乐加密文件 【免费下载链接】ncmdump 转换网易云音乐 ncm 到 mp3 / flac. Convert Netease Cloud Music ncm files to mp3/flac files. 项目地址: https://gitcode.com/gh_mirrors/nc/ncmdump 你是否曾经下载了网易云音…...

终极AMD Ryzen调试工具SMUDebugTool:免费开源的硬件掌控神器
终极AMD Ryzen调试工具SMUDebugTool:免费开源的硬件掌控神器 【免费下载链接】SMUDebugTool A dedicated tool to help write/read various parameters of Ryzen-based systems, such as manual overclock, SMU, PCI, CPUID, MSR and Power Table. 项目地址: http…...
)
用emWin定时器给你的STM32 GUI界面“注入灵魂”:实现动态数据刷新与简易动画(基于WM_TIMER消息)
用emWin定时器为STM32 GUI注入动态交互的灵魂 在嵌入式设备的人机交互设计中,静态界面往往给人呆板的印象。想象一下工业仪表盘上凝固的数字,或是医疗设备上永不变化的指示灯——这种缺乏生命力的呈现方式不仅降低用户体验,还可能掩盖关键数据…...

极域电子教室防控制软件JiYuTrainer:重获学习自主权的智能解决方案
极域电子教室防控制软件JiYuTrainer:重获学习自主权的智能解决方案 【免费下载链接】JiYuTrainer 极域电子教室防控制软件, StudenMain.exe 破解 项目地址: https://gitcode.com/gh_mirrors/ji/JiYuTrainer 你是否曾在计算机课堂上被极域电子教室的全屏广播限…...