ruoyi-vue集成tianai-captcha验证码
后端代码
官方使用demo文档:http://doc.captcha.tianai.cloud/#%E4%BD%BF%E7%94%A8demo
我的完整代码:https://gitee.com/Min-Duck/RuoYi-Vue.git
- 主pom.xml 加入依赖
<!-- 滑块验证码 --><dependency><groupId>cloud.tianai.captcha</groupId><artifactId>tianai-captcha-springboot-starter</artifactId><version>1.5.0</version></dependency>
- ruoyi-framework pom.xml 加入依赖
<!-- 滑块验证码 --><dependency><groupId>cloud.tianai.captcha</groupId><artifactId>tianai-captcha-springboot-starter</artifactId></dependency>
-
在ruoyi-admin的resources下加入验证码需要的图片

-
ruoyi-framework 加入验证码配置代码

package com.ruoyi.framework.config;import cloud.tianai.captcha.common.constant.CaptchaTypeConstant;
import cloud.tianai.captcha.resource.ResourceStore;
import cloud.tianai.captcha.resource.common.model.dto.Resource;
import org.springframework.stereotype.Component;import javax.annotation.PostConstruct;@Component
public class CaptchaResourceConfiguration {@javax.annotation.Resourceprivate ResourceStore resourceStore;@PostConstructpublic void init() {// 2. 添加自定义背景图片resourceStore.addResource(CaptchaTypeConstant.SLIDER, new Resource("classpath", "bg/1.png", "default"));resourceStore.addResource(CaptchaTypeConstant.SLIDER, new Resource("classpath", "bg/2.png", "default"));resourceStore.addResource(CaptchaTypeConstant.SLIDER, new Resource("classpath", "bg/3.png", "default"));resourceStore.addResource(CaptchaTypeConstant.SLIDER, new Resource("classpath", "bg/4.png", "default"));resourceStore.addResource(CaptchaTypeConstant.SLIDER, new Resource("classpath", "bg/5.png", "default"));resourceStore.addResource(CaptchaTypeConstant.SLIDER, new Resource("classpath", "bg/6.png", "default"));resourceStore.addResource(CaptchaTypeConstant.SLIDER, new Resource("classpath", "bg/7.png", "default"));resourceStore.addResource(CaptchaTypeConstant.SLIDER, new Resource("classpath", "bg/8.png", "default"));resourceStore.addResource(CaptchaTypeConstant.SLIDER, new Resource("classpath", "bg/9.png", "default"));resourceStore.addResource(CaptchaTypeConstant.ROTATE, new Resource("classpath", "bg/10.png", "default"));resourceStore.addResource(CaptchaTypeConstant.CONCAT, new Resource("classpath", "bg/11.png", "default"));resourceStore.addResource(CaptchaTypeConstant.WORD_IMAGE_CLICK, new Resource("classpath", "bg/12.png", "default"));}
}
- 在ruoyi-admin加入CaptchaController

package com.ruoyi.web.controller.system;import cloud.tianai.captcha.application.ImageCaptchaApplication;
import cloud.tianai.captcha.application.vo.CaptchaResponse;
import cloud.tianai.captcha.application.vo.ImageCaptchaVO;
import cloud.tianai.captcha.common.constant.CaptchaTypeConstant;
import cloud.tianai.captcha.common.response.ApiResponse;
import cloud.tianai.captcha.spring.plugins.secondary.SecondaryVerificationApplication;
import cloud.tianai.captcha.validator.common.model.dto.ImageCaptchaTrack;
import com.alibaba.fastjson2.JSON;
import com.alibaba.fastjson2.JSONObject;
import org.apache.commons.lang3.StringUtils;
import org.springframework.beans.factory.annotation.Autowired;
import org.springframework.web.bind.annotation.*;import java.util.Collections;
import java.util.concurrent.ThreadLocalRandom;@RestController
@RequestMapping("/captcha")
public class CaptchaController {@Autowiredprivate ImageCaptchaApplication imageCaptchaApplication;@PostMapping("/gen")@ResponseBodypublic CaptchaResponse<ImageCaptchaVO> genCaptcha(@RequestParam(value = "type", required = false) String type) {if (StringUtils.isBlank(type)) {type = CaptchaTypeConstant.SLIDER;}if ("RANDOM".equals(type)) {int i = ThreadLocalRandom.current().nextInt(0, 4);if (i == 0) {type = CaptchaTypeConstant.SLIDER;} else if (i == 1) {type = CaptchaTypeConstant.CONCAT;} else if (i == 2) {type = CaptchaTypeConstant.ROTATE;} else {type = CaptchaTypeConstant.WORD_IMAGE_CLICK;}}return imageCaptchaApplication.generateCaptcha(type);}@PostMapping("/check")@ResponseBodypublic ApiResponse<?> checkCaptcha(@RequestBody String data) {
//        TODO 不知道可不可以使用它的实体类,因为我的是spring boot 3.3.5的时间转换有问题才这样写!!!JSONObject jsonObject = JSON.parseObject(data);String id = jsonObject.getString("id");ImageCaptchaTrack imageCaptchaTrack = JSON.parseObject(jsonObject.getString("data"), ImageCaptchaTrack.class);ApiResponse<?> response = imageCaptchaApplication.matching(id, imageCaptchaTrack);if (response.isSuccess()) {return ApiResponse.ofSuccess(Collections.singletonMap("id", id));}return response;}/*** 二次验证,一般用于机器内部调用,这里为了方便测试** @param id id* @return boolean*/@GetMapping("/check2")@ResponseBodypublic boolean check2Captcha(@RequestParam("id") String id) {// 如果开启了二次验证if (imageCaptchaApplication instanceof SecondaryVerificationApplication) {return ((SecondaryVerificationApplication) imageCaptchaApplication).secondaryVerification(id);}return false;}
}- 在ruoyi-admin的resources下的application.yml加入验证码配置信息

# 客户端验证码
captcha:cache:enabled: truecache-size: 30# 二次验证secondary:enabled: false# 是否初始化默认资源init-default-resource: true
- 在SecurityConfig加入放行接口

@Beanprotected SecurityFilterChain filterChain(HttpSecurity httpSecurity) throws Exception{return httpSecurity// CSRF禁用,因为不使用session.csrf(csrf -> csrf.disable())// 禁用HTTP响应标头.headers((headersCustomizer) -> {headersCustomizer.cacheControl(cache -> cache.disable()).frameOptions(options -> options.sameOrigin());})// 认证失败处理类.exceptionHandling(exception -> exception.authenticationEntryPoint(unauthorizedHandler))// 基于token,所以不需要session.sessionManagement(session -> session.sessionCreationPolicy(SessionCreationPolicy.STATELESS))// 注解标记允许匿名访问的url.authorizeHttpRequests((requests) -> {permitAllUrl.getUrls().forEach(url -> requests.antMatchers(url).permitAll());// 对于登录login 注册register 验证码captchaImage 允许匿名访问requests.antMatchers("/login", "/register", "/captchaImage").permitAll()// 静态资源,可匿名访问.antMatchers(HttpMethod.GET, "/", "/*.html", "/**/*.html", "/**/*.css", "/**/*.js", "/profile/**").permitAll().antMatchers("/swagger-ui.html", "/swagger-resources/**", "/webjars/**", "/*/api-docs", "/druid/**", "/captcha/gen", "/captcha/check", "/captcha/check2").permitAll()// 除上面外的所有请求全部需要鉴权认证.anyRequest().authenticated();})// 添加Logout filter.logout(logout -> logout.logoutUrl("/logout").logoutSuccessHandler(logoutSuccessHandler))// 添加JWT filter.addFilterBefore(authenticationTokenFilter, UsernamePasswordAuthenticationFilter.class)// 添加CORS filter.addFilterBefore(corsFilter, JwtAuthenticationTokenFilter.class).addFilterBefore(corsFilter, LogoutFilter.class).build();}
- 删除ruoyi-admin的common下的CaptchaController !!!!
前端代码
- 在ruoyi-ui的public下加入js和tac
tac 下载地址
load.min.js 下载地址

- 在public的index.html里面引入load.min.js

- 在login.vue加入新的验证码标签
<div id="captcha-box"></div>

- 引入自己的logo
import logo from '@/assets/logo/logo.png'
- 完整的login.vue
<template><div class="login"><el-form ref="loginForm" :model="loginForm" :rules="loginRules" class="login-form"><h3 class="title">若依后台管理系统</h3><el-form-item prop="username"><el-inputv-model="loginForm.username"type="text"auto-complete="off"placeholder="账号"><svg-icon slot="prefix" icon-class="user" class="el-input__icon input-icon"/></el-input></el-form-item><el-form-item prop="password"><el-inputv-model="loginForm.password"type="password"auto-complete="off"placeholder="密码"@keyup.enter.native="handleLogin"><svg-icon slot="prefix" icon-class="password" class="el-input__icon input-icon"/></el-input></el-form-item><!--      注释旧验证码--><!--      <el-form-item prop="code" v-if="captchaEnabled">--><!--        <el-input--><!--          v-model="loginForm.code"--><!--          auto-complete="off"--><!--          placeholder="验证码"--><!--          style="width: 63%"--><!--          @keyup.enter.native="handleLogin"--><!--        >--><!--          <svg-icon slot="prefix" icon-class="validCode" class="el-input__icon input-icon" />--><!--        </el-input>--><!--        <div class="login-code">--><!--          <img :src="codeUrl" @click="getCode" class="login-code-img"/>--><!--        </div>--><!--      </el-form-item>--><!--新的滑块验证吗--><div id="captcha-box"></div><el-checkbox v-model="loginForm.rememberMe" style="margin:0px 0px 25px 0px;">记住密码</el-checkbox><el-form-item style="width:100%;"><el-button:loading="loading"size="medium"type="primary"style="width:100%;"@click.native.prevent="handleLogin"><span v-if="!loading">登 录</span><span v-else>登 录 中...</span></el-button><div style="float: right;" v-if="register"><router-link class="link-type" :to="'/register'">立即注册</router-link></div></el-form-item></el-form><!--  底部  --><div class="el-login-footer"><span>Copyright © 2018-2024 ruoyi.vip All Rights Reserved.</span></div></div>
</template><script>
import Cookies from "js-cookie";
import {encrypt, decrypt} from '@/utils/jsencrypt'
import logo from '@/assets/logo/logo.png'export default {name: "Login",data() {return {codeUrl: "",loginForm: {username: "admin",password: "admin123",rememberMe: false,code: "",uuid: ""},loginRules: {username: [{required: true, trigger: "blur", message: "请输入您的账号"}],password: [{required: true, trigger: "blur", message: "请输入您的密码"}],code: [{required: true, trigger: "change", message: "请输入验证码"}]},loading: false,// 验证码开关captchaEnabled: true,// 注册开关register: false,redirect: undefined};},watch: {$route: {handler: function (route) {this.redirect = route.query && route.query.redirect;},immediate: true}},created() {this.getCookie();},methods: {getCookie() {const username = Cookies.get("username");const password = Cookies.get("password");const rememberMe = Cookies.get('rememberMe')this.loginForm = {username: username === undefined ? this.loginForm.username : username,password: password === undefined ? this.loginForm.password : decrypt(password),rememberMe: rememberMe === undefined ? false : Boolean(rememberMe)};},checkSuccess() {if (this.loginForm.rememberMe) {Cookies.set("username", this.loginForm.username, { expires: 30 });Cookies.set("password", encrypt(this.loginForm.password), { expires: 30, });Cookies.set("rememberMe", this.loginForm.rememberMe, { expires: 30 });} else {Cookies.remove("username");Cookies.remove("password");Cookies.remove("rememberMe");}this.$store.dispatch("Login", this.loginForm).then(() => {this.$router.push({ path: this.redirect || "/" }).catch(() => {});}).catch(() => {this.loading = false;});},handleLogin() {this.$refs.loginForm.validate((valid) => {if (valid) {// config 对象为TAC验证码的一些配置和验证的回调const config = {// 生成接口 (必选项,必须配置, 要符合tianai-captcha默认验证码生成接口规范)requestCaptchaDataUrl: process.env.VUE_APP_BASE_API+"/captcha/gen",// 验证接口 (必选项,必须配置, 要符合tianai-captcha默认验证码校验接口规范)validCaptchaUrl: process.env.VUE_APP_BASE_API+"/captcha/check",// 验证码绑定的div块 (必选项,必须配置)bindEl: "#captcha-box",// 验证成功回调函数(必选项,必须配置)validSuccess: (res, c, tac) => {// 销毁验证码服务tac.destroyWindow();this.checkSuccess()},// 验证失败的回调函数(可忽略,如果不自定义 validFail 方法时,会使用默认的)validFail: (res, c, tac) => {// 验证失败后重新拉取验证码tac.reloadCaptcha();},// 刷新按钮回调事件btnRefreshFun: (el, tac) => {tac.reloadCaptcha();},// 关闭按钮回调事件btnCloseFun: (el, tac) => {tac.destroyWindow();}}let style = {logoUrl: logo,}// 参数1 为 tac文件是目录地址, 目录里包含 tac的js和css等文件// 参数2 为 tac验证码相关配置// 参数3 为 tac窗口一些样式配置window.initTAC("./tac", config, style).then(tac => {tac.init(); // 调用init则显示验证码}).catch(e => {console.log("初始化tac失败", e);})}});},}
};
</script><style rel="stylesheet/scss" lang="scss">
.login {display: flex;justify-content: center;align-items: center;height: 100%;background-image: url("../assets/images/login-background.jpg");background-size: cover;
}.title {margin: 0px auto 30px auto;text-align: center;color: #707070;
}.login-form {border-radius: 6px;background: #ffffff;width: 400px;padding: 25px 25px 5px 25px;.el-input {height: 38px;input {height: 38px;}}.input-icon {height: 39px;width: 14px;margin-left: 2px;}
}.login-tip {font-size: 13px;text-align: center;color: #bfbfbf;
}.login-code {width: 33%;height: 38px;float: right;img {cursor: pointer;vertical-align: middle;}
}.el-login-footer {height: 40px;line-height: 40px;position: fixed;bottom: 0;width: 100%;text-align: center;color: #fff;font-family: Arial;font-size: 12px;letter-spacing: 1px;
}.login-code-img {height: 38px;
}
</style>- 大功告成

- 登录的代码和旧验证码的代码就自己删除了,我就不赘述了
相关文章:

ruoyi-vue集成tianai-captcha验证码
后端代码 官方使用demo文档:http://doc.captcha.tianai.cloud/#%E4%BD%BF%E7%94%A8demo 我的完整代码:https://gitee.com/Min-Duck/RuoYi-Vue.git 主pom.xml 加入依赖 <!-- 滑块验证码 --><dependency><groupId>cloud.tianai.captc…...

Django安装
在终端创建django项目 1.查看自己的python版本 输入对应自己本机python的版本,列如我的是3.11.8 先再全局安装django依赖包 2.在控制窗口输入安装命令: pip3.11 install django 看到Successflully 说明我们就安装成功了 python的Scripts文件用于存…...

Ubuntu 20.04 安装 QGC v4.3 开发环境
Ubuntu 20.04 安装 QGC开发环境 1. 准备安装 Qt 5.15.2安装依赖获取源码 2. 编译参考 前言 QGC ( QGroundControl) 是一个开源地面站,基于QT开发的,有跨平台的功能。可以在Windows,Android,MacOS或Linux上运行。它可以将PX4固件加…...

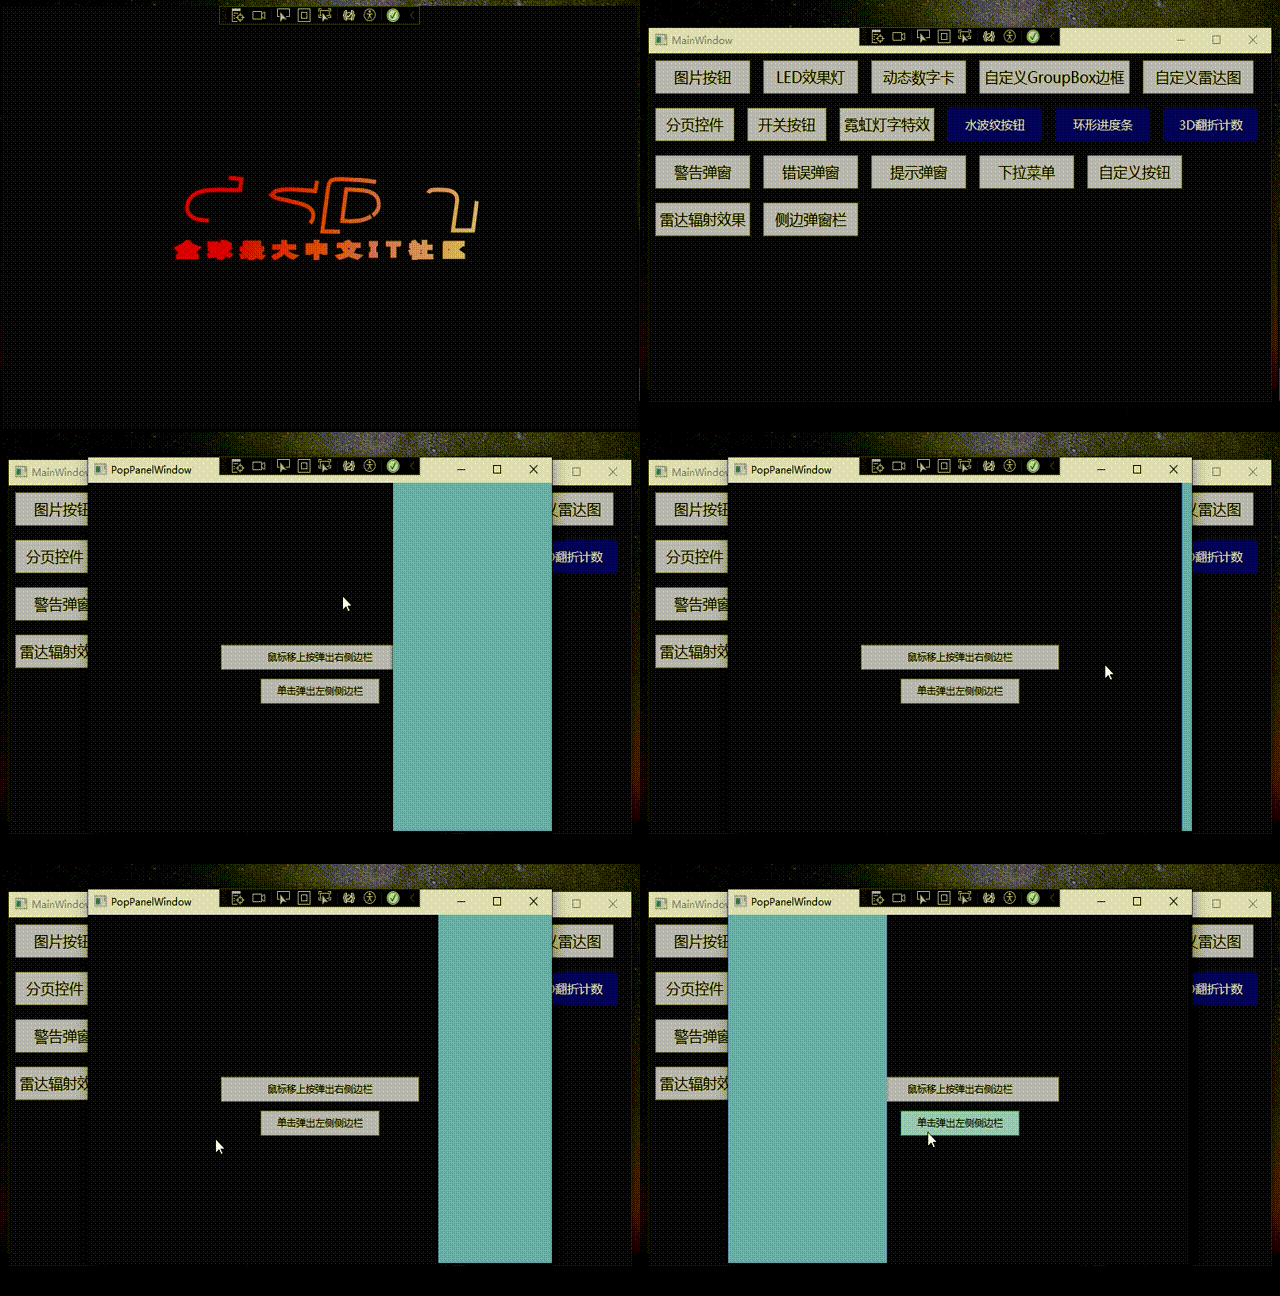
WPF+MVVM案例实战(二十一)- 制作一个侧边弹窗栏(AB类)
文章目录 1、案例效果1、侧边栏分类2、AB类侧边弹窗实现1.文件创建2、样式代码与功能代码实现3、功能代码实现 3 运行效果4、源代码获取 1、案例效果 1、侧边栏分类 A类 :左侧弹出侧边栏B类 :右侧弹出侧边栏C类 :顶部弹出侧边栏D类 …...

linux中怎样登录mysql数据库
在Linux中登录MySQL数据库,可以使用以下命令: mysql -u username -p 其中,username是你的MySQL用户名。运行该命令后,系统会提示你输入密码。 如果MySQL服务器不在本地主机或者你需要指定不同的端口,可以使用以下命…...

深入理解 Linux 内存管理:free 命令详解
在 Linux 系统中,内存是关键的资源之一,管理和监控内存的使用情况对系统的稳定性和性能至关重要。free 命令是 Linux 中用于查看内存使用情况的重要工具,它可以让我们快速了解系统中物理内存和交换分区(Swap)的使用状态…...

指针万字超级最强i解析与总结!!!!!
文章目录 1.内存和地址1.1内存1.2究竟该如何理解编址 2.指针变量和地址2.1 取地址操作符(&)2.2指针变量和解引用操作符(*)2.2.1指针变量2.2.2如何拆解指针类型2.2.3解引用操作符 2.3 指针变量的大小 3.指针变量类型的意义3.1指…...

告别生硬电子音,这款TTS软件让语音转换更自然动听
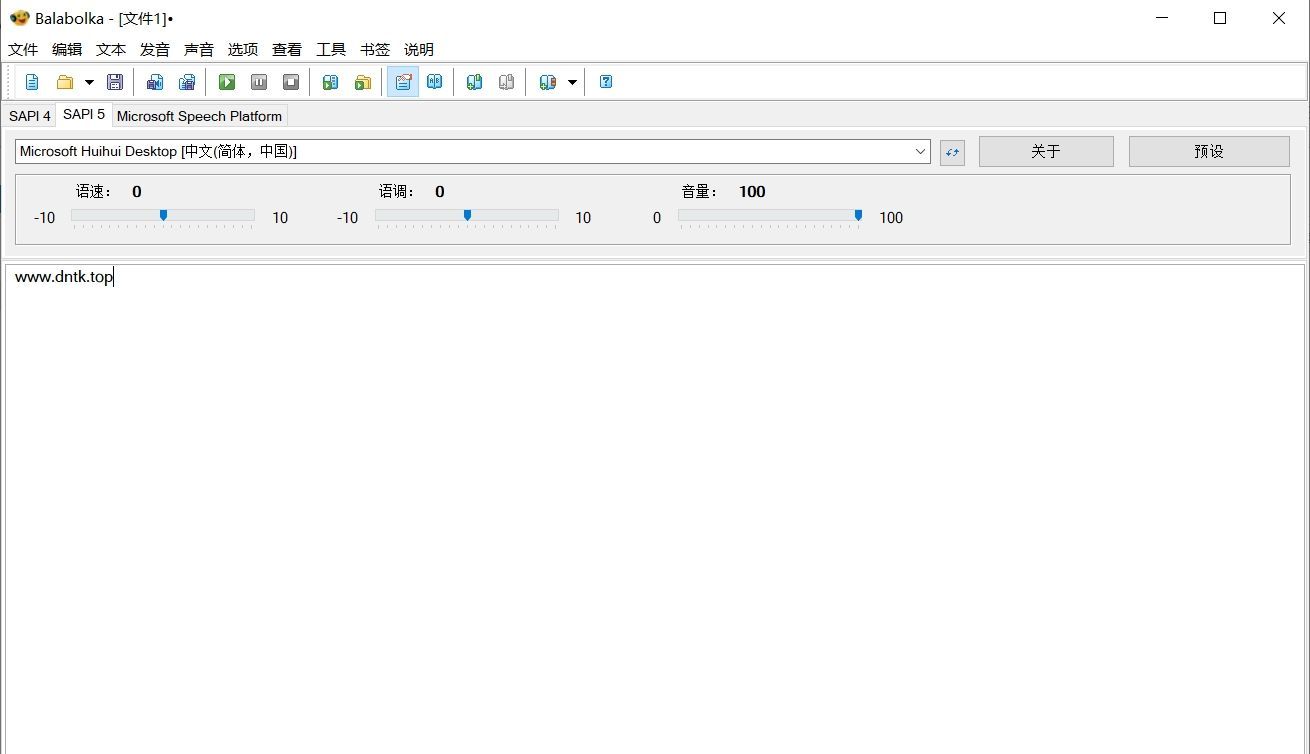
Balabolka是一款革新性的文本语音转换工具,为用户提供了极其灵活和个性化的阅读体验。这款软件不仅仅是简单的文字朗读器,更是一个智能的语音助手,能够将各类文本瞬间转化为生动自然的语音输出。 软件的核心优势在于其卓越的文件兼容性和多样…...
和SOP(同源策略))
CORS(跨域资源共享)和SOP(同源策略)
CORS(跨域资源共享)和SOP(同源策略)不是同一个东西,但它们紧密相关,并且常常一起讨论,因为 CORS 是为了解决同源策略带来的跨域问题而引入的。 同源策略(Same-Origin Policy&#x…...
)
【系统设计】数据库压缩技术详解:从基础到实践(附Redis内存优化实战案例)
概述 在现代数据库系统中,压缩技术对于提高存储效率和加速查询性能至关重要。特别是在处理大规模数据时,压缩能够极大地减少存储空间,并优化查询性能。本文将总结几种常见的压缩方式,并通过详细的解释和示例清晰地展示每种压缩方…...

基于SpringBoot的“乐校园二手书交易管理系统”的设计与实现(源码+数据库+文档+PPT)
基于SpringBoot的“乐校园二手书交易管理系统”的设计与实现(源码数据库文档PPT) 开发语言:Java 数据库:MySQL 技术:SpringBoot 工具:IDEA/Ecilpse、Navicat、Maven 系统展示 系统首页界面图 用户注册界面图 二手…...

debian11安装最新rabbitmq
1、使用官网提供系统对应的安装脚本 安装 版本说明: Debian Buster代表Debian 10 Debian Bullseye代表Debian 11 Debian Bookworm代表Debian 12 Debian Trixie代表Debian 13 Debian Sid代表Debian unstable版本 2、新建脚本文件 vim rabbitMq.sh将脚本内容复制到…...
)
三十三、Python基础语法(面向对象其他语法-下)
一、属性划分 1.类属性 类属性:类属性就是类对象具有的属性,一般写法在类内部、方法的外部定义的变量,就是类属性,类属性在内存中只有一份。可以通过类名直接访问,也可通过实例访问。 class Circle:# 类属性,定义圆…...

简单又便宜的实现电脑远程开机唤醒方法
现有的远程开机方案 1)使用向日葵开机棒 缺点是比较贵一点,开机棒要一百多,而且查了评论发现挺多差评说不稳定,会有断联和无法唤醒的情况,而且设置也麻烦,还需要网卡支持WOL 2)使用远程开机卡 …...

Flutter鸿蒙next 状态管理框架对比分析
在 Flutter 开发中,状态管理是一个非常重要且关键的主题。Flutter 中的应用状态管理直接影响着应用的性能、可维护性和开发效率。随着 Flutter 生态的成熟,已经出现了许多不同的状态管理方案,各具特色,适用于不同的开发场景。本文…...

Vue Router进阶详解
导航守卫 若依框架登录鉴权详解(动态路由)_若依鉴权-CSDN博客 完整的导航解析流程 导航被触发: 当用户点击页面中的链接、使用编程式导航(如router.push或router.replace)或手动输入URL时,导航流程被触发。…...

进程的控制
进程 task_struct mm_struct(虚拟地址空间) 页表 代码和数据 。 新建进程先有管理系统,然后才有代码和数据。 fork()函数:子进程返回0,父进程返回的是子进程的pid - - - 方便父进程对子进程标识。 进程终止:释放代码和数据占…...

基于C语言实现的图书管理系统
使用Visual Studio 2022编译工具进行编写代码的。 项目源码直接奉上: book1.h头文件: #ifndef __BOOK1_H //预处理用于条件编译 避免头文件反复包含 #define __BOOK1_H#include<stdio.h> #include <string.h> #include<stdlib.h> #include<stdbool.h&g…...

删除 需要来自XXXX的权限才能对此文件夹进行更改 文件的解决办法
如果你也是: 如果你也有类似上面的问题,这篇文章算是你看对了,哦哟! 我的牙齿现在是怨灵的牙齿,可以啃下一头牛。 翻遍千山万水,咱们也是终于取到真经了家人们。 首先下一个everything好吗 甩一个官网链…...

ARM base instruction -- ccmp (immediate)
Conditional Compare (immediate) sets the value of the condition flags to the result of the comparison of a register value and an immediate value if the condition is TRUE, and an immediate value otherwise. 此指令一般出现在 cmp 指令之后,表示双重比…...

从零实现富文本编辑器#5-编辑器选区模型的状态结构表达
先前我们总结了浏览器选区模型的交互策略,并且实现了基本的选区操作,还调研了自绘选区的实现。那么相对的,我们还需要设计编辑器的选区表达,也可以称为模型选区。编辑器中应用变更时的操作范围,就是以模型选区为基准来…...

基于服务器使用 apt 安装、配置 Nginx
🧾 一、查看可安装的 Nginx 版本 首先,你可以运行以下命令查看可用版本: apt-cache madison nginx-core输出示例: nginx-core | 1.18.0-6ubuntu14.6 | http://archive.ubuntu.com/ubuntu focal-updates/main amd64 Packages ng…...

Spring Boot+Neo4j知识图谱实战:3步搭建智能关系网络!
一、引言 在数据驱动的背景下,知识图谱凭借其高效的信息组织能力,正逐步成为各行业应用的关键技术。本文聚焦 Spring Boot与Neo4j图数据库的技术结合,探讨知识图谱开发的实现细节,帮助读者掌握该技术栈在实际项目中的落地方法。 …...

Python如何给视频添加音频和字幕
在Python中,给视频添加音频和字幕可以使用电影文件处理库MoviePy和字幕处理库Subtitles。下面将详细介绍如何使用这些库来实现视频的音频和字幕添加,包括必要的代码示例和详细解释。 环境准备 在开始之前,需要安装以下Python库:…...

均衡后的SNRSINR
本文主要摘自参考文献中的前两篇,相关文献中经常会出现MIMO检测后的SINR不过一直没有找到相关数学推到过程,其中文献[1]中给出了相关原理在此仅做记录。 1. 系统模型 复信道模型 n t n_t nt 根发送天线, n r n_r nr 根接收天线的 MIMO 系…...

Java + Spring Boot + Mybatis 实现批量插入
在 Java 中使用 Spring Boot 和 MyBatis 实现批量插入可以通过以下步骤完成。这里提供两种常用方法:使用 MyBatis 的 <foreach> 标签和批处理模式(ExecutorType.BATCH)。 方法一:使用 XML 的 <foreach> 标签ÿ…...

QT3D学习笔记——圆台、圆锥
类名作用Qt3DWindow3D渲染窗口容器QEntity场景中的实体(对象或容器)QCamera控制观察视角QPointLight点光源QConeMesh圆锥几何网格QTransform控制实体的位置/旋转/缩放QPhongMaterialPhong光照材质(定义颜色、反光等)QFirstPersonC…...

基于SpringBoot在线拍卖系统的设计和实现
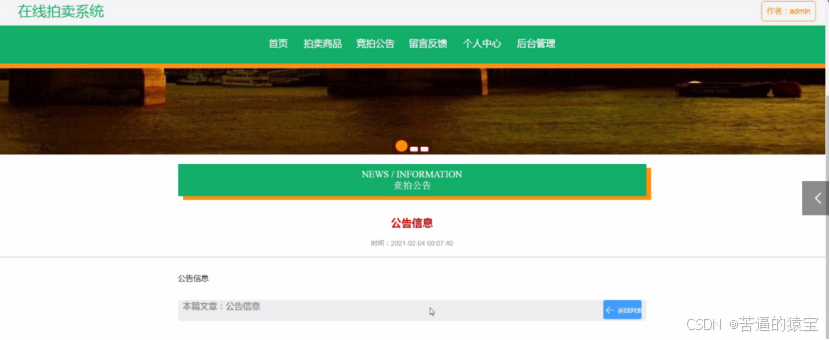
摘 要 随着社会的发展,社会的各行各业都在利用信息化时代的优势。计算机的优势和普及使得各种信息系统的开发成为必需。 在线拍卖系统,主要的模块包括管理员;首页、个人中心、用户管理、商品类型管理、拍卖商品管理、历史竞拍管理、竞拍订单…...

打手机检测算法AI智能分析网关V4守护公共/工业/医疗等多场景安全应用
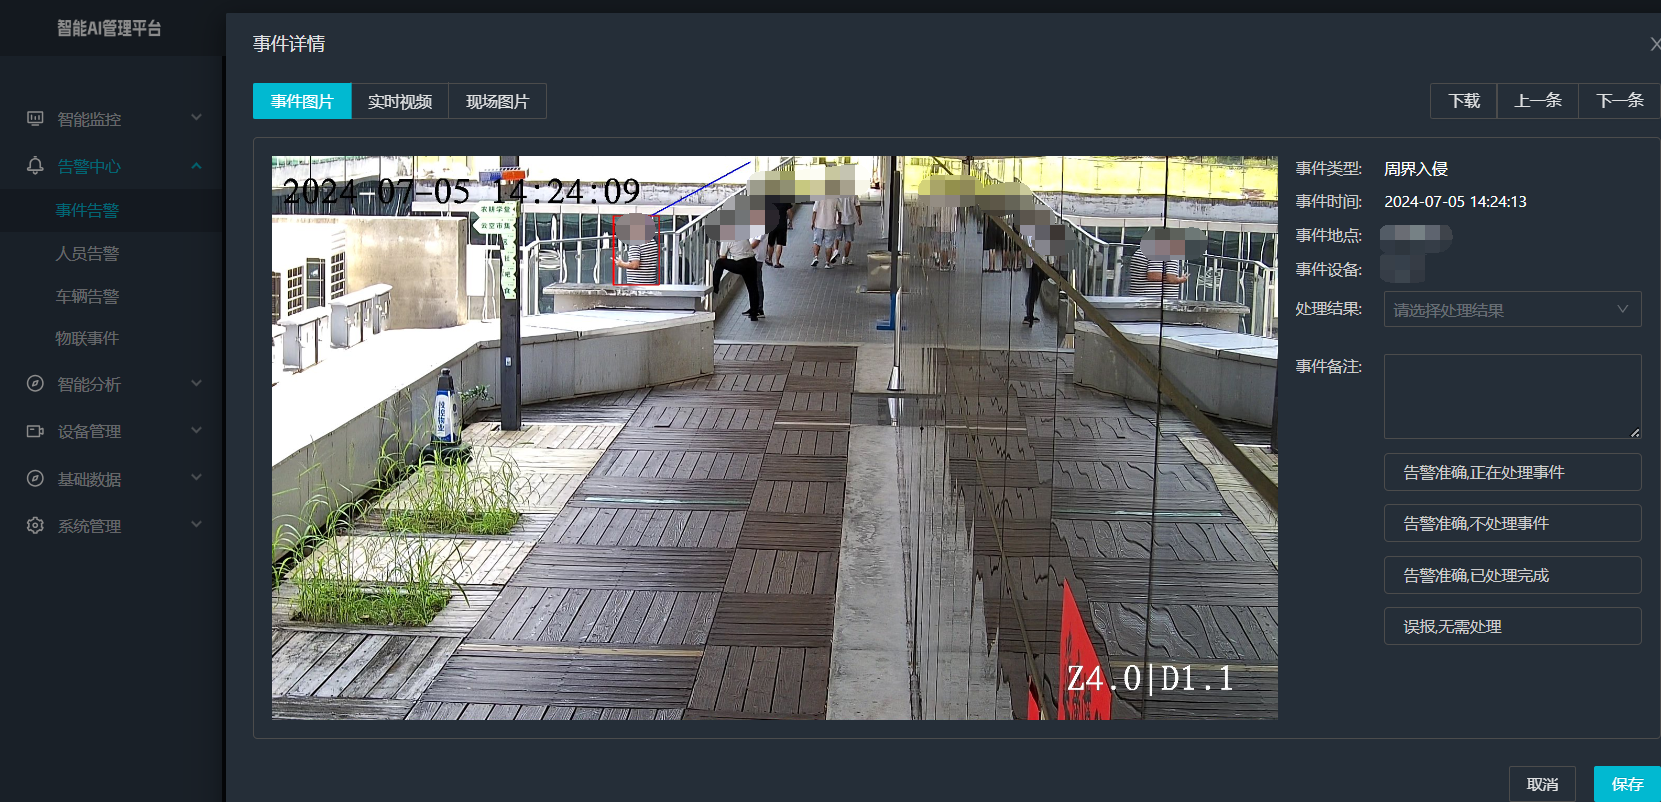
一、方案背景 在现代生产与生活场景中,如工厂高危作业区、医院手术室、公共场景等,人员违规打手机的行为潜藏着巨大风险。传统依靠人工巡查的监管方式,存在效率低、覆盖面不足、判断主观性强等问题,难以满足对人员打手机行为精…...

基于Java+VUE+MariaDB实现(Web)仿小米商城
仿小米商城 环境安装 nodejs maven JDK11 运行 mvn clean install -DskipTestscd adminmvn spring-boot:runcd ../webmvn spring-boot:runcd ../xiaomi-store-admin-vuenpm installnpm run servecd ../xiaomi-store-vuenpm installnpm run serve 注意:运行前…...
