resnet50,clip,Faiss+Flask简易图文搜索服务
一、实现
文件夹目录结构:
templates
-----upload.html
faiss_app.py
前端代码:
<!DOCTYPE html>
<html lang="en">
<head><meta charset="UTF-8"><meta name="viewport" content="width=device-width, initial-scale=1.0"><title>Search and Show Multiple Images</title><style>#image-container {display: flex;flex-wrap: wrap;}#image-container img {max-width: 150px;margin: 10px;}</style>
</head>
<body><h1>Search Images</h1><!-- 上传表单 --><form id="upload-form" enctype="multipart/form-data"><input type="file" id="file-input" name="file" accept="image/*" required><input type="submit" value="Upload"></form><!-- 搜索框 --><form id="search-form"><input type="text" id="search-input" name="query" placeholder="Enter search term" required><input type="submit" value="Search"></form><h2>Search Results</h2><!-- 显示搜索返回的多张图片 --><div id="image-container"></div><!-- 使用JS处理表单提交 --><script>document.getElementById('search-form').addEventListener('submit', async function(event) {event.preventDefault();  // 阻止表单默认提交行为const query = document.getElementById('search-input').value;  // 获取搜索框中的输入内容try {// 发送GET请求,将搜索关键词发送到后端const response = await fetch(`/search?query=${encodeURIComponent(query)}`, {method: 'GET',});// 确保服务器返回JSON数据const data = await response.json();// 清空图片容器const imageContainer = document.getElementById('image-container');imageContainer.innerHTML = '';// 遍历后端返回的图片URL数组,动态创建<img>标签并渲染data.image_urls.forEach(url => {const imgElement = document.createElement('img');imgElement.src = url;  // 设置图片的src属性为返回的URLimageContainer.appendChild(imgElement);  // 将图片添加到容器中});} catch (error) {console.error('Error searching for images:', error);}});document.getElementById('upload-form').addEventListener('submit', async function(event) {event.preventDefault();  // 阻止表单默认提交行为const fileInput = document.getElementById('file-input');const formData = new FormData();formData.append('file', fileInput.files[0]);  // 获取用户上传的图片文件try {// 发送POST请求,将图片发送到后端const response = await fetch('/search_by_images', {method: 'POST',body: formData});// 确保服务器返回JSON数据const data = await response.json();// 清空图片容器const imageContainer = document.getElementById('image-container');imageContainer.innerHTML = '';// 遍历后端返回的图片URL数组,动态创建<img>标签并渲染data.image_urls.forEach(url => {const imgElement = document.createElement('img');imgElement.src = url;  // 设置图片的src属性为返回的URLimageContainer.appendChild(imgElement);  // 将图片添加到容器中});} catch (error) {console.error('Error uploading file:', error);}});</script>
</body>
</html>
后端代码:
from sentence_transformers import SentenceTransformer, util
from torchvision import models, transforms
from PIL import Image
from flask import Flask, request, jsonify, current_app, render_template, send_from_directory, url_for
from werkzeug.utils import secure_filename
import faiss
import os, glob
import numpy as np
from markupsafe import escape
import shutil#Load CLIP model
model = SentenceTransformer('clip-ViT-B-32')
IMAGE_EXTENSIONS = {'.jpg', '.jpeg', '.png', '.gif', '.bmp'}UPLOAD_FOLDER = 'uploads/'
IMAGES_PATH  = "C:\\Users\\cccc\\Pictures\\cls_auto_config"def generate_clip_embeddings(images_path, model):image_paths = []# 使用 os.walk 遍历所有子目录和文件for root, dirs, files in os.walk(images_path):for file in files:# 获取文件的扩展名并转换为小写ext = os.path.splitext(file)[1].lower()# 判断是否是图片文件if ext in IMAGE_EXTENSIONS:image_paths.append(os.path.join(root, file)) embeddings = []for img_path in image_paths:image = Image.open(img_path)embedding = model.encode(image)embeddings.append(embedding)return embeddings, image_pathsdef generate_res50_embeddings(images_path):# Load the pretrained modelres50_model = models.resnet50(pretrained=True)res50_model = res50_model.eval()# Define the image transformationstransform = transforms.Compose([transforms.Resize(256),transforms.CenterCrop(224),transforms.ToTensor(),transforms.Normalize(mean=[0.485, 0.456, 0.406], std=[0.229, 0.224, 0.225]),])image_paths = []# 使用 os.walk 遍历所有子目录和文件for root, dirs, files in os.walk(images_path):for file in files:# 获取文件的扩展名并转换为小写ext = os.path.splitext(file)[1].lower()# 判断是否是图片文件if ext in IMAGE_EXTENSIONS:image_paths.append(os.path.join(root, file)) embeddings = []for img_path in image_paths:image = Image.open(img_path)# Apply the transformations and get the image vectorimage = transform(image).unsqueeze(0)image_vector = res50_model(image).detach().numpy()embeddings.append(image_vector[0])return embeddings, image_pathsdef create_faiss_index(embeddings, image_paths, output_path):dimension = len(embeddings[0])# 分情况创建Faiss索引对象if len(image_paths) < 39 * 256:# 如果条目很少,直接用最普通的L2索引faiss_index = faiss.IndexFlatL2(dimension)elif len(image_paths) < 39 * 4096:# 如果条目少于39 × 4096,就只用PQ量化,不使用IVFfaiss_index = faiss.index_factory(dimension, 'OPQ64_256,PQ64x8')else:# 否则就加上IVFfaiss_index = faiss.index_factory(dimension, 'OPQ64_256,IVF4096,PQ64x8')res = faiss.StandardGpuResources()co = faiss.GpuClonerOptions()co.useFloat16 = Truefaiss_index = faiss.index_cpu_to_gpu(res, 0, faiss_index, co)#index = faiss.IndexFlatIP(dimension)faiss_index = faiss.IndexIDMap(faiss_index)vectors = np.array(embeddings).astype(np.float32)# Add vectors to the index with IDsfaiss_index.add_with_ids(vectors, np.array(range(len(embeddings))))# Save the indexfaiss_index = faiss.index_gpu_to_cpu(faiss_index)faiss.write_index(faiss_index, output_path)print(f"Index created and saved to {output_path}")# Save image pathswith open(output_path + '.paths', 'w') as f:for img_path in image_paths:f.write(img_path + '\n')return faiss_indexdef load_faiss_index(index_path):faiss_index = faiss.read_index(index_path)with open(index_path + '.paths', 'r') as f:image_paths = [line.strip() for line in f]print(f"Index loaded from {index_path}")if not faiss_index.is_trained:raise RuntimeError(f'从[{index_path}]加载的Faiss索引未训练')res = faiss.StandardGpuResources()co = faiss.GpuClonerOptions()co.useFloat16 = Truefaiss_index = faiss.index_cpu_to_gpu(res, 0, faiss_index, co)return faiss_index, image_pathsdef retrieve_similar_images(query, model, index, image_paths, top_k=3):# query preprocess:if query.endswith(('.png', '.jpg', '.jpeg', '.tiff', '.bmp', '.gif')):query = Image.open(query)query_features = model.encode(query)query_features = query_features.astype(np.float32).reshape(1, -1)distances, indices = index.search(query_features, top_k)retrieved_images = [image_paths[int(idx)] for idx in indices[0]]return query, retrieved_imagesdef retrieve_res50_similar_images(query, index, image_paths, top_k=3):# query preprocess:if query.endswith(('.png', '.jpg', '.jpeg', '.tiff', '.bmp', '.gif')):image = Image.open(query)# Load the pretrained modelres50_model = models.resnet50(pretrained=True)res50_model = res50_model.eval()# Define the image transformationstransform = transforms.Compose([transforms.Resize(256),transforms.CenterCrop(224),transforms.ToTensor(),transforms.Normalize(mean=[0.485, 0.456, 0.406], std=[0.229, 0.224, 0.225]),])# Apply the transformations and get the image vectorimage = transform(image).unsqueeze(0)query_features = res50_model(image).detach().numpy()query_features = query_features[0]query_features = query_features.astype(np.float32).reshape(1, -1)distances, indices = index.search(query_features, top_k)retrieved_images = [image_paths[int(idx)] for idx in indices[0]]return query, retrieved_images# 检查文件扩展名是否允许
def allowed_file(filename):return '.' in filename and "." + filename.rsplit('.', 1)[1].lower() in IMAGE_EXTENSIONSdef search():query = request.args.get('query')  # 获取搜索关键词safe_query = escape(query)if not query:return jsonify({"error": "No search query provided"}), 400index, image_paths = None, []OUTPUT_INDEX_PATH = f"{app.config['UPLOAD_FOLDER']}/vector.index"if os.path.exists(OUTPUT_INDEX_PATH):index, image_paths = load_faiss_index(OUTPUT_INDEX_PATH)else:# embeddings, image_paths = generate_clip_embeddings(IMAGES_PATH, model)embeddings, image_paths = generate_res50_embeddings(IMAGES_PATH)index = create_faiss_index(embeddings, image_paths, OUTPUT_INDEX_PATH)query, retrieved_images = retrieve_similar_images(query, model, index, image_paths, top_k=5)image_urls = []for path in retrieved_images:base_name = os.path.basename(path)shutil.copy(path, os.path.join(app.config['UPLOAD_FOLDER'], base_name))image_urls.append(url_for('uploaded_file_path', filename=base_name))return jsonify({"image_urls": image_urls})def search_by_images():# 检查请求中是否有文件if 'file' not in request.files:return jsonify({"error": "No file part"}), 400file = request.files['file']# 检查文件是否为空if file.filename == '':return jsonify({"error": "No selected file"}), 400print(file.filename)if file and allowed_file(file.filename):filename = secure_filename(file.filename)filepath = os.path.join(app.config['UPLOAD_FOLDER'], filename)file.save(filepath)index, image_paths = None, []OUTPUT_INDEX_PATH = f"{app.config['UPLOAD_FOLDER']}/images_vector.index"if os.path.exists(OUTPUT_INDEX_PATH):index, image_paths = load_faiss_index(OUTPUT_INDEX_PATH)else:embeddings, image_paths = generate_res50_embeddings(IMAGES_PATH)index = create_faiss_index(embeddings, image_paths, OUTPUT_INDEX_PATH)filepath, retrieved_images = retrieve_res50_similar_images(filepath, index, image_paths, top_k=5)image_urls = []for path in retrieved_images:base_name = os.path.basename(path)shutil.copy(path, os.path.join(app.config['UPLOAD_FOLDER'], base_name))image_urls.append(url_for('uploaded_file_path', filename=base_name))return jsonify({"image_urls": image_urls})else:return jsonify({"error": "Invalid file"}), 400def index():return render_template('upload.html')# 提供静态文件的访问路径
def uploaded_file_path(filename):return send_from_directory(app.config['UPLOAD_FOLDER'], filename)if __name__ == "__main__":app = Flask(__name__)app.config['UPLOAD_FOLDER'] = UPLOAD_FOLDERif not os.path.exists(UPLOAD_FOLDER):os.makedirs(UPLOAD_FOLDER)# 主页显示上传表单app.route('/')(index)app.route('/search', methods=['GET'])(search)app.route('/uploads/images/<filename>')(uploaded_file_path)app.route('/search_by_images', methods=['POST'])(search_by_images)app.run(host='0.0.0.0', port=8080, debug=True)
二、实现效果

三、参考文章
1. https://towardsdatascience.com/building-an-image-similarity-search-engine-with-faiss-and-clip-2211126d08fa
2.向量数据库Faiss的搭建与使用 - 很久8899 - 博客园
相关文章:
resnet50,clip,Faiss+Flask简易图文搜索服务
一、实现 文件夹目录结构: templates -----upload.html faiss_app.py 前端代码: <!DOCTYPE html> <html lang"en"> <head><meta charset"UTF-8"><meta name"viewport" content"widt…...

使用OkHttp进行HTTPS请求的Kotlin实现
OkHttp简介 OkHttp是一个高效的HTTP客户端,它支持同步和异步请求,自动处理重试和失败,支持HTTPS,并且可以轻松地与Kotlin协程集成。OkHttp的设计目标是提供最简洁的API,同时保持高性能和低延迟。 为什么选择OkHttp …...
使用Mac下载MySQL修改密码
Mac下载MySQL MySQL官网链接MySQL 当进入到官网后下滑到community社区,进行下载 然后选择community sever下载 这里就是要下载的界面,如果需要下载之前版本的话可以点击archives, 可能会因为这是外网原因,有时候下…...

运维面试题.云计算面试题集锦第一套
运维+网络安全学科基础升就业 测试题(总分100分) 一,单词翻译(10分,直接写在答题卡上) 二,单选题(每题2分,共30题): 1.如下哪个属于管道符?( ) A、|| B、<< C、// D、| 2.有一备份程序mybackup,需要在周一至周五下午1点和晚上8点各运行一次,下面哪条cront…...

CSS-flex布局
flex常用语法 display: flex 父级元素相关 flex-direction 主轴方向【水平方向(默认)、垂直方向】justify-content 主轴上的对齐方式【flex-end结束对齐、space-between两端对齐、center】align-items 交叉轴的对齐方式【center、flex-end】flex-wrap…...

Linux:进程的优先级 进程切换
文章目录 前言一、进程优先级1.1 基本概念1.2 查看系统进程1.3 PRI和NI1.4 调整优先级1.4.1 top命令1.4.2 nice命令1.4.3 renice命令 二、进程切换2.1 补充概念2.2 进程的运行和切换步骤(重要) 二、Linux2.6内核进程O(1)调度队列(重要&#x…...

web应用安全和信息泄露
使用springboot开发的应用可能存在各种使用不当导致的信息泄露和漏洞,在此记录 1:spring actuator导致的信息泄露 使用spring actuator你可以选择通过使用HTTP端点或使用JMX来管理和监控你的应用程序。 审计、健康和指标收集也可以自动应用于你的应用程…...

创建vue3项目步骤
脚手架创建项目: pnpm create vue Cd 项目名称安装依赖:Pnpm iPnpm Lint:修复所有文件风格 ,不然eslint语法警告报错要双引号Pnpm dev启动项目 拦截错误代码提交到git仓库:提交前做代码检查 pnpm dlx husky-in…...

尽量通俗易懂地概述.Net U nity跨语言/跨平台相关知识
本文参考来自唐老狮,Unity3D高级编程:主程手记,ai等途径 仅作学习笔记交流分享 目录 1. .Net是什么? 2. .Net框架的核心要点? 跨语言和跨平台 .Net x Unity跨平台发展史 Net Framework 2002 Unity跨平台之 Mono 2004 Unity跨平台之 IL2CPP 2015 二者区别 .NET Core …...

【AlphaFold3】开源本地的安装及使用
文章目录 安装安装DockerInstalling Docker on Host启用Rootless Docker 安装 GPU 支持安装 NVIDIA 驱动程序安装 NVIDIA 对 Docker 的支持 获取 AlphaFold 3 源代码获取基因数据库获取模型参数构建将运行 AlphaFold 3 的 Docker 容器 参考 AlphaFold3: https://github.com/goo…...
vue2/vue3中使用的富文本编辑器vue-quill
前言: 整理下常用的富文本编辑器工具。 vue3: 实现效果: 实现步骤: 1、安装插件, 编辑器核心插件 vueup/vue-quill yarn add pnpm i npm i cnpm i vueup/vue-quill vueup/vue-quill 2、安装选择性插件 &a…...

论文阅读《BEVFormer v2》
BEVFormer v2: Adapting Modern Image Backbones to Bird’s-Eye-View Recognition via Perspective Supervision 目录 摘要1 介绍2 相关工作2.1 BEV三维目标检测器 摘要 我们提出了一种具有透视监督的新型鸟瞰图(BEV)检测器,其收敛速度更快…...
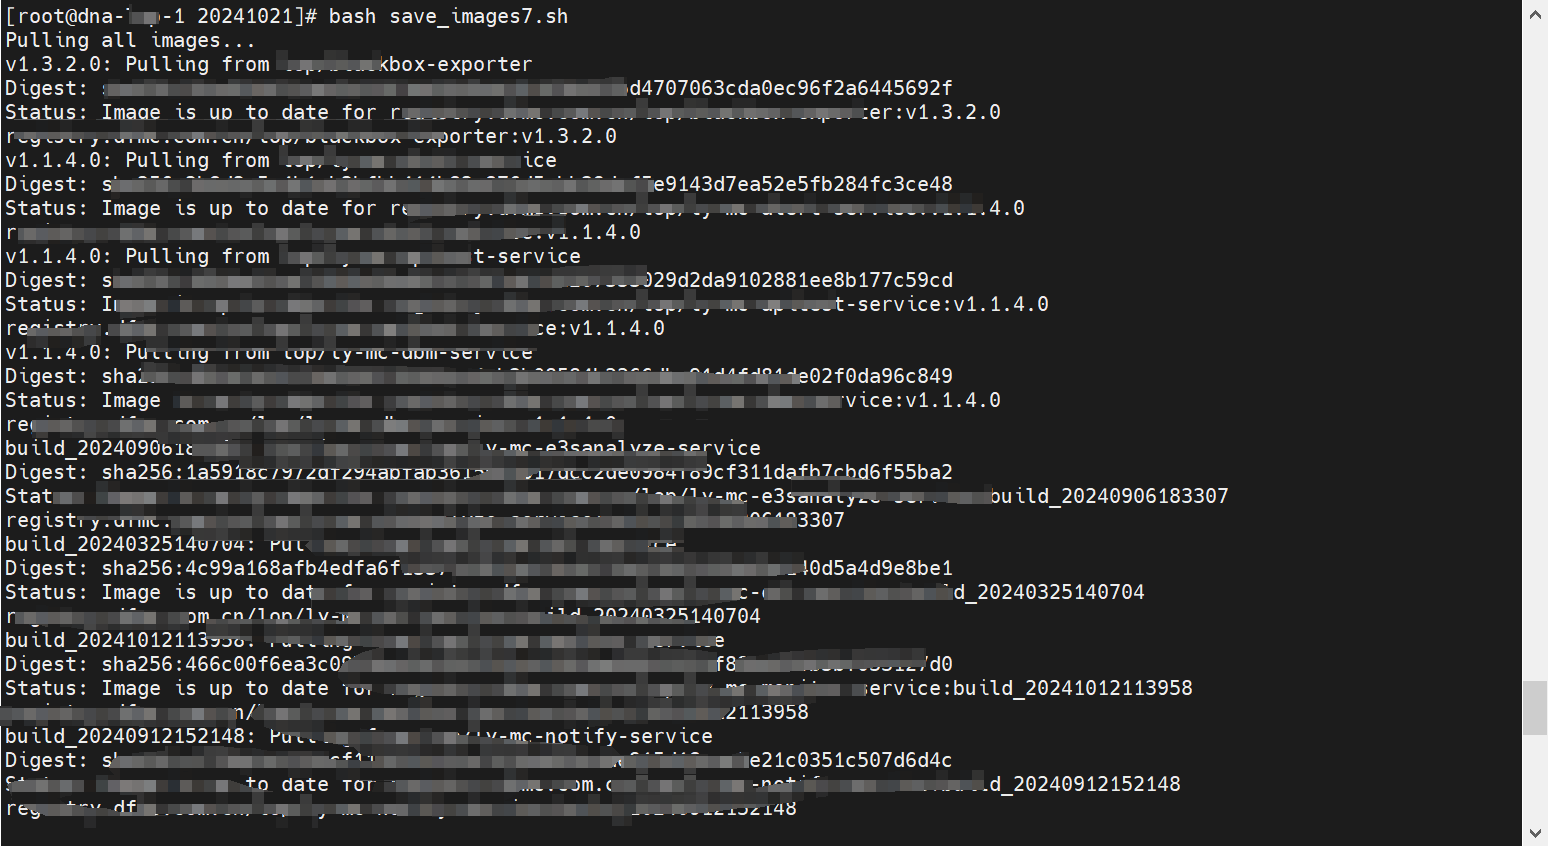
自动化运维(k8s):一键获取指定命名空间镜像包脚本
前言:脚本写成并非一蹴而就,需要不断的调式和修改,这里也是改到了7版本才在 生产环境 中验证成功。 该命令 和 脚本适用于以下场景:在某些项目中,由于特定的安全或政策要求,不允许连接到你的镜像仓库。然而…...

HarmonyOS ArkUI(基于ArkTS) 开发布局 (上)
一 ArkUI(基于ArkTS)概述 基于ArkTS的声明式开发范式的方舟开发框架是一套开发极简、高性能、支持跨设备的UI开发框架,提供了构建应用UI所必需的能力 点击详情 特点 开发效率高,开发体验好 代码简洁:通过接近自然语义的方式描述UI&#x…...

第九部分 :1.STM32之通信接口《精讲》(USART,I2C,SPI,CAN,USB)
本芯片使用的是STM32F103C8T6型号 STM32F103C8T6是STM32F1系列中的一种较常用的低成本ARM Cortex-M3内核MCU,具有丰富的通信接口,包括USART、SPI、I2C等。下面是该芯片上通信接口的管脚分布、每个接口的工作模式、常用应用场景和注意事项。 1. USART (通…...

5. langgraph中的react agent使用 (从零构建一个react agent)
1. 定义 Agent 状态 首先,我们需要定义 Agent 的状态,这包括 Agent 所持有的消息。 from typing import (Annotated,Sequence,TypedDict, ) from langchain_core.messages import BaseMessage from langgraph.graph.message import add_messagesclass …...

uniapp vue3的下拉刷新和上拉加载
开启页面的下拉刷新,注意这个不是可滚动视图的下拉刷新. 一般页面建议使用页面外的,不要使用scroll-view里面的下拉刷新. pages: "pages": [ {"path": "pages/index/index","style": {"navigationBarTitleText": "首…...

STM32设计井下瓦斯检测联网WIFI加Zigbee多路节点协调器传输
目录 目录 前言 一、本设计主要实现哪些很“开门”功能? 二、电路设计原理图 1.电路图采用Altium Designer进行设计: 2.实物展示图片 三、程序源代码设计 四、获取资料内容 前言 本系统基于STM32微控制器和Zigbee无线通信技术,设计了…...

Vue 3 中的原生事件监听与组件事件处理详解
Vue 3 中的原生事件监听与组件事件处理完全指南 在 Vue 3 中,事件监听和事件处理是组件交互中的关键部分。Vue 提供了一套简单而强大的事件处理机制,可以方便地监听 DOM 原生事件和组件自定义事件。本篇文章将详细介绍 Vue 3 中事件的使用,包…...

Flink Source 详解
Flink Source 详解 原文 flip-27 FLIP-27 介绍了新版本Source 接口定义及架构 相比于SourceFunction,新版本的Source更具灵活性,原因是将“splits数据获取”与真“正数据获取”逻辑进行了分离 重要部件 Source 作为工厂类,会创建以下两…...

GPU需求曲线重塑:从季节性疲软到持续高烧的产业变革
1. 从“季节性疲软”到“持续高烧”:GPU需求曲线的范式转移如果你在2020年之前关注过半导体行业,尤其是PC和图形处理器市场,你会熟悉一个词:“季节性”。通常,第二季度是传统的淡季,消费者在经历了第一季度…...

告别IDEA编译警告:深入解析JDK版本过时问题与多维度解决方案
1. 当IDEA开始"抱怨":那些烦人的编译警告从哪来? 每次打开老项目,总能看到那个熟悉的黄色警告:"Warning:java: 源值1.5已过时,将在未来所有发行版中删除"。这个提示就像个唠叨的老朋友,…...

Steam成就管理终极指南:三步掌握高效成就解锁技巧
Steam成就管理终极指南:三步掌握高效成就解锁技巧 【免费下载链接】SteamAchievementManager A manager for game achievements in Steam. 项目地址: https://gitcode.com/gh_mirrors/st/SteamAchievementManager Steam Achievement Manager(SAM&…...

除了综合,DC Shell还能这么用:快速搭建一个轻量级RTL/Netlist查看与调试环境
DC Shell的隐藏技能:打造高效RTL/Netlist交互式调试环境 在数字芯片设计流程中,工程师们经常需要快速查看和分析RTL或网表文件。传统方法要么启动完整的综合流程耗时费力,要么依赖第三方工具可能面临兼容性问题。实际上,Synopsys …...

《凰标》与《第一大道》:同一宇宙下的龙凤双璧@凤凰标志
龙凤双璧:海棠山铁哥文学宇宙宣言——《第一大道》《凰标》世界观联动白皮书一、时代之问:当网文只剩“单兵”市场痛点铁哥答案单兵叙事双IP共生世界观割裂同源宇宙IP不成体系闭环叙事 二、宇宙基石:一破一立的双璧格局 #mermaid-svg-A2eFhZn…...
图灵-人工智能之父)
图解人工智能(7)图灵-人工智能之父
图灵对人工智能这门学科做出了哪些贡献?这些贡献对于人工智能这门科学有什么重要意义?图灵提出图灵机模型,为人工智能准备了工具; 提出智能机器设想,奠定了人工智能的思想基础;提出图灵测试,为评估人工智能…...

测水位·报雨情·预洪水:水文监测站
水文监测站采用先进平面阵列雷达微波探测技术,设备悬空架设、非接触式采集河道水体数据。通过高精度雷达天线持续发射微波信号,穿透空气介质触达水面后反射回波,系统精准测算信号传播时长与多普勒频移变化,结合设备自带角度校准功…...

从波形到Mel谱图:机器学习音频特征提取的完整实践指南
1. 音频信号处理基础:从物理世界到数字信号 第一次接触音频信号处理时,我被那一串串看似随机的波形数据弄得一头雾水。直到后来才明白,这些数字背后其实对应着我们熟悉的物理现象——声音。声音的本质是空气压力的变化,就像水面泛…...

Python 项目结构与相对导入的实践
在 Python 编程中,模块间的导入是非常常见的操作,但有时会遇到一些棘手的问题,比如相对导入的错误。让我们通过一个具体的例子来探讨如何解决这些问题。 问题描述 假设你有一个名为 draft 的文件夹结构如下: draft/model/a.pypackage/b.py在 b.py 中,你希望导入 a.py 中…...

八大网盘直链获取开源工具全面指南:如何高效管理你的云端文件下载
八大网盘直链获取开源工具全面指南:如何高效管理你的云端文件下载 【免费下载链接】Online-disk-direct-link-download-assistant 一个基于 JavaScript 的网盘文件下载地址获取工具。基于【网盘直链下载助手】修改 ,支持 百度网盘 / 阿里云盘 / 中国移动…...