SpringIoC原理
我是南城余!阿里云开发者平台专家博士证书获得者!
欢迎关注我的博客!一同成长!
一名从事运维开发的worker,记录分享学习。
专注于AI,运维开发,windows Linux 系统领域的分享!
本章节对应知识库
https://www.yuque.com/nanchengcyu/java
本内容来自尚硅谷课程,此处在知识库做了个人理解
4、原理-手写IoC
我们都知道,Spring框架的IOC是基于Java反射机制实现的,下面我们先回顾一下java反射。
4.1、回顾Java反射
Java反射机制是在运行状态中,对于任意一个类,都能够知道这个类的所有属性和方法;对于任意一个对象,都能够调用它的任意方法和属性;这种动态获取信息以及动态调用对象方法的功能称为Java语言的反射机制。简单来说,反射机制指的是程序在运行时能够获取自身的信息。
要想解剖一个类,必须先要获取到该类的Class对象。而剖析一个类或用反射解决具体的问题就是使用相关API**(1)java.lang.Class(2)java.lang.reflect**,所以,Class对象是反射的根源。
自定义类
package com.atguigu.reflect;public class Car {//属性private String name;private int age;private String color;//无参数构造public Car() {}//有参数构造public Car(String name, int age, String color) {this.name = name;this.age = age;this.color = color;}//普通方法private void run() {System.out.println("私有方法-run.....");}//get和set方法public String getName() {return name;}public void setName(String name) {this.name = name;}public int getAge() {return age;}public void setAge(int age) {this.age = age;}public String getColor() {return color;}public void setColor(String color) {this.color = color;}@Overridepublic String toString() {return "Car{" +"name='" + name + '\'' +", age=" + age +", color='" + color + '\'' +'}';}
}
编写测试类
package com.atguigu.reflect;import org.junit.jupiter.api.Test;
import java.lang.reflect.Constructor;
import java.lang.reflect.Field;
import java.lang.reflect.Method;public class TestCar {//1、获取Class对象多种方式@Testpublic void test01() throws Exception {//1 类名.classClass clazz1 = Car.class;//2 对象.getClass()Class clazz2 = new Car().getClass();//3 Class.forName("全路径")Class clazz3 = Class.forName("com.atguigu.reflect.Car");//实例化Car car = (Car)clazz3.getConstructor().newInstance();System.out.println(car);}//2、获取构造方法@Testpublic void test02() throws Exception {Class clazz = Car.class;//获取所有构造// getConstructors()获取所有public的构造方法
//        Constructor[] constructors = clazz.getConstructors();// getDeclaredConstructors()获取所有的构造方法public  privateConstructor[] constructors = clazz.getDeclaredConstructors();for (Constructor c:constructors) {System.out.println("方法名称:"+c.getName()+" 参数个数:"+c.getParameterCount());}//指定有参数构造创建对象//1 构造public
//        Constructor c1 = clazz.getConstructor(String.class, int.class, String.class);
//        Car car1 = (Car)c1.newInstance("夏利", 10, "红色");
//        System.out.println(car1);//2 构造privateConstructor c2 = clazz.getDeclaredConstructor(String.class, int.class, String.class);c2.setAccessible(true);Car car2 = (Car)c2.newInstance("捷达", 15, "白色");System.out.println(car2);}//3、获取属性@Testpublic void test03() throws Exception {Class clazz = Car.class;Car car = (Car)clazz.getDeclaredConstructor().newInstance();//获取所有public属性//Field[] fields = clazz.getFields();//获取所有属性(包含私有属性)Field[] fields = clazz.getDeclaredFields();for (Field field:fields) {if(field.getName().equals("name")) {//设置允许访问field.setAccessible(true);field.set(car,"五菱宏光");System.out.println(car);}System.out.println(field.getName());}}//4、获取方法@Testpublic void test04() throws Exception {Car car = new Car("奔驰",10,"黑色");Class clazz = car.getClass();//1 public方法Method[] methods = clazz.getMethods();for (Method m1:methods) {//System.out.println(m1.getName());//执行方法 toStringif(m1.getName().equals("toString")) {String invoke = (String)m1.invoke(car);//System.out.println("toString执行了:"+invoke);}}//2 private方法Method[] methodsAll = clazz.getDeclaredMethods();for (Method m:methodsAll) {//执行方法 runif(m.getName().equals("run")) {m.setAccessible(true);m.invoke(car);}}}
}
4.2、实现Spring的IoC
我们知道,IoC(控制反转)和DI(依赖注入)是Spring里面核心的东西,那么,我们如何自己手写出这样的代码呢?下面我们就一步一步写出Spring框架最核心的部分。
①搭建子模块
搭建模块:guigu-spring,搭建方式如其他spring子模块
②准备测试需要的bean
添加依赖
<dependencies><!--junit5测试--><dependency><groupId>org.junit.jupiter</groupId><artifactId>junit-jupiter-api</artifactId><version>5.3.1</version></dependency>
</dependencies>
创建UserDao接口
package com.atguigu.spring6.test.dao;public interface UserDao {public void print();
}
创建UserDaoImpl实现
package com.atguigu.spring6.test.dao.impl;import com.atguigu.spring.dao.UserDao;public class UserDaoImpl implements UserDao {@Overridepublic void print() {System.out.println("Dao层执行结束");}
}
创建UserService接口
package com.atguigu.spring6.test.service;public interface UserService {public void out();
}
创建UserServiceImpl实现类
package com.atguigu.spring.test.service.impl;import com.atguigu.spring.core.annotation.Bean;
import com.atguigu.spring.service.UserService;@Bean
public class UserServiceImpl implements UserService {//    private UserDao userDao;@Overridepublic void out() {//userDao.print();System.out.println("Service层执行结束");}
}
③定义注解
我们通过注解的形式加载bean与实现依赖注入
bean注解
package com.atguigu.spring.core.annotation;import java.lang.annotation.ElementType;
import java.lang.annotation.Retention;
import java.lang.annotation.RetentionPolicy;
import java.lang.annotation.Target;@Target(ElementType.TYPE)
@Retention(RetentionPolicy.RUNTIME)
public @interface Bean {
}
依赖注入注解
package com.atguigu.spring.core.annotation;import java.lang.annotation.ElementType;
import java.lang.annotation.Retention;
import java.lang.annotation.RetentionPolicy;
import java.lang.annotation.Target;@Target({ElementType.FIELD})
@Retention(RetentionPolicy.RUNTIME)
public @interface Di {
}
说明:上面两个注解可以随意取名
④定义bean容器接口
package com.atguigu.spring.core;public interface ApplicationContext {Object getBean(Class clazz);
}
⑤编写注解bean容器接口实现
AnnotationApplicationContext基于注解扫描bean
package com.atguigu.spring.core;import java.util.HashMap;public class AnnotationApplicationContext implements ApplicationContext {//存储bean的容器private HashMap<Class, Object> beanFactory = new HashMap<>();@Overridepublic Object getBean(Class clazz) {return beanFactory.get(clazz);}/*** 根据包扫描加载bean* @param basePackage*/public AnnotationApplicationContext(String basePackage) {}
}
⑥编写扫描bean逻辑
我们通过构造方法传入包的base路径,扫描被@Bean注解的java对象,完整代码如下:
package com.atguigu.spring.core;import com.atguigu.spring.core.annotation.Bean;import java.io.File;
import java.util.HashMap;public class AnnotationApplicationContext implements ApplicationContext {//存储bean的容器private HashMap<Class, Object> beanFactory = new HashMap<>();private static String rootPath;@Overridepublic Object getBean(Class clazz) {return beanFactory.get(clazz);}/*** 根据包扫描加载bean* @param basePackage*/public AnnotationApplicationContext(String basePackage) {try {String packageDirName = basePackage.replaceAll("\\.", "\\\\");Enumeration<URL> dirs =Thread.currentThread().getContextClassLoader().getResources(packageDirName);while (dirs.hasMoreElements()) {URL url = dirs.nextElement();String filePath = URLDecoder.decode(url.getFile(),"utf-8");rootPath = filePath.substring(0, filePath.length()-packageDirName.length());loadBean(new File(filePath));}} catch (Exception e) {throw new RuntimeException(e);}}private  void loadBean(File fileParent) {if (fileParent.isDirectory()) {File[] childrenFiles = fileParent.listFiles();if(childrenFiles == null || childrenFiles.length == 0){return;}for (File child : childrenFiles) {if (child.isDirectory()) {//如果是个文件夹就继续调用该方法,使用了递归loadBean(child);} else {//通过文件路径转变成全类名,第一步把绝对路径部分去掉String pathWithClass = child.getAbsolutePath().substring(rootPath.length() - 1);//选中class文件if (pathWithClass.contains(".class")) {//    com.xinzhi.dao.UserDao//去掉.class后缀,并且把 \ 替换成 .String fullName = pathWithClass.replaceAll("\\\\", ".").replace(".class", "");try {Class<?> aClass = Class.forName(fullName);//把非接口的类实例化放在map中if(!aClass.isInterface()){Bean annotation = aClass.getAnnotation(Bean.class);if(annotation != null){Object instance = aClass.newInstance();//判断一下有没有接口if(aClass.getInterfaces().length > 0) {//如果有接口把接口的class当成key,实例对象当成valueSystem.out.println("正在加载【"+ aClass.getInterfaces()[0] +"】,实例对象是:" + instance.getClass().getName());beanFactory.put(aClass.getInterfaces()[0], instance);}else{//如果有接口把自己的class当成key,实例对象当成valueSystem.out.println("正在加载【"+ aClass.getName() +"】,实例对象是:" + instance.getClass().getName());beanFactory.put(aClass, instance);}}}} catch (ClassNotFoundException | IllegalAccessException | InstantiationException e) {e.printStackTrace();}}}}}}}
⑦java类标识Bean注解
@Bean
public class UserServiceImpl implements UserService
@Bean
public class UserDaoImpl implements UserDao
⑧测试Bean加载
package com.atguigu.spring;import com.atguigu.spring.core.AnnotationApplicationContext;
import com.atguigu.spring.core.ApplicationContext;
import com.atguigu.spring.test.service.UserService;
import org.junit.jupiter.api.Test;public class SpringIocTest {@Testpublic void testIoc() {ApplicationContext applicationContext = new AnnotationApplicationContext("com.atguigu.spring.test");UserService userService = (UserService)applicationContext.getBean(UserService.class);userService.out();System.out.println("run success");}
}
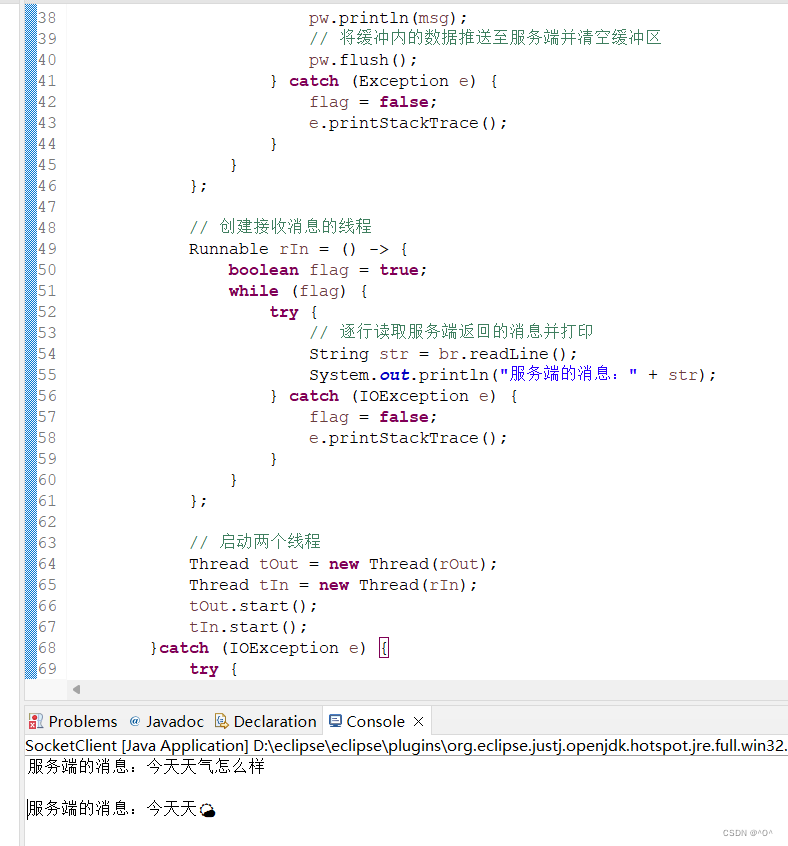
控制台打印测试
⑨依赖注入
只要userDao.print();调用成功,说明就注入成功
package com.atguigu.spring.test.service.impl;import com.atguigu.spring.core.annotation.Bean;
import com.atguigu.spring.core.annotation.Di;
import com.atguigu.spring.dao.UserDao;
import com.atguigu.spring.service.UserService;@Bean
public class UserServiceImpl implements UserService {@Diprivate UserDao userDao;@Overridepublic void out() {userDao.print();System.out.println("Service层执行结束");}
}
执行第八步:报错了,说明当前userDao是个空对象
⑩依赖注入实现
package com.atguigu.spring.core;import com.atguigu.spring.core.annotation.Bean;
import com.atguigu.spring.core.annotation.Di;import java.io.File;
import java.lang.reflect.Field;
import java.util.HashMap;
import java.util.Map;public class AnnotationApplicationContext implements ApplicationContext {//存储bean的容器private HashMap<Class, Object> beanFactory = new HashMap<>();private static String rootPath;@Overridepublic Object getBean(Class clazz) {return beanFactory.get(clazz);}/*** 根据包扫描加载bean* @param basePackage*/public AnnotationApplicationContext(String basePackage) {try {String packageDirName = basePackage.replaceAll("\\.", "\\\\");Enumeration<URL> dirs =Thread.currentThread().getContextClassLoader().getResources(packageDirName);while (dirs.hasMoreElements()) {URL url = dirs.nextElement();String filePath = URLDecoder.decode(url.getFile(),"utf-8");rootPath = filePath.substring(0, filePath.length()-packageDirName.length());loadBean(new File(filePath));}} catch (Exception e) {throw new RuntimeException(e);}//依赖注入loadDi();}private  void loadBean(File fileParent) {if (fileParent.isDirectory()) {File[] childrenFiles = fileParent.listFiles();if(childrenFiles == null || childrenFiles.length == 0){return;}for (File child : childrenFiles) {if (child.isDirectory()) {//如果是个文件夹就继续调用该方法,使用了递归loadBean(child);} else {//通过文件路径转变成全类名,第一步把绝对路径部分去掉String pathWithClass = child.getAbsolutePath().substring(rootPath.length() - 1);//选中class文件if (pathWithClass.contains(".class")) {//    com.xinzhi.dao.UserDao//去掉.class后缀,并且把 \ 替换成 .String fullName = pathWithClass.replaceAll("\\\\", ".").replace(".class", "");try {Class<?> aClass = Class.forName(fullName);//把非接口的类实例化放在map中if(!aClass.isInterface()){Bean annotation = aClass.getAnnotation(Bean.class);if(annotation != null){Object instance = aClass.newInstance();//判断一下有没有接口if(aClass.getInterfaces().length > 0) {//如果有接口把接口的class当成key,实例对象当成valueSystem.out.println("正在加载【"+ aClass.getInterfaces()[0] +"】,实例对象是:" + instance.getClass().getName());beanFactory.put(aClass.getInterfaces()[0], instance);}else{//如果有接口把自己的class当成key,实例对象当成valueSystem.out.println("正在加载【"+ aClass.getName() +"】,实例对象是:" + instance.getClass().getName());beanFactory.put(aClass, instance);}}}} catch (ClassNotFoundException | IllegalAccessException | InstantiationException e) {e.printStackTrace();}}}}}}private void loadDi() {for(Map.Entry<Class,Object> entry : beanFactory.entrySet()){//就是咱们放在容器的对象Object obj = entry.getValue();Class<?> aClass = obj.getClass();Field[] declaredFields = aClass.getDeclaredFields();for (Field field : declaredFields){Di annotation = field.getAnnotation(Di.class);if( annotation != null ){field.setAccessible(true);try {System.out.println("正在给【"+obj.getClass().getName()+"】属性【" + field.getName() + "】注入值【"+ beanFactory.get(field.getType()).getClass().getName() +"】");field.set(obj,beanFactory.get(field.getType()));} catch (IllegalAccessException e) {e.printStackTrace();}}}}}}
执行第八步:执行成功,依赖注入成功
相关文章:

SpringIoC原理
我是南城余!阿里云开发者平台专家博士证书获得者! 欢迎关注我的博客!一同成长! 一名从事运维开发的worker,记录分享学习。 专注于AI,运维开发,windows Linux 系统领域的分享! 本…...
如何对售后服务的全流程进行精细化的管理?
——“如何对售后服务的全流程进行精细化的管理?” ——“售后又是一个十分复杂的过程,仅靠手工或者电子表格记录这些内容,肯定是低效率、易出错的。最好的办法是借助合适的管理工具进行精细化的过程管理。” 假设你购买了一台新的家用电器…...
SAP UI5 walkthrough step2 Bootstrap
我的理解,这就是一个引导指令 1.我们右键打开命令行--执行 ui5 use OpenUI5 2.执行命令:ui5 add sap.ui.core sap.m themelib_sap_horizon 执行完之后,会更新 yaml 文件 3.修改index.html <!DOCTYPE html> <html> <head&…...

Gemini:定义下一代人工智能的里程碑
Google最近发布号称世界最强的大模型"Gemini",其强大多模态LLM,标志着AI技术的一个新时代。 Gemini作为"迄今为止最强大的AI模型"之一,其独特之处在于它融合了多种模式的处理能力,能够同时理解和生成文本、代…...
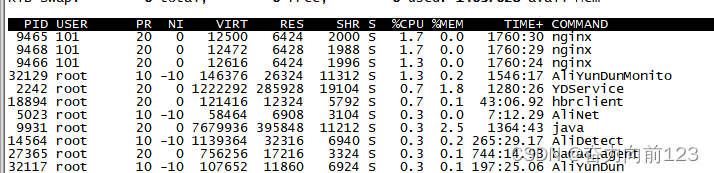
一些系统日常运维命令和语句
一、前言 记录一些日常系统运维的命令和语句 二、linux命令与语句 1、linux查看各目录使用磁盘情况 du -h /home home为目录 du -h /home 2.查看内存使用情况 free -h 3、查看进程和CPU使用情况 top top 三、数据库语句 1、统计mysql数据库表数量 SELECT COUNT(*) A…...
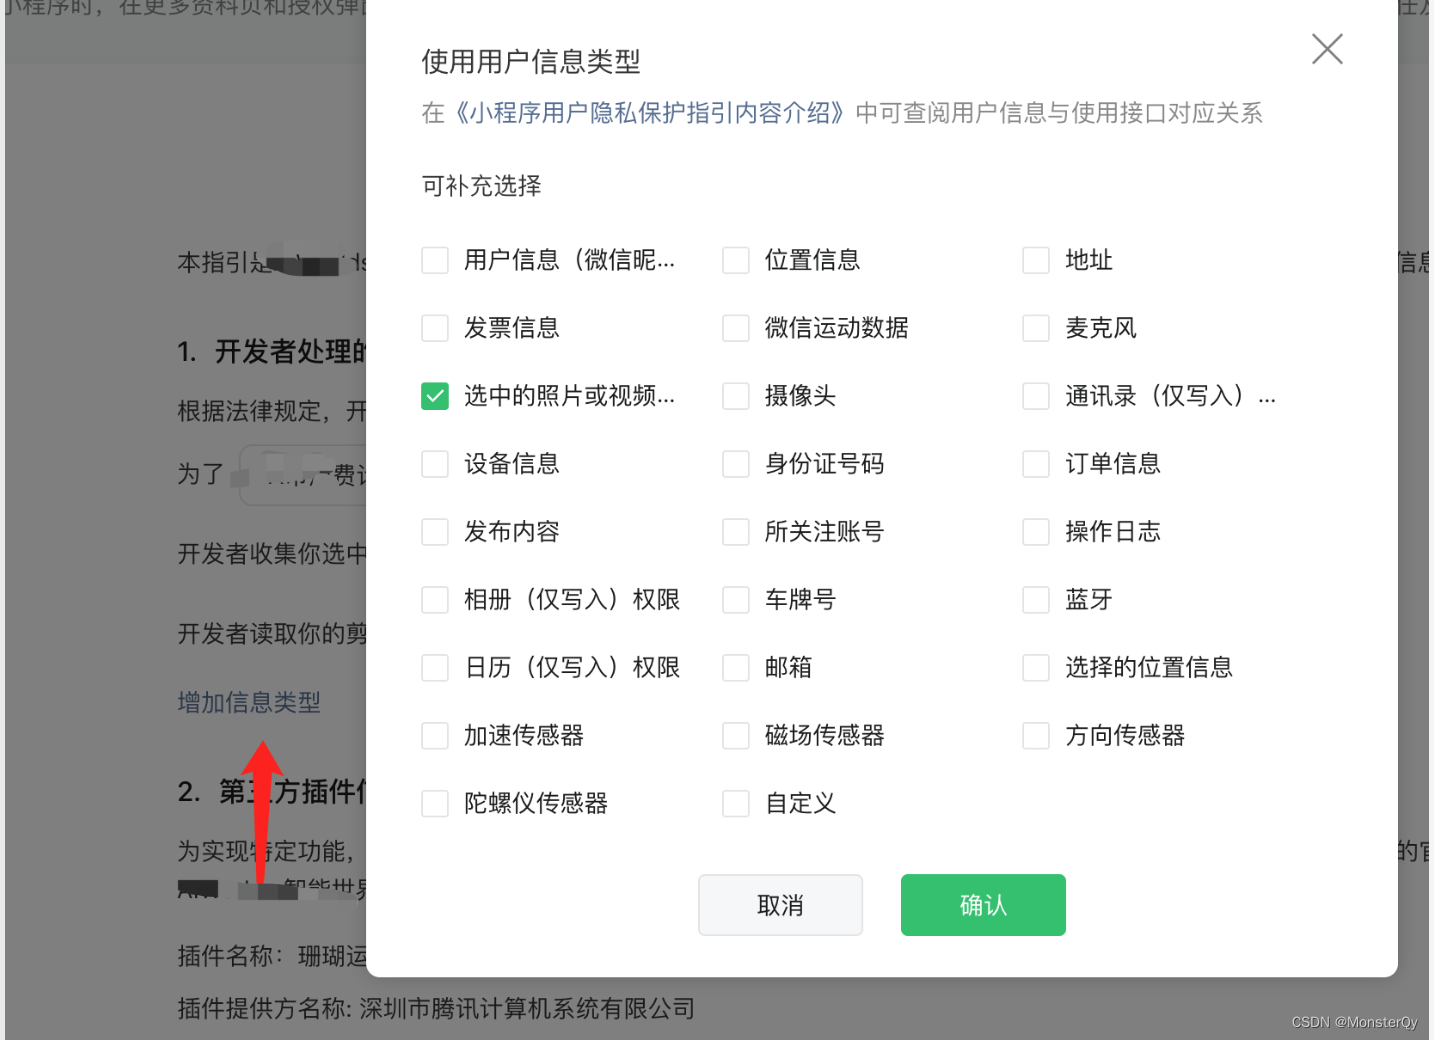
微信小程序uni.chooseImage()无效解决方案
Bug场景: 微信小程序在上传图片时可以通过 uni.chooseImage()方案进行上传,这里不再赘述具体参数。一直项目都可以正常使用,突然有一天发现无法使用该方法,于是查了一下,发现是用户隐私协议问题。故记录一下解决方案。…...

Rust深入浅出:编程的深邃大海中的奇妙冒险
第一章:前言 欢迎来到Rust的深邃大海,这里是一片充满挑战和奇妙冒险的领域。在这篇文章中,我们将深入浅出,探索Rust编程语言的深层次特性,并通过诙谐而深刻的方式,带你走进这个奇妙的编程世界。 第二章&a…...

go-zero开发入门-API网关开发示例
开发一个 API 网关,代理 https://blog.csdn.net/Aquester/article/details/134856271 中的 RPC 服务。 网关完整源代码 // file: main.go package mainimport ("flag""fmt""github.com/zeromicro/go-zero/core/conf""github.c…...
TCP一对一通信
package 二十一章; import java.io.*; import java.net.ServerSocket; import java.net.Socket; import java.util.Scanner;/*** Socket服务端**/ public class SocketServer {public static void main(String[] args) {ServerSocket ss null;Socket s null;try {// 创建监听…...

laravel DB::connection 报错 Database connection [{$name}] not configured
DB::connection(mysql2);//不是连接数据库名...

快捷支付是什么?快捷支付好申请吗?
快捷支付是指用户在购买商品时,不需要打开网上银行,只需提供银行卡号码、户名、手机号码等信息,银行验证手机号码的正确性,输入动态密码即可完成支付,无需打开网上银行。持卡人将银行卡绑定到第三方支付应用程序&#…...
如何在Spring Boot中集成RabbitMQ
如何在Spring Boot中集成RabbitMQ 在现代微服务架构中,消息队列(如RabbitMQ)扮演了关键的角色,它不仅能够提供高效的消息传递机制,还能解耦服务间的通信。本文将介绍如何在Spring Boot项目中集成RabbitMQ,…...
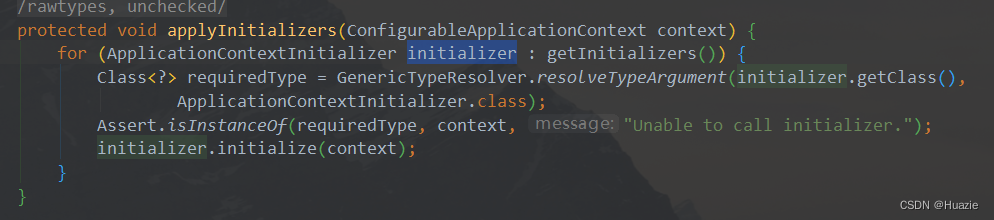
【Spring Boot 源码学习】ApplicationContextInitializer 详解
Spring Boot 源码学习系列 ApplicationContextInitializer 详解 引言往期内容主要内容1. 初识 ApplicationContextInitializer2. 加载 ApplicationContextInitializer3. ApplicationContextInitializer 的初始化 总结 引言 书接前文《初识 SpringApplication》,我们…...

软考2018下午第六题改编逻辑(状态模式)
在状态模式中,我们创建表示各种状态的对象和一个行为随着状态对象改变而改变的 context 对象 package org.example.状态模式.软考航空;/*** author lst* date 2023年12月07日 15:37*/ class FrequentFlyer {CState state;double flyMiles;public FrequentFlyer() {…...

基于深度学习的典型目标跟踪算法
目标跟踪是计算机视觉领域中一个重要的任务,它涉及在视频序列中持续地定位和追踪目标对象。以下是一些常见的深度学习目标跟踪算法: Siamese Network: Siamese网络是一种孪生网络结构,它通过将目标图像与周围环境进行对比,学习目…...

docker搭建nginx实现负载均衡
docker搭建nginx实现负载均衡 安装nginx 查询安装 [rootlocalhost ~]# docker search nginx [rootlocalhost ~]# docker pull nginx准备 创建一个空的nginx文件夹里面在创建一个nginx.conf文件和conf.d文件夹 运行映射之前创建的文件夹 端口:8075映射80 docker…...
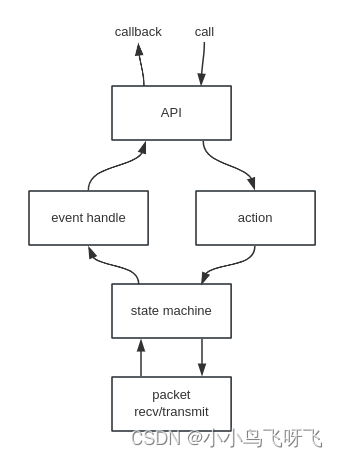
Android蓝牙协议栈fluoride(二) - 软件框架
概述 fluoride 协议栈在整个软件框架中作为一个中间件的角色,向上对接APP,向下对接蓝牙芯片。fluoride采用C语言实现,与APP(Jave)通信采用JNI机制;与蓝牙芯片通信使用HCI硬件接口(HCI软件协议参考蓝牙核心规范&#x…...

IDEA中的Postman!
Postman是大家最常用的API调试工具,那么有没有一种方法可以不用手动写入接口到Postman,即可进行接口调试操作?今天给大家推荐一款IDEA插件:Apipost Helper,写完代码就可以调试接口并一键生成接口文档!而且还…...
el-tooltip (element-plus)修改长度
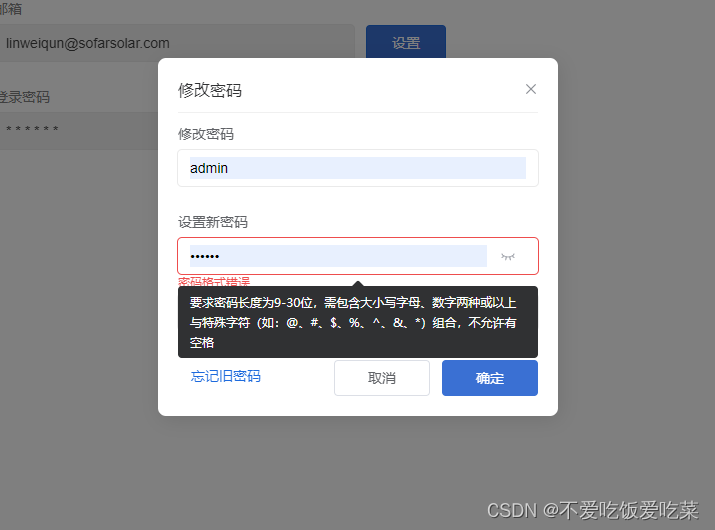
初始状态: 修改后: 就是添加 :teleported"false",问题解决!!! <el-tooltipeffect"dark"content"要求密码长度为9-30位,需包含大小写字母、数字两种或以上与特殊字…...

Verilog学习 | 用initial语句写出固定的波形
initial beginia 0;ib 1;clk 0;#10ia 1; #20ib 0;#20ia 0; endalways #5 clk ~clk; 或者 initial clk 0;initial beginia 0;#10ia 1; #40ia 0; endinitial beginib 1;#30 ib 0; endalways #5 clk ~clk;...

WandEnhancer技术解密:如何通过本地化增强重新定义游戏修改体验
WandEnhancer技术解密:如何通过本地化增强重新定义游戏修改体验 【免费下载链接】Wand-Enhancer Advanced UX and interoperability extension for Wand (WeMod) app 项目地址: https://gitcode.com/gh_mirrors/we/Wand-Enhancer 你是否曾经面对游戏修改工具…...

深度学习图像风格迁移:从Gatys算法到PyTorch工程实践
1. 项目概述:一个基于深度学习的图像风格迁移应用最近在GitHub上闲逛,发现了一个名为“aristoapp/DDalkkak”的项目。单看这个名字,可能有点摸不着头脑,但点进去一看,发现这是一个关于图像风格迁移(Image S…...

构建轻量级LLM工具集:模块化设计、多模型集成与本地化部署实践
1. 项目概述:一个面向日常的轻量级LLM工具集最近在GitHub上闲逛,发现了一个挺有意思的项目,叫“Daily-LLM”。光看名字,你可能会觉得这又是一个庞大的、需要海量算力才能跑起来的“大模型”项目。但点进去仔细研究后,我…...

GitClaw:基于Go的轻量级Git钩子服务器与集中式权限管理方案
1. 项目概述与核心价值如果你是一名开发者,尤其是经常在团队协作中处理Git仓库的工程师,那么你一定对“权限管理”这四个字又爱又恨。爱的是它能保障代码安全,恨的是它配置起来繁琐,尤其是在处理跨项目、跨团队的复杂权限矩阵时。…...

基于Panel与LLM构建智能数据可视化应用的架构与实践
1. 项目概述与核心价值最近在数据可视化与交互应用开发领域,一个名为holoviz-topics/panel-chat-examples的项目仓库引起了我的注意。乍一看,这似乎只是将聊天界面(Chat Interface)与 Panel 这个强大的 Python 交互式仪表盘库结合…...

基于Nginx-Lua镜像构建高性能可编程网关的实践指南
1. 项目概述:一个为现代Web架构而生的Nginx镜像如果你和我一样,长期在容器化环境中部署和管理Web服务,那么你一定对Nginx的灵活性和Lua脚本的强大能力印象深刻。但将这两者结合,并打包成一个稳定、安全、功能齐全的Docker镜像&…...

Cursor编辑器性能优化:精准重置缓存与进程的开发者效率工具
1. 项目概述:一个被低估的开发者效率工具如果你是一名开发者,尤其是深度使用 Cursor 这类 AI 驱动的代码编辑器,那么你一定遇到过这样的场景:编辑器突然变得卡顿、代码补全失灵、AI 建议变得驴唇不对马嘴,或者插件行为…...

从零打造专业GitHub个人资料页:Markdown与动态集成实战指南
1. 项目概述与核心价值 在技术圈子里混了十几年,我越来越觉得,一个开发者的“数字门面”和代码能力同等重要。这个门面,很多时候就是你的GitHub主页。早些年,大家的GitHub个人页面就是个简单的仓库列表,加上一些贡献图…...

Arm Neoverse CMN-700互连架构与寄存器编程详解
1. Arm Neoverse CMN-700架构概览在现代高性能计算系统中,处理器核心数量的快速增长对互连架构提出了严峻挑战。作为Arm Neoverse平台的核心组件,CMN-700一致性互连网络采用创新的Mesh拓扑结构,解决了多核处理器间的通信瓶颈问题。我在实际芯…...

本地大模型Web API桥梁:llm-web-api部署与OpenAI兼容实践
1. 项目概述:一个为本地大语言模型提供Web API的轻量级桥梁如果你和我一样,热衷于在本地部署各种开源大语言模型(LLM),比如Llama、Qwen、Mistral,那么你一定遇到过这样的痛点:模型本身跑起来了&…...