flutter 弹窗之系列一
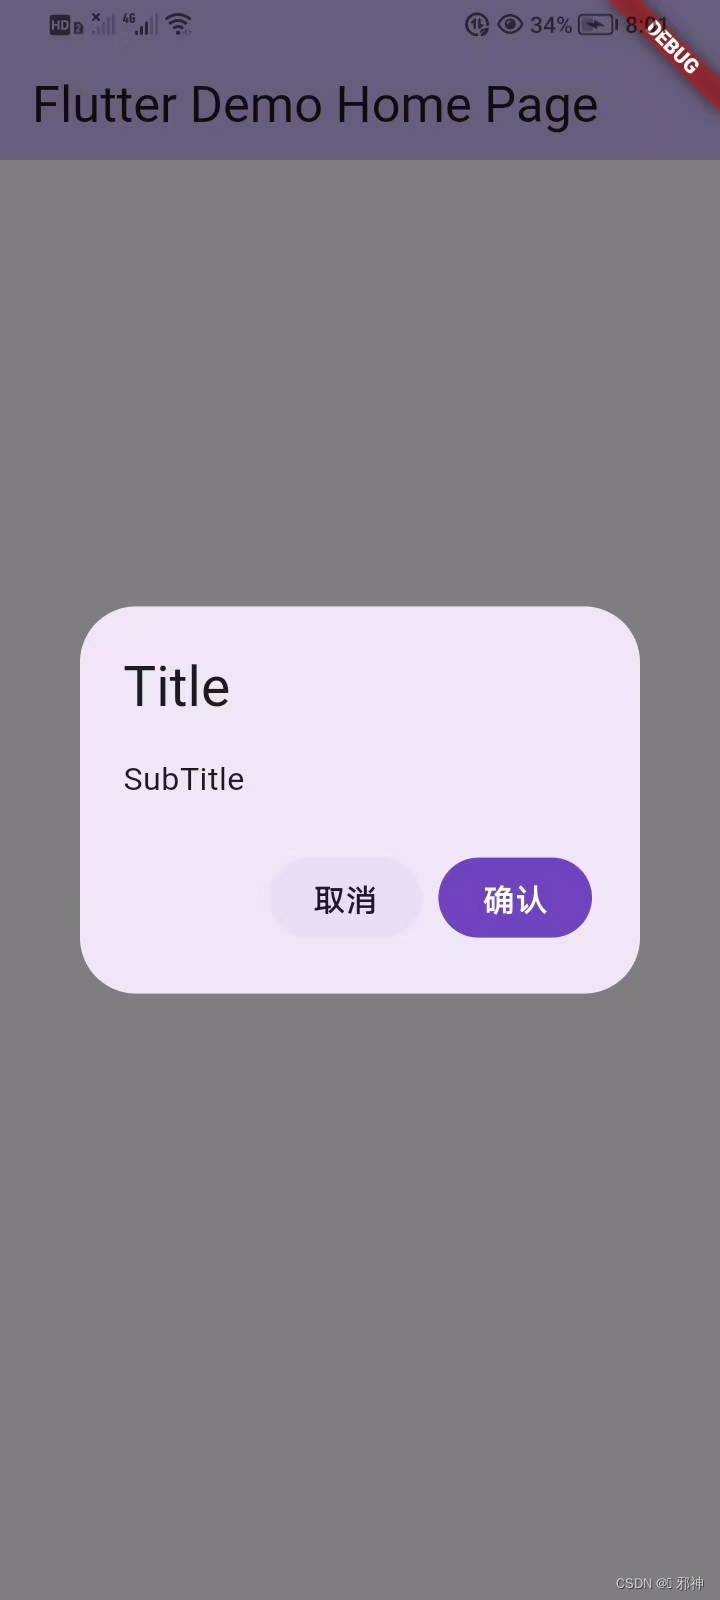
自定义不受Navigator影响的弹窗
class MyHomePage extends StatefulWidget {const MyHomePage({super.key, required this.title});final String title;@overrideState<MyHomePage> createState() => _MyHomePageState();
}class _MyHomePageState extends State<MyHomePage> {void _dialogController1() {DialogController alert = DialogController.alert(title: "Title",subTitle: "SubTitle",onCancel: () {debugPrint("alert cancel");},run: () async {// 一些耗时操作return true;},);alert.show(context);}void _dialogController2(){DialogController loadingAlert = DialogController.loadingAlert();loadingAlert.showWithTimeout(context, timeout: 10);// await 其他耗时操作loadingAlert.close();}@overrideWidget build(BuildContext context) {return Scaffold(appBar: AppBar(backgroundColor: Theme.of(context).colorScheme.inversePrimary,title: Text(widget.title),),body: Center(child: Column(mainAxisAlignment: MainAxisAlignment.center,children: [GestureDetector(onTap: () {_dialogController1();},child: const Text('\n点击显示弹窗一\n',),),GestureDetector(onTap: () {_dialogController2();},child: const Text('\n点击显示弹窗二\n',),),],)),);}
}class BaseDialog {BaseDialog(this._barrierDismissible, this._alignment);/// 点击背景是否关闭弹窗final bool _barrierDismissible;final AlignmentGeometry _alignment;/// 页面状态,用来做动画判断bool _isCloseState = true;/// 动画时长final _milliseconds = 240;/// 初始化dialog的内容/// [isClose]用来标识动画的状态/// [milliseconds]用来标识动画时长initContentView(Widget Function(BuildContext context, bool isClose, int milliseconds)builder) {_overlayEntry = OverlayEntry(builder: (context) {return Stack(alignment: _alignment,children: <Widget>[// 背景Positioned.fill(child: GestureDetector(onTap: () {// 点击背景关闭页面if (_barrierDismissible) close();},child: AnimatedOpacity(opacity: _isCloseState ? 0.0 : 1,duration: Duration(milliseconds: _milliseconds),child: Container(color: Colors.black.withOpacity(0.5),),),),),builder(context, _isCloseState, _milliseconds),],);},);}late OverlayEntry _overlayEntry;bool _isPop = true;/// 显示弹窗/// 小等于0不设置超时void show(BuildContext context, int timeout) async {//显示弹窗Overlay.of(context).insert(_overlayEntry);// 稍微延迟一下,不然动画不动await Future.delayed(const Duration(milliseconds: 10));_isCloseState = false;// 重新build启动动画_overlayEntry.markNeedsBuild();_isPop = true;// 启动计时器,timeout秒后执行关闭操作if (timeout > 0) {Future.delayed(Duration(seconds: timeout), () => close());}}/// 关闭弹窗Future<void> close() async {if (_isPop) {_isPop = false;_isCloseState = true;// 重新build启动动画_overlayEntry.markNeedsBuild();// 等待动画结束后再移除涂层await Future.delayed(Duration(milliseconds: _milliseconds));_overlayEntry.remove();onClose();}}void Function() onClose = () {};
}class DialogController {DialogController(this._baseDialog);final BaseDialog _baseDialog;/// 关闭弹窗close() {_baseDialog.close();}/// 显示弹窗show(BuildContext context) {_baseDialog.show(context, 0);}/// 显示一个默认带超时的弹窗/// 小等于0不设置超时void showWithTimeout(BuildContext context, {int timeout = 20}) {_baseDialog.show(context, timeout);}/// 创造一个普通样式的alert弹窗/// 它显示在屏幕中央,具有一个标题和内容描述文本,/// [onBarrierTap]当点击背景时触发factory DialogController.alert({required String title,required String subTitle,bool barrierDismissible = true,Future<bool> Function()? run,void Function()? onCancel,}) {final dialog = BaseDialog(barrierDismissible,AlignmentDirectional.center,);if (onCancel != null) {dialog.onClose = onCancel;}dialog.initContentView((context, isClose, int milliseconds) {return AnimatedOpacity(opacity: isClose ? 0.0 : 1,duration: Duration(milliseconds: milliseconds),child: AlertDialog(title: Text(title),content: Text(subTitle),actions: [FilledButton.tonal(onPressed: () {dialog.close();},child: const Text("取消"),),FilledButton(onPressed: () async {if (run != null) {final r = await run();if (r) dialog.close();} else {dialog.close();}},child: const Text("确认"),)],),);});return DialogController(dialog);}factory DialogController.loadingAlert({String? title,String? subTitle,}) {final dialog = BaseDialog(false,AlignmentDirectional.center,);dialog.initContentView((context, isClose, int milliseconds) {return AnimatedOpacity(opacity: isClose ? 0.0 : 1,duration: Duration(milliseconds: milliseconds),child: AlertDialog(title: Text(title ?? "正在加载"),content: Column(mainAxisSize: MainAxisSize.min,crossAxisAlignment: CrossAxisAlignment.start,children: [const SizedBox(height: 16),const SizedBox(width: 24,height: 24,child: CircularProgressIndicator(strokeWidth: 3,),), // 添加一个加载指示器const SizedBox(height: 16),Text(subTitle ?? '请等待...'), // 提示用户等待],),),);});return DialogController(dialog);}
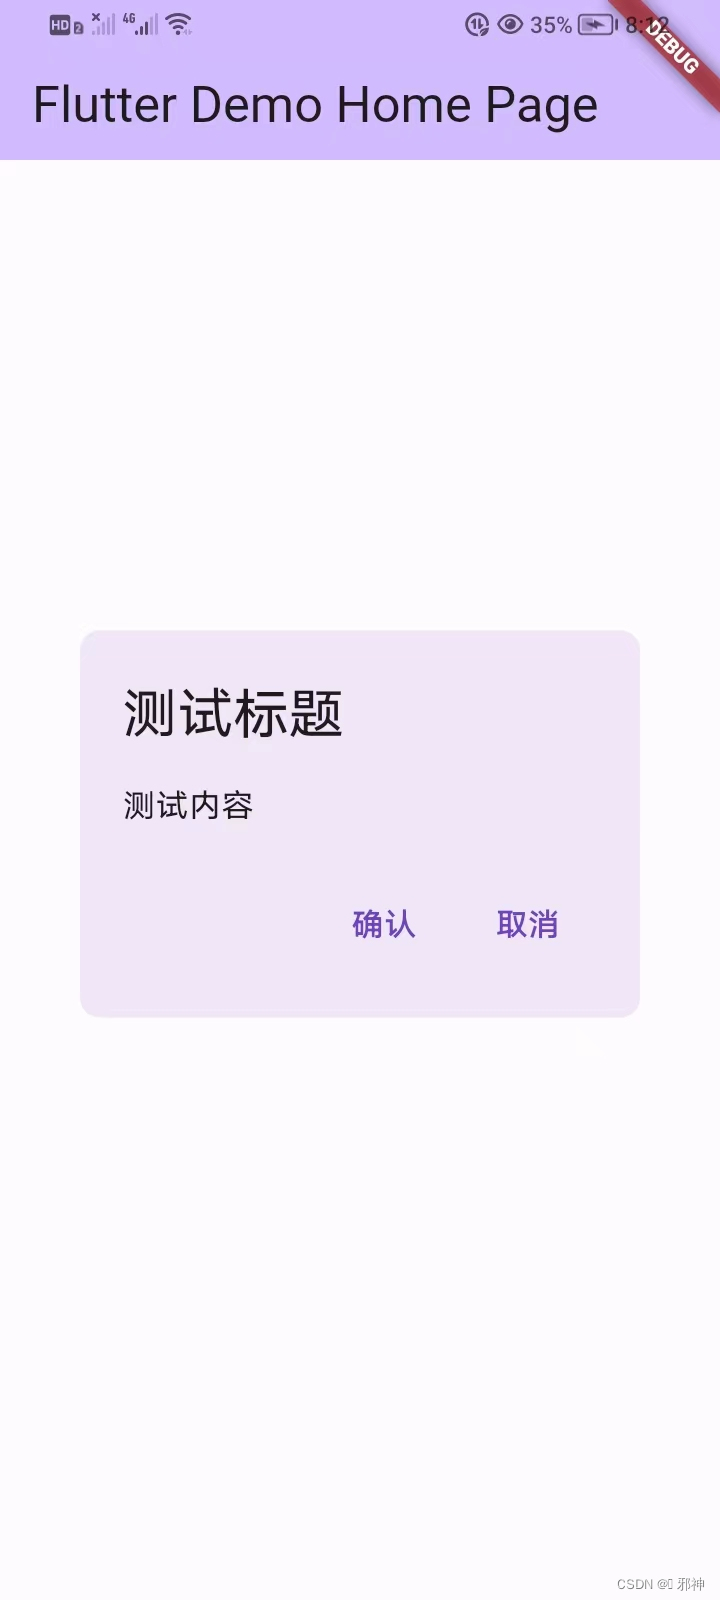
}系统Dialog的使用
class MyHomePage extends StatefulWidget {const MyHomePage({super.key, required this.title});final String title;@overrideState<MyHomePage> createState() => _MyHomePageState();
}class _MyHomePageState extends State<MyHomePage> {void _showDialog() {showDialog(context: context,barrierColor: Colors.transparent, //设置透明底色,自定义也可能会用到builder: (BuildContext context) {return AlertDialog(title: const Text("测试标题"),content: const Text("测试内容"),actions: [TextButton(onPressed: () {},child: const Text('确认'),),TextButton(onPressed: () {},child: const Text('取消'),),],shape:RoundedRectangleBorder(borderRadius: BorderRadius.circular(10)),);},);}@overrideWidget build(BuildContext context) {return Scaffold(appBar: AppBar(backgroundColor: Theme.of(context).colorScheme.inversePrimary,title: Text(widget.title),),body: Center(child: GestureDetector(onTap: () {_showDialog();},child: const Text('\n点击显示弹窗一\n',),),),);}
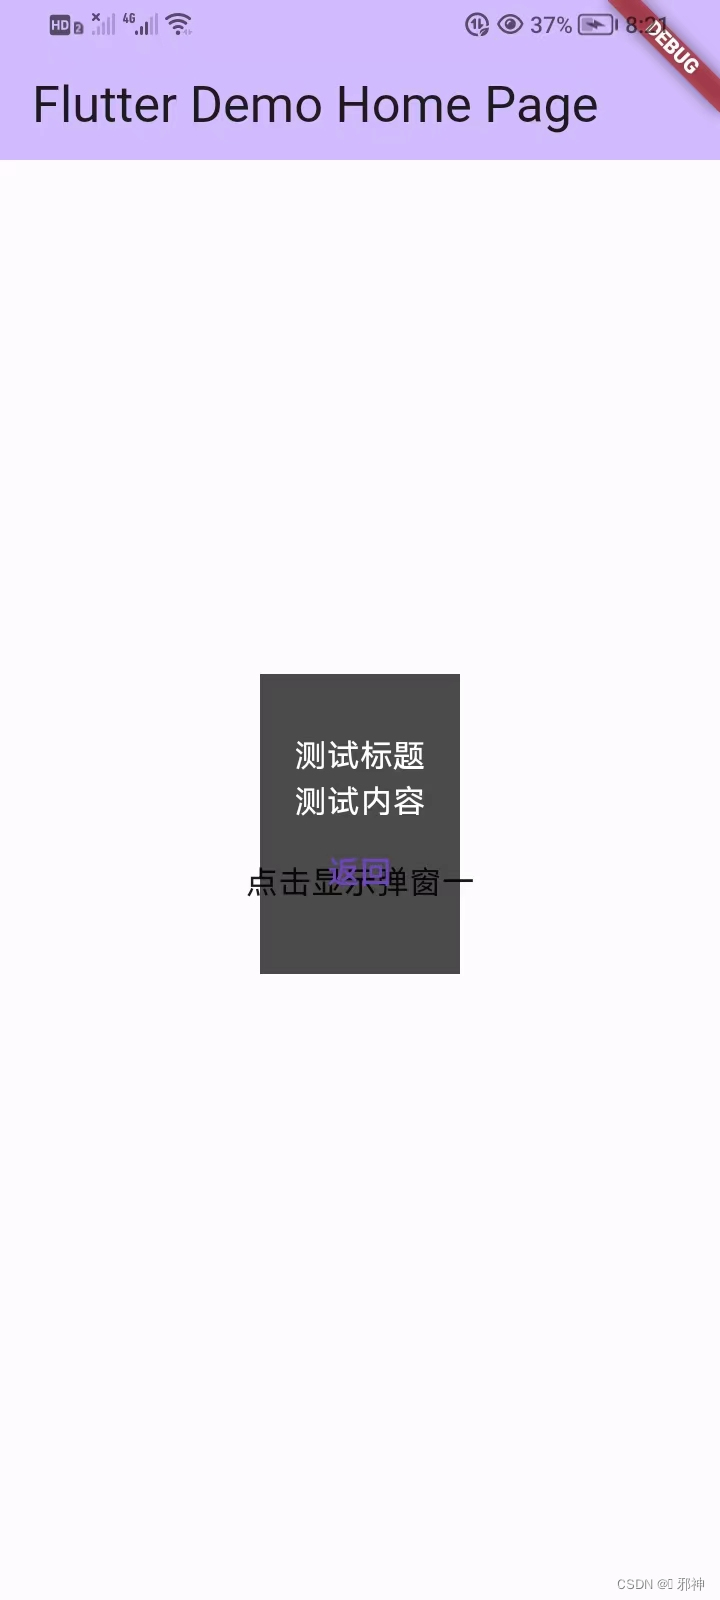
}定制Dialog
class MyHomePage extends StatefulWidget {const MyHomePage({super.key, required this.title});final String title;@overrideState<MyHomePage> createState() => _MyHomePageState();
}class _MyHomePageState extends State<MyHomePage> {void _showDialog() {showDialog(context: context,barrierColor: Colors.transparent, //设置透明底色builder: (BuildContext context) {return const DialogView(title: "测试标题",message: "测试内容",);},);}@overrideWidget build(BuildContext context) {return Scaffold(appBar: AppBar(backgroundColor: Theme.of(context).colorScheme.inversePrimary,title: Text(widget.title),),body: Center(child: GestureDetector(onTap: () {_showDialog();},child: const Text('\n点击显示弹窗一\n',),),),);}
}//这个弹层一般是通过 showDialog 弹出,实际上相当于跳转了一个新界面,因此返回需通过 Navigator pop回去
class DialogView extends Dialog {final String title;final String message;const DialogView({Key? key, required this.title, required this.message}): super(key: key);@overrideWidget build(BuildContext context) {return Scaffold(backgroundColor: Colors.transparent,body: Center(child: Container(width: 100,height: 150,color: Colors.black.withOpacity(0.7),child: Column(mainAxisAlignment: MainAxisAlignment.center,crossAxisAlignment: CrossAxisAlignment.center,children: [Text(title,style: const TextStyle(color: Colors.white, fontSize: 14.0)),Text(message,style: const TextStyle(color: Colors.white, fontSize: 14.0)),TextButton(onPressed: () {//showDialog相当于push,因此自己返回需要popNavigator.pop(context);},child: const Text('返回'),),],),),),);}
}
获取组件偏移量
//组件渲染完成之后,可以通过组价你的context参数,间接获取组件的偏移量RenderBox box = context.findRenderObject() as RenderBox;final local = box.localToGlobal(Offset.zero);debugPrint("组件偏移量:$local");DropdownButton
class MyHomePage extends StatefulWidget {const MyHomePage({super.key, required this.title});final String title;@overrideState<MyHomePage> createState() => _MyHomePageState();
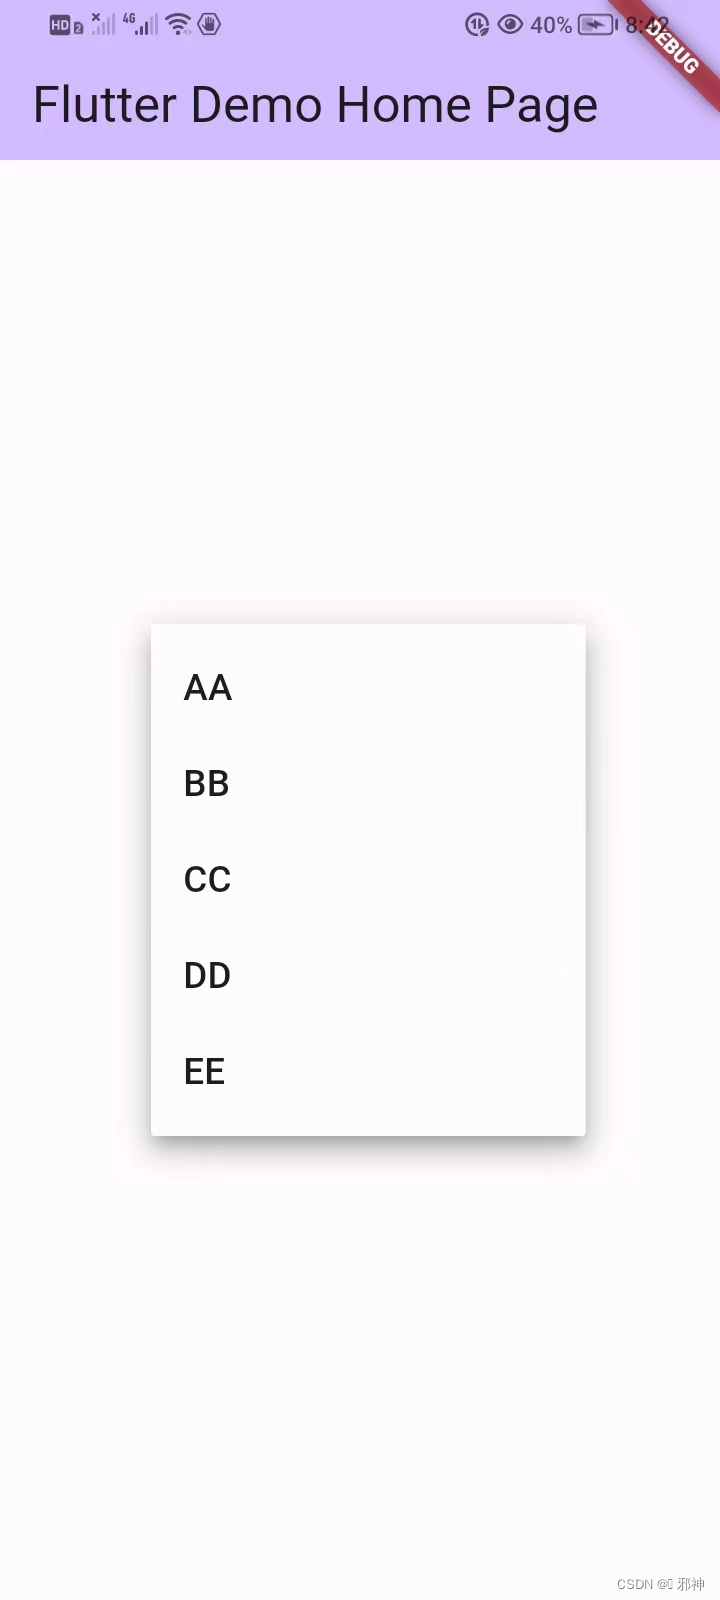
}class _MyHomePageState extends State<MyHomePage> {String? selectValue;@overrideWidget build(BuildContext context) {return Scaffold(appBar: AppBar(backgroundColor: Theme.of(context).colorScheme.inversePrimary,title: Text(widget.title),),body: Center(child: DropdownButton(hint: const Text("请选择您要的号码:"),items: getItems(),value: selectValue,onChanged: (value) {debugPrint(value);setState(() {selectValue = value;});},)),);}List<DropdownMenuItem<String>> getItems() {List<DropdownMenuItem<String>> items = [];items.add(const DropdownMenuItem(child: Text("AA"), value: "11"));items.add(const DropdownMenuItem(child: Text("BB"), value: "22",));items.add(const DropdownMenuItem(child: Text("CC"), value: "33",));items.add(const DropdownMenuItem(child: Text("DD"), value: "44",));items.add(const DropdownMenuItem(child: Text("EE"), value: "55",));return items;}}底部弹窗BottomSheet
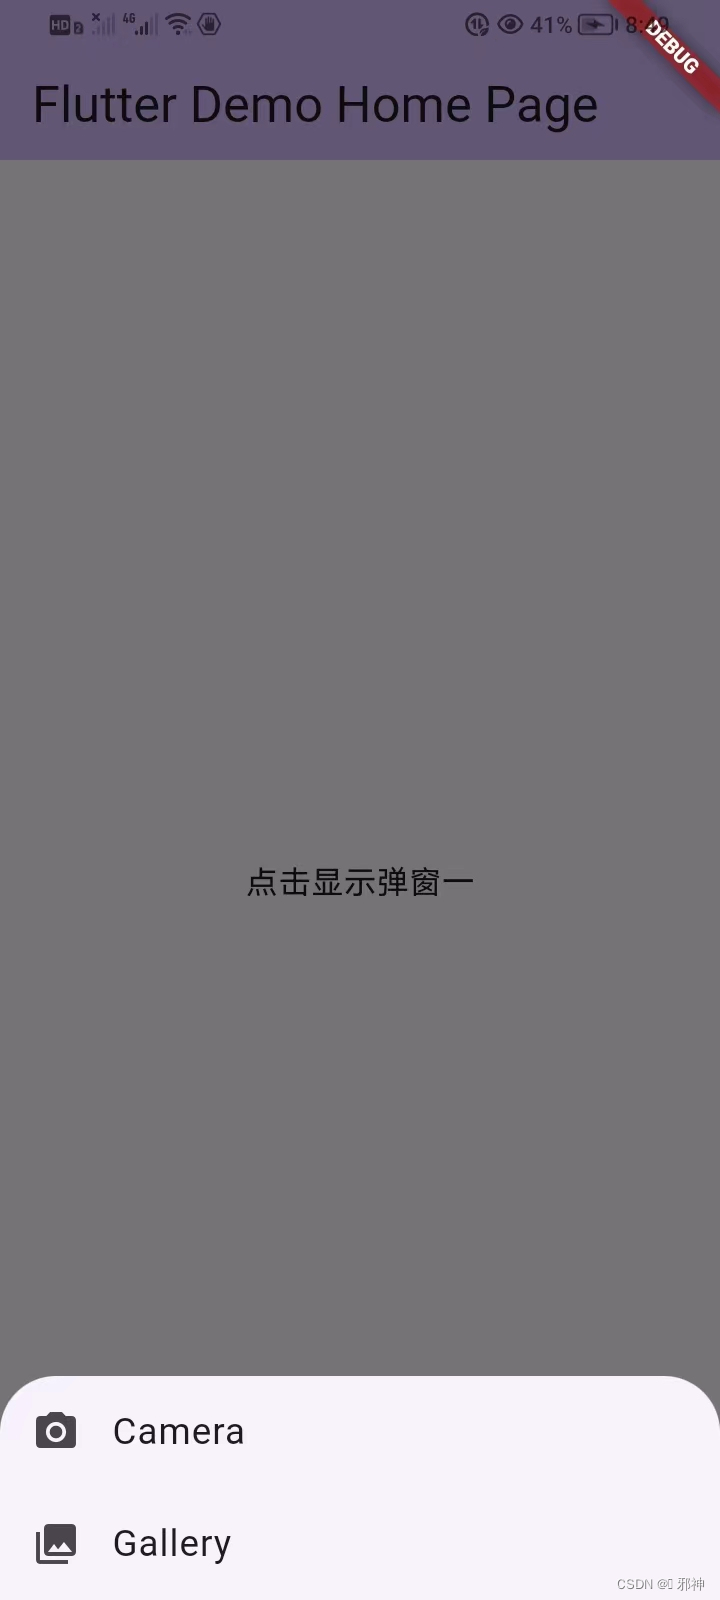
class MyHomePage extends StatefulWidget {const MyHomePage({super.key, required this.title});final String title;@overrideState<MyHomePage> createState() => _MyHomePageState();
}class _MyHomePageState extends State<MyHomePage> {void _showDialog(){showModalBottomSheet(context: context,builder: (BuildContext context) {return Column(mainAxisSize: MainAxisSize.min, // 设置最小的弹出children: <Widget>[ListTile(leading: const Icon(Icons.photo_camera),title: const Text("Camera"),onTap: () async {},),ListTile(leading: const Icon(Icons.photo_library),title: const Text("Gallery"),onTap: () async {},),],);});}@overrideWidget build(BuildContext context) {return Scaffold(appBar: AppBar(backgroundColor: Theme.of(context).colorScheme.inversePrimary,title: Text(widget.title),),body: Center(child: GestureDetector(onTap: () {_showDialog();},child: const Text('\n点击显示弹窗一\n',),),),);}
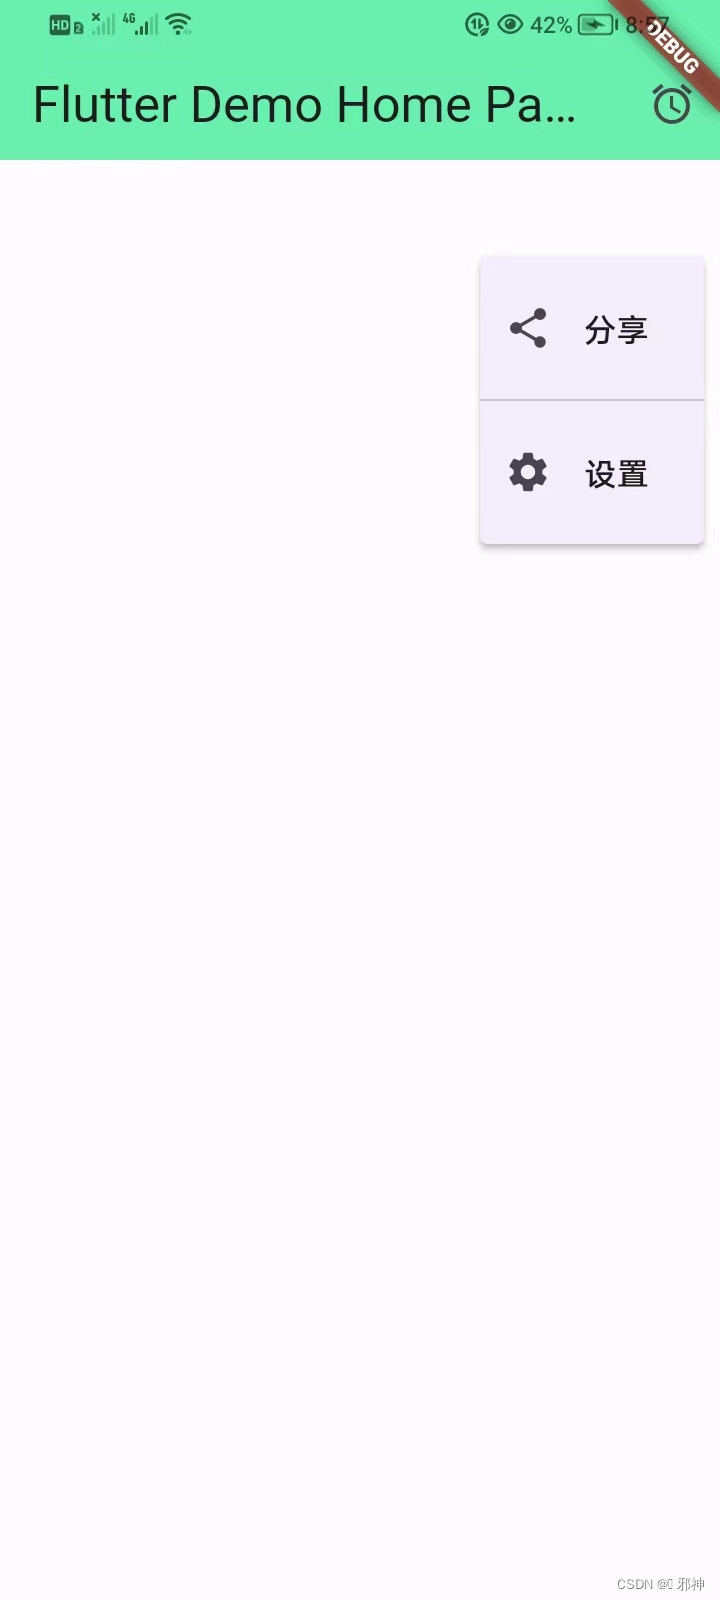
}PopupMenuButton
class MyHomePage extends StatefulWidget {const MyHomePage({super.key, required this.title});final String title;@overrideState<MyHomePage> createState() => _MyHomePageState();
}class _MyHomePageState extends State<MyHomePage> {var items = <String>["AA", "BB", "CC", "DD", "FF"];@overrideWidget build(BuildContext context) {return Scaffold(appBar: AppBar(title: Text(widget.title),backgroundColor: Colors.greenAccent,actions: <Widget>[PopupMenuButton<String>(itemBuilder: (BuildContext context) {return _getItemBuilder2();},icon: const Icon(Icons.access_alarm),onSelected: (value) {debugPrint(value);},onCanceled: () {},offset: const Offset(200, 100),)],),body: const Center(),);}List<PopupMenuEntry<String>> _getItemBuilder() {return items.map((item) => PopupMenuItem<String>(value: item,child: Text(item),)).toList();}List<PopupMenuEntry<String>> _getItemBuilder2() {return <PopupMenuEntry<String>>[const PopupMenuItem<String>(value: "1",child: ListTile(leading: Icon(Icons.share),title: Text('分享'),),),const PopupMenuDivider(), //分割线const PopupMenuItem<String>(value: "2",child: ListTile(leading: Icon(Icons.settings),title: Text('设置'),),),];}
}
明确 Flutter 中 dialog 的基本特性
Flutter中dialog实际上是一个由route直接切换显示的页面,所以使用Navigator.of(context) 的 push、pop(xx)方法进行显示、关闭、返回数据Flutter中有两种风格的dialog
showDialog()启动的是material风格的对话框showCupertinoDialog()启动的是ios风格的对话框Flutter中有两种样式的dialog
SimpleDialog使用多个SimpleDialogOption为用户提供了几个选项AlertDialog一个可选标题 title 和一个可选列表的 actions 选项
showDialog 方法讲解
Future<T> showDialog<T>({@required BuildContext context,bool barrierDismissible = true,@Deprecated('Instead of using the "child" argument, return the child from a closure ''provided to the "builder" argument. This will ensure that the BuildContext ''is appropriate for widgets built in the dialog.') Widget child,WidgetBuilder builder,
}) {.......
}
context上下文对象barrierDismissible点外面是不是可以关闭,默认是 true 可以关闭的builder是 widget 构造器FlatButton标准 AlertDialog 中的按钮必须使用这个类型Navigator.of(context).pop();对话框内关闭对话框
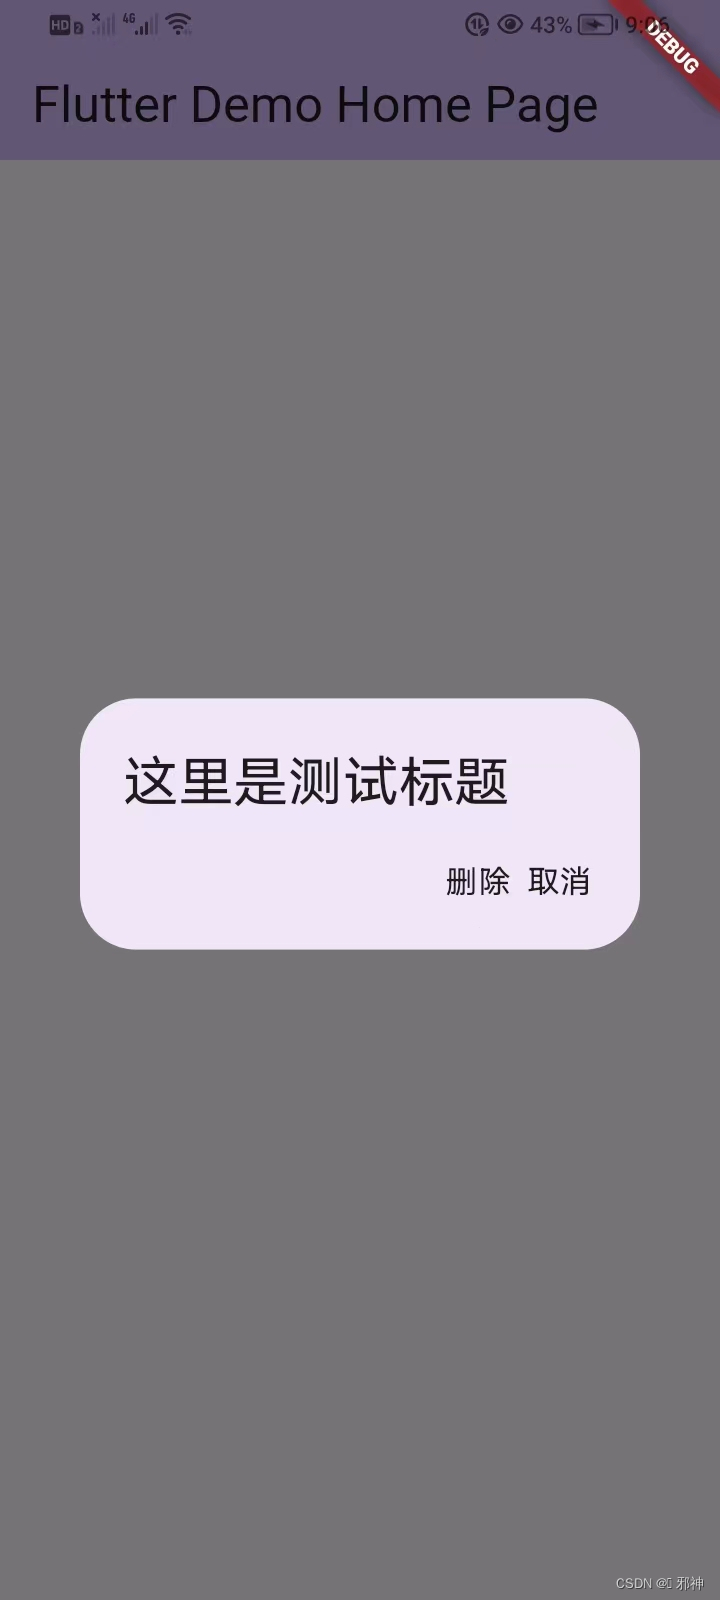
AlertDialog
class MyHomePage extends StatefulWidget {const MyHomePage({super.key, required this.title});final String title;@overrideState<MyHomePage> createState() => _MyHomePageState();
}class _MyHomePageState extends State<MyHomePage> {void _showDialog() {// 定义对话框showDialog(context: context,barrierDismissible: false,builder: (context) {return AlertDialog(title: const Text("这里是测试标题"),actions: <Widget>[GestureDetector(child: const Text("删除"),onTap: () {debugPrint("删除");Navigator.of(context).pop();},),GestureDetector(child: const Text("取消"),onTap: () {debugPrint("取消");Navigator.of(context).pop();},),],);},);}@overrideWidget build(BuildContext context) {return Scaffold(appBar: AppBar(backgroundColor: Theme.of(context).colorScheme.inversePrimary,title: Text(widget.title),),body: Center(child: GestureDetector(onTap: () {_showDialog();},child: const Text('\n点击显示弹窗一\n',),),),);}
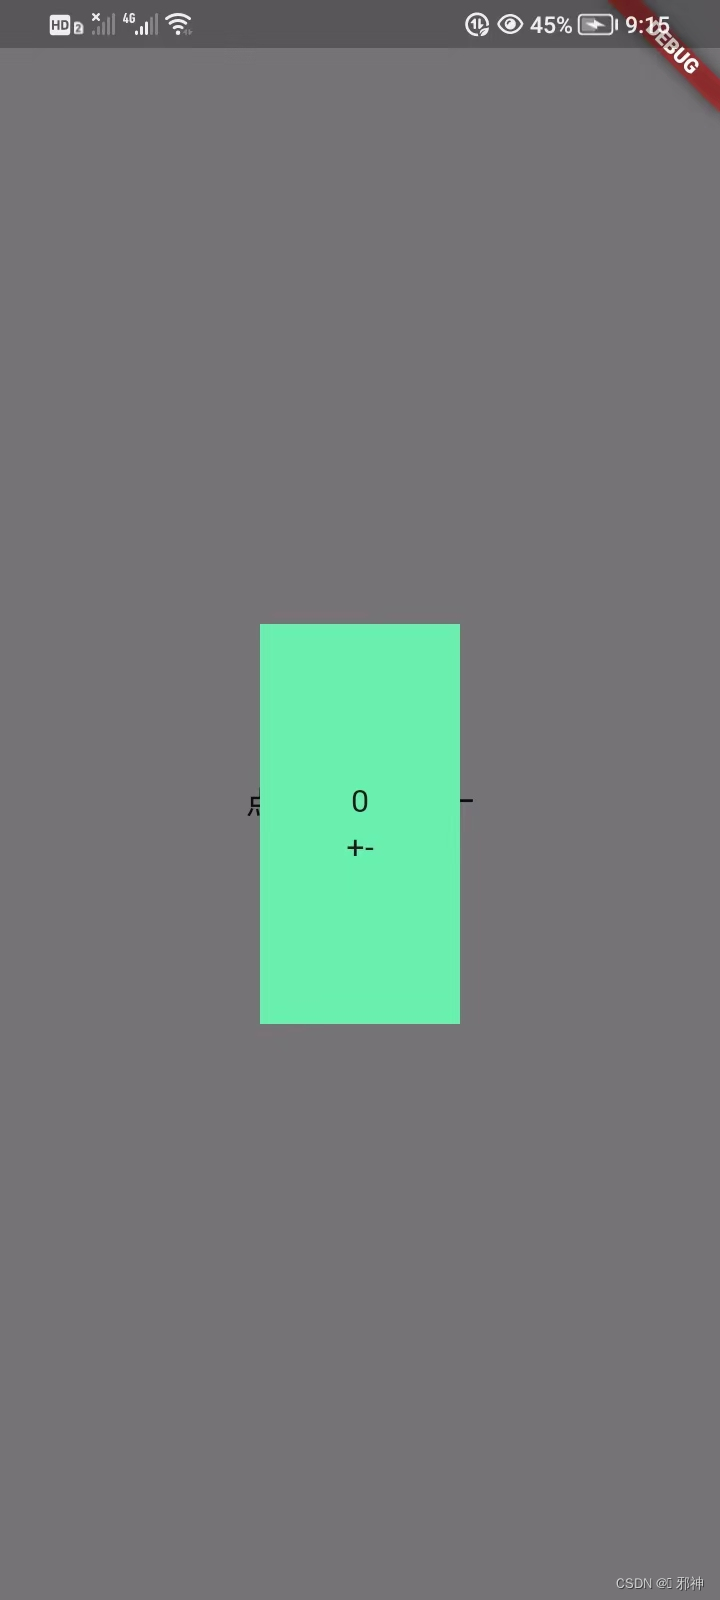
}自定义对话框
class MyHomePage extends StatefulWidget {const MyHomePage({super.key, required this.title});final String title;@overrideState<MyHomePage> createState() => _MyHomePageState();
}class _MyHomePageState extends State<MyHomePage> {var num = 0;@overrideWidget build(BuildContext context) {return Scaffold(body: Center(child: GestureDetector(onTap: () {showDialog(context: context,builder: (context) {return TestDialog();});},child: const Text('\n点击显示弹窗一\n',),)));}
}class TestDialog extends StatefulWidget {@overrideState<StatefulWidget> createState() {return TestDialogState();}
}class TestDialogState extends State<TestDialog> {var num = 0;@overrideWidget build(BuildContext context) {return Scaffold(backgroundColor: Colors.transparent,body: Center(child: Container(color: Colors.greenAccent,child: Column(mainAxisAlignment: MainAxisAlignment.center,crossAxisAlignment: CrossAxisAlignment.center,children: <Widget>[Text(num.toString(),style: const TextStyle(decoration: TextDecoration.none),),Row(mainAxisAlignment: MainAxisAlignment.center,crossAxisAlignment: CrossAxisAlignment.center,children: <Widget>[GestureDetector(child: Text("+"),onTap: () {setState(() {num++;});},),GestureDetector(child: Text("-"),onTap: () {setState(() {num--;});},),],),],),width: 100,height: 200,),));}
}
SimpleDialog
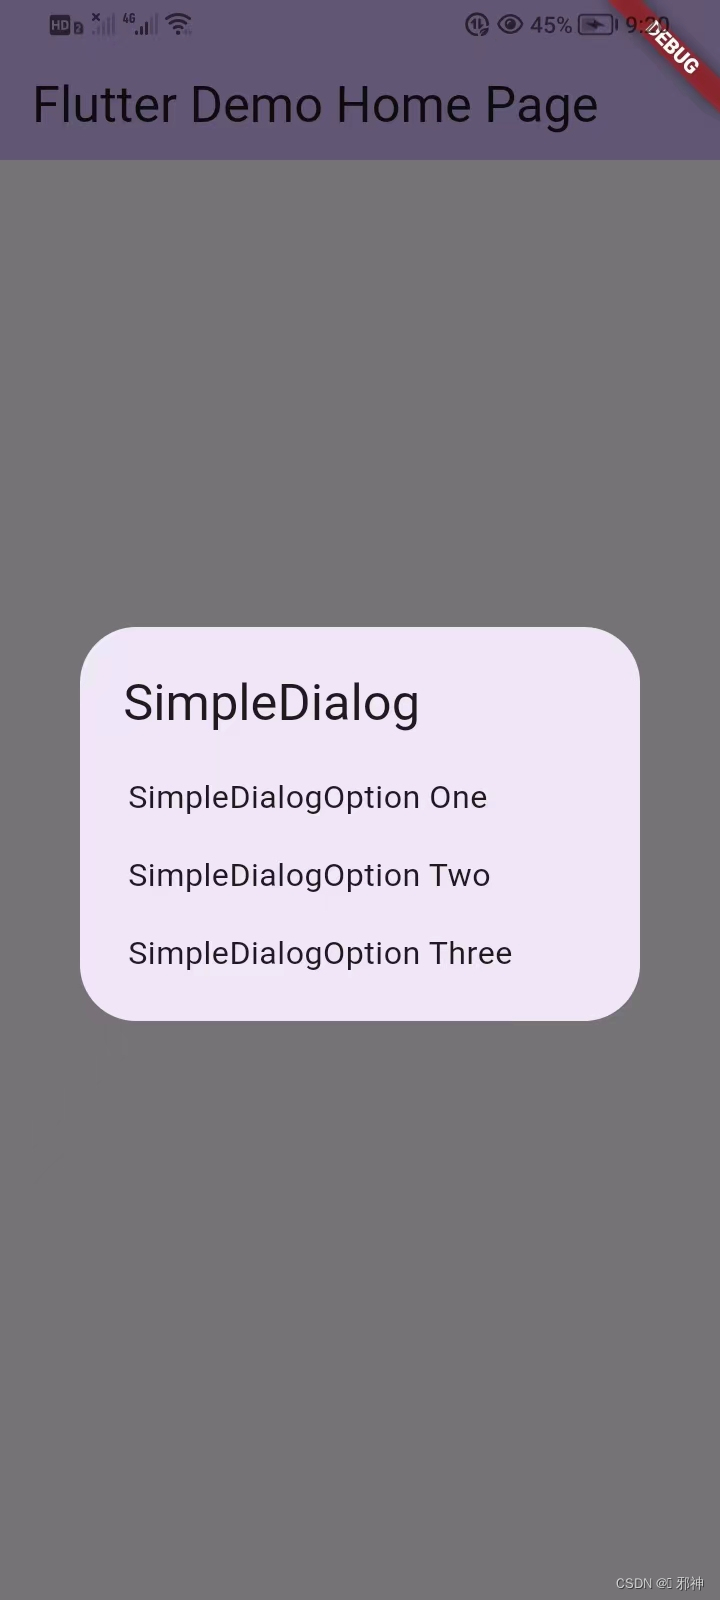
class MyHomePage extends StatefulWidget {const MyHomePage({super.key, required this.title});final String title;@overrideState<MyHomePage> createState() => _MyHomePageState();
}class _MyHomePageState extends State<MyHomePage> {void _showDialog() {// 定义对话框showDialog(context: context,builder: (context) {return SimpleDialog(title: new Text("SimpleDialog"),children: <Widget>[new SimpleDialogOption(child: new Text("SimpleDialogOption One"),onPressed: () {Navigator.of(context).pop("SimpleDialogOption One");},),new SimpleDialogOption(child: new Text("SimpleDialogOption Two"),onPressed: () {Navigator.of(context).pop("SimpleDialogOption Two");},),new SimpleDialogOption(child: new Text("SimpleDialogOption Three"),onPressed: () {Navigator.of(context).pop("SimpleDialogOption Three");},),],);});}@overrideWidget build(BuildContext context) {return Scaffold(appBar: AppBar(backgroundColor: Theme.of(context).colorScheme.inversePrimary,title: Text(widget.title),),body: Center(child: GestureDetector(onTap: () {_showDialog();},child: const Text('\n点击显示弹窗一\n',),),),);}
}
自定义ios风格对话框
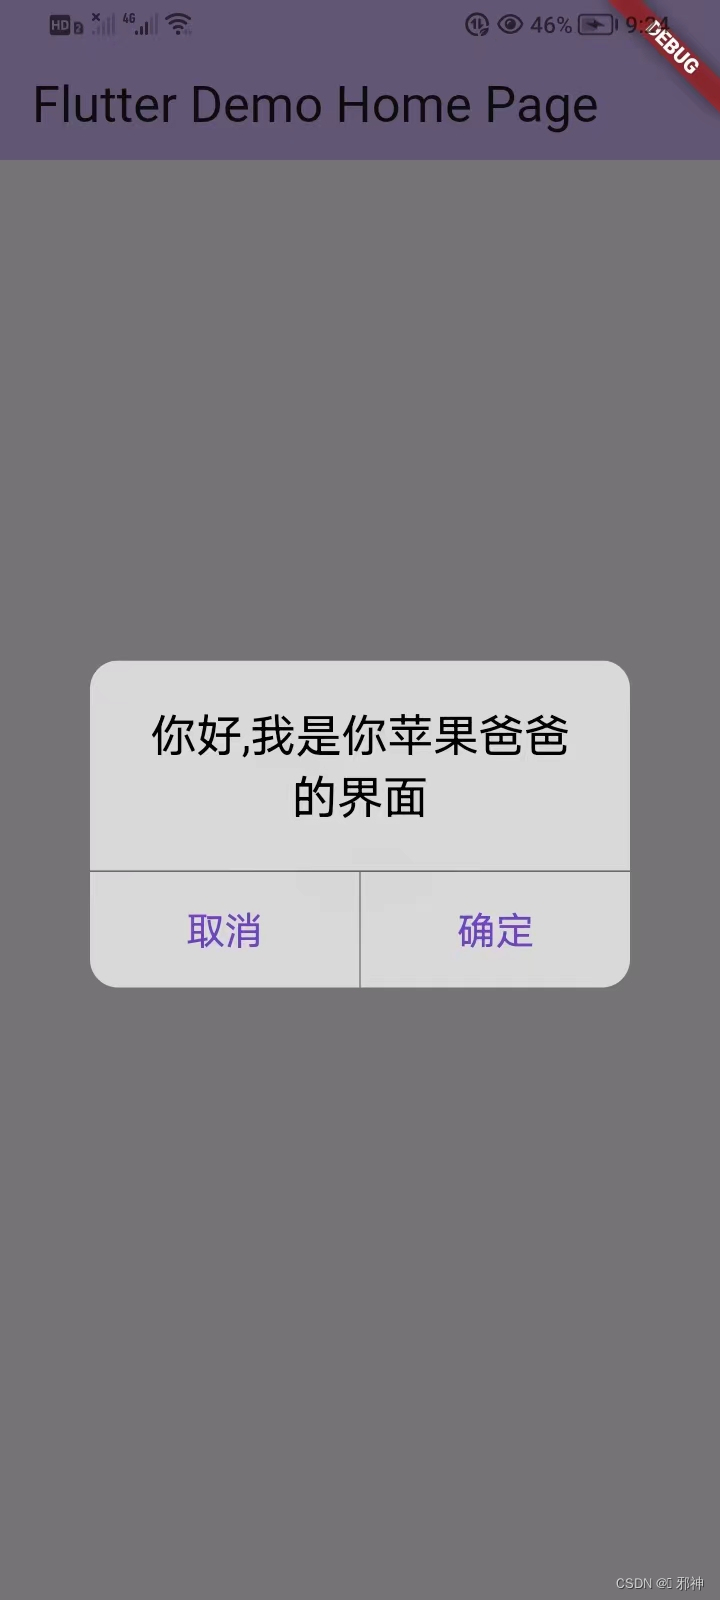
class MyHomePage extends StatefulWidget {const MyHomePage({super.key, required this.title});final String title;@overrideState<MyHomePage> createState() => _MyHomePageState();
}class _MyHomePageState extends State<MyHomePage> {void showCupertinoDialog() {var dialog = CupertinoAlertDialog(content: Text("你好,我是你苹果爸爸的界面",style: TextStyle(fontSize: 20),),actions: <Widget>[CupertinoButton(child: Text("取消"),onPressed: () {Navigator.pop(context);},),CupertinoButton(child: Text("确定"),onPressed: () {Navigator.pop(context);},),],);showDialog(context: context, builder: (_) => dialog);}@overrideWidget build(BuildContext context) {return Scaffold(appBar: AppBar(backgroundColor: Theme.of(context).colorScheme.inversePrimary,title: Text(widget.title),),body: Center(child: GestureDetector(onTap: () {showCupertinoDialog();},child: const Text('\n点击显示弹窗一\n',),),),);}
}
自定义对话框注意事项
- 自定义的 dialog 要是太长了超过屏幕长度了,请在外面加一个可以滚动的 SingleChildScrollView
- 自定义的 dialog 要是有 ListView 的话,必须在最外面加上一个确定宽度和高度的 Container,要不会报错,道理和上面的那条一样的
案例 切换到分支 flutter_custom_widget
相关文章:
flutter 弹窗之系列一
自定义不受Navigator影响的弹窗 class MyHomePage extends StatefulWidget {const MyHomePage({super.key, required this.title});final String title;overrideState<MyHomePage> createState() > _MyHomePageState(); }class _MyHomePageState extends State<MyH…...

【Flink实战】Flink hint更灵活、更细粒度的设置Flink sql行为与简化hive连接器参数设置
文章目录 一. create table hints1. 语法2. 示例3. 注意 二. 实战:简化hive连接器参数设置三. select hints(ing) SQL 提示(SQL Hints)是和 SQL 语句一起使用来改变执行计划的。本章介绍如何使用 SQL 提示来实现各种干预。 SQL 提示一般可以…...
【python从入门到精通】-- 第二战:注释和有关量的解释
🌈 个人主页:白子寰 🔥 分类专栏:python从入门到精通,魔法指针,进阶C,C语言,C语言题集,C语言实现游戏👈 希望得到您的订阅和支持~ 💡 坚持创作博文…...

【手写AI代码目录】准备发布的教程
文章目录 1. tensorboard2. F.cross_entropy(input_tensor, target) F.log_softmax() F.nll_loss() 1. tensorboard from torch.utils.tensorboard import SummaryWriter# TensorBoard writer SummaryWriter(runs/mnist_experiment_1) ...if i % 100 99: # 每 100 个 b…...

2024.3.9|第十五届蓝桥杯模拟赛(第三期)
2024.3.9|十五届蓝桥杯模拟赛(第三期) 第一题 第二题 第三题 第四题 第五题 第六题 第七题 第八题 第九题 第十题 心有猛虎,细嗅蔷薇。你好朋友,这里是锅巴的C\C学习笔记,常言道,不积跬步无以至千里&…...
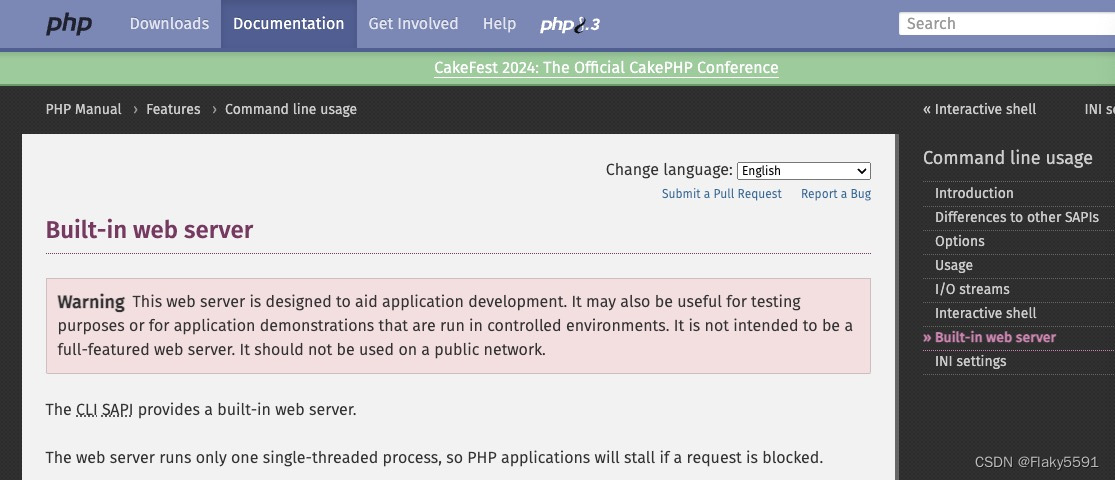
搭建PHP本地开发环境:看这一篇就够了
什么是PHP本地开发环境 PHP本地开发环境是指在个人计算机上模拟的服务器环境,这使得开发者能够在没有网络连接的情况下也能开发、测试和调试PHP应用程序。就像在你的电脑里装个小“服务器”,即使没网也能搞定PHP程序的开发和修修补补。这就是PHP本地开发…...

[蓝桥杯 2015]机器人数目
机器人数目 题目描述 本题为填空题,只需要算出结果后,在代码中使用输出语句将所填结果输出即可。 少年宫新近邮购了小机器人配件,共有3类。 A 类含有:8个轮子,1个传感器; B 类含有: 6个轮子࿰…...
)
Codeforces Round 935 (Div. 3)
A. Setting up Camp(模拟) #include<iostream> #include<algorithm> using namespace std; const int N 2e5 10;int main(){int t, n;scanf("%d", &t);int a, b, c;while(t--){scanf("%d%d%d", &a, &b, …...
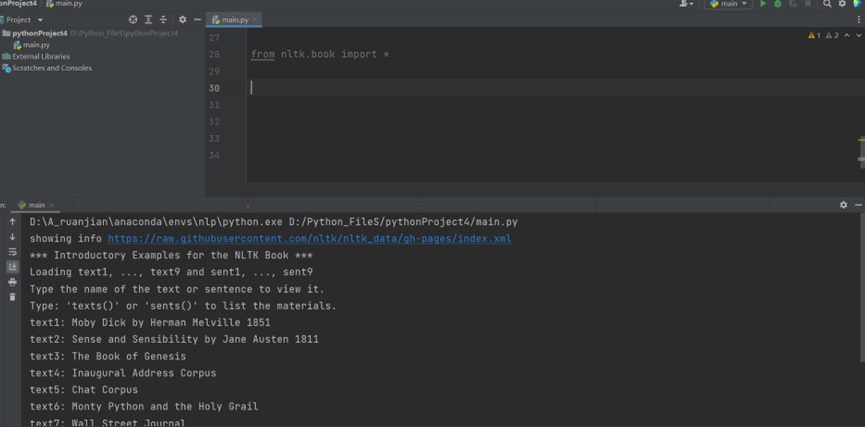
自然语言处理下载nltk模块库
nltk安装 目录 nltk安装 1.官方下载 2.离线下载 2.1 下载nltk资料包 2.2 解压下载的资料包重命名 2.2.1 将解压后的packages文件夹重命名为nltk_data 2.2.2 查看将重命名的文件夹放在那个位置 2.2.3 将上述nltk_data 文件夹放在 2.2.2 打印的位置处 3.验证是否下载成…...
)
题解:CF1937B(Binary Path)
题解:CF1937B(Binary Path) 一、 理解题意 1. 题目链接 CodeForces; 洛谷。 2. 题目翻译 给定一个 由 0 0 0 和 1 1 1 组成的 2 2 2 行 n n n 列的网格上寻找一条路径,使得这条路径上所有的数串联起来形成的0…...

JS——9大陷阱
一、警惕A>X>B写法 3>2>1 返回值为false(原因:3>2为true,会默认转成数字1,1>1为false) 1<4<3 返回值为true(原因:1<4为true,会默认转成数字1ÿ…...

USB - 通过configfs配置Linux USB Gadget
Linux USB gadget configured through configfs Overview USB Linux 小工具是一种具有 UDC(USB 设备控制器)的设备,可连接到 USB 主机,以扩展其附加功能,如串行端口或大容量存储功能。 A USB Linux Gadget is a device…...
)
迷宫与陷阱(蓝桥杯)
文章目录 迷宫与陷阱问题描述bfs解题思路代码 迷宫与陷阱 问题描述 小明在玩一款迷宫游戏,在游戏中他要控制自己的角色离开一间由 N x N 个格子组成的2D迷宫。 小明的起始位置在左上角,他需要到达右下角的格子才能离开迷宫,每一步…...
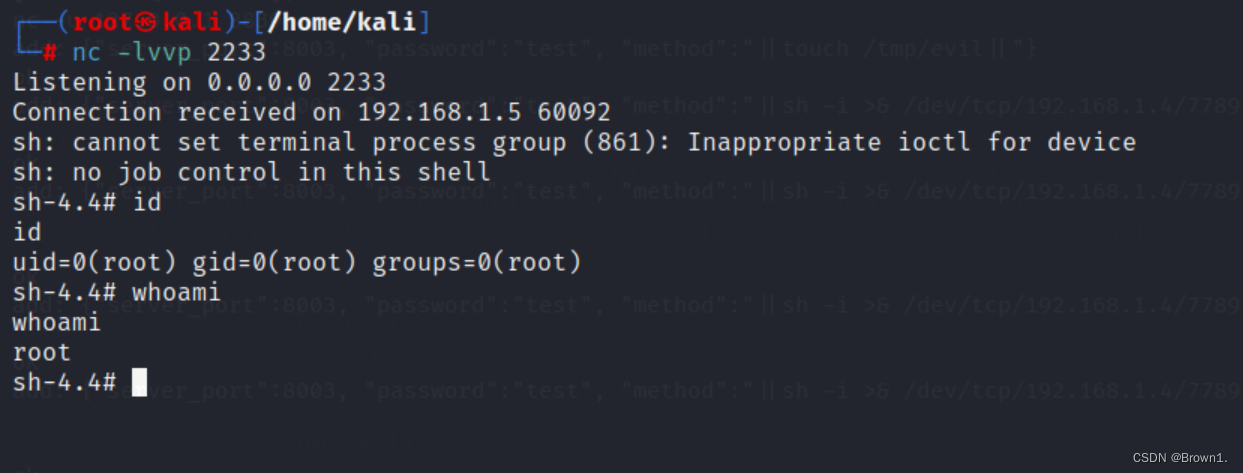
Temple of Doom靶场nodejs获取shellss-manager漏洞tcpdump提权
下载链接: Temple of Doom: 1 ~ VulnHub 下载完成后直接在vxbox中导入即可,网络链接模式根据自身情况而定(我采用的桥接模式) 正文: 先用nmap进行扫描靶机ip nmap -sn 192.168.1.1/24 对192.168.1.5进行端口探测&a…...
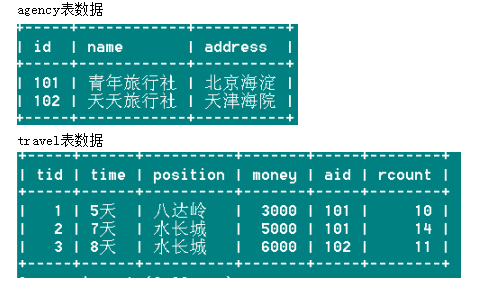
day03_mysql_课后练习 - 参考答案
文章目录 day03_mysql_课后练习mysql练习题第1题第2题第3题第4题第5题 day03_mysql_课后练习 mysql练习题 第1题 案例: 1、创建一个数据库:day03_test01_school 2、创建如下表格 表1 Department表的定义 字段名字段描述数据类型主键外键非空唯一D…...

creator-webview与Android交互
title: creator-webview与Android交互 categories: Cocos2dx tags: [cocos2dx, creator, webview, 交互] date: 2024-03-23 13:17:20 comments: false mathjax: true toc: true creator-webview与Android交互 前篇 Android:你要的WebView与 JS 交互方式 都在这里了…...

22.WEB渗透测试-BurpSuite(一)
免责声明:内容仅供学习参考,请合法利用知识,禁止进行违法犯罪活动! 内容参考于: 易锦网校会员专享课 上一个内容:21.WEB渗透测试-HTTP协议(下)-CSDN博客 工具的使用需要先搭建靶场…...

前端性能优化:防抖与节流
一、防抖和节流主要是干什么的 防抖和节流主要用于控制函数执行的频率,通过限制函数的触发次数,避免函数被过度调用而引发的性能问题或产生不必要的副作用。 二、防抖 防抖是什么: 1、对于在事件被触发 n 秒后再执行的回调 --> 延迟执行 2、如果…...
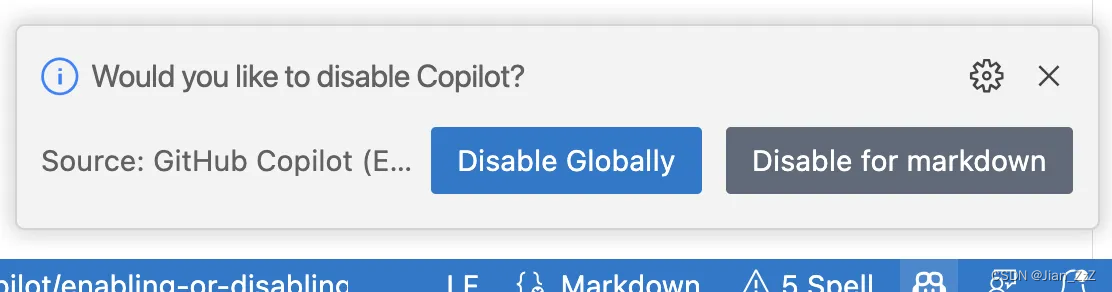
Copilot 编程助手的介绍及使用
介绍 Copilot 是2021年由 GitHub 与 OpenAI 合作研发的一款编程助手,同时也是全球首款使用OpenAI Codex模型(GPT-3后代)打造的大规模生成式AI开发工具。 Copilot 底层模型目前经过了数十亿行公开代码的训练,与大多数代码辅助工具…...

数据库专题(oracle基础和进阶)
前言 本专题主要记录自己最近学的数据库,有兴趣一起补习的可以一起看看,有补充和不足之处请多多指出。希望专题可以给自己还有读者带去一点点提高。 数据库基本概念 本模块有参考:数据库基本概念-CSDN博客 数据库管理系统是一个由互相关联的…...

企业级RAG落地需要考虑的七个优化指标
在企业级RAG应用中,单纯跑通流程只是起点。要让系统真正稳定、准确、高效、安全地服务于业务,需要从以下七个维度进行系统性优化。这些建议基于生产环境的最佳实践总结。 一、检索质量优化(核心中的核心) 1.1 分块策略精细化文档类…...
)
从披萨到知识图谱:避开OWL本体建模的3个新手常见坑(Protege避坑指南)
从披萨到知识图谱:避开OWL本体建模的3个新手常见坑(Protege避坑指南) 本体建模是构建知识图谱的核心环节,而OWL(Web Ontology Language)作为W3C推荐的标准本体描述语言,在语义网和知识工程领域扮…...

Ryujinx模拟器完整指南:在PC上免费畅玩Switch游戏的终极解决方案
Ryujinx模拟器完整指南:在PC上免费畅玩Switch游戏的终极解决方案 【免费下载链接】Ryujinx 用 C# 编写的实验性 Nintendo Switch 模拟器 项目地址: https://gitcode.com/GitHub_Trending/ry/Ryujinx 你是否曾经梦想在电脑上体验《塞尔达传说:王国…...
)
【Anaconda】使用指南及问题汇总(自用)
安装 1. Anaconda的下载与安装 除了安装路径修改,其他的一路默认就好 2. Anaconda修改环境变量 因为我们这一步才手动添加环境变量,所以第一步安装的时候不要让它自动配置环境变量了。 用户变量或者系统变量都可以。建议系统变量,方便后…...

OAuth 2.0 client_id深度解析:从规范到安全实践
1. 引言:一个字符串背后的身份体系 在 OAuth 2.0 的整个生态里,client_id 是出现频率最高却最容易被忽视的参数之一。它几乎出现在每一个授权请求的 URL 里,开发者往往只是将其视为"配置项",从 IdP 控制台粘贴过来填进…...

GEO工具红黑榜:有的在“监测“,有的在“收智商税“
2026年,AI搜索已承接超过40%的传统搜索查询量,品牌面临的不再是"百度一下"的竞价排名,而是AI助手直接给出的"默认答案"。当用户问ChatGPT"推荐一款面霜"或向豆包询问"哪个在线教育平台更好"时&#…...

5步解锁Total War模组制作:用RPFM编辑器从新手到专家的完整指南
5步解锁Total War模组制作:用RPFM编辑器从新手到专家的完整指南 【免费下载链接】rpfm Rusted PackFile Manager (RPFM) is a... reimplementation in Rust and Qt6 of PackFile Manager (PFM), one of the best modding tools for Total War Games. 项目地址: ht…...

构建企业级AI对话平台:Open WebUI部署架构深度解析
构建企业级AI对话平台:Open WebUI部署架构深度解析 【免费下载链接】open-webui User-friendly AI Interface (Supports Ollama, OpenAI API, ...) 项目地址: https://gitcode.com/GitHub_Trending/op/open-webui 在AI技术快速发展的今天,如何构建…...

通过 TaoToken 统一网关体验不同主流模型的生成效果差异
🚀 告别海外账号与网络限制!稳定直连全球优质大模型,限时半价接入中。 👉 点击领取海量免费额度 通过 TaoToken 统一网关体验不同主流模型的生成效果差异 1. 引言:统一接口下的模型体验 在构建基于大语言模型的应用时…...

ZXing条形码识别库的模块化架构演进与性能优化策略
ZXing条形码识别库的模块化架构演进与性能优化策略 【免费下载链接】zxing ZXing ("Zebra Crossing") barcode scanning library for Java, Android 项目地址: https://gitcode.com/gh_mirrors/zx/zxing ZXing("Zebra Crossing"…...